Are you embarking on a DIY journey or tackling a home improvement project? Learning how to use a nail gun is a valuable skill that can save you time and effort and ensure your projects are sturdily constructed. Whether building a frame, fencing your yard, or working at tricky angles, a nail gun can be your trusty sidekick. In this comprehensive guide, we’ll walk you through the essential steps to use a nail gun for beginners, focusing on framing and fencing applications.
Safety is our top priority, so we’ll start by discussing the importance of using a nail gun safely. We’ll cover the basics of nail gun operation, including the different types of nail guns and the types of nails they use. You’ll learn how to load nails, adjust nail depth, and master the art of firing nails at precise angles, ensuring your project looks professional and is built to last. So, grab your safety gear and let’s dive into the world of nail gun mastery!
How to Use a Nail Gun: Beginners
In this beginner’s guide, we’ll cover the basics of using a nail gun in a straightforward, step-by-step format:
- Introduction to Nail Guns: Get acquainted with the types of nail guns and their applications, helping you choose the right one for your project.
- Safety First: Prioritize safety measures and learn how to use a nail gun safely, including essential protective gear and precautions.
- Loading Nails: Discover how to load nails into your nail gun efficiently, ensuring a smooth and hassle-free operation.
- Adjusting Nail Depth: Understand the importance of adjusting nail depth and how to set it according to your project’s requirements.
- Firing Nails: Master the art of firing nails accurately and securely, whether you’re framing, fencing, or working at various angles.
- Building Confidence: Gain the confidence you need to use a nail gun effectively and efficiently to tackle your DIY and construction projects.
Read also: What is the best nail gun?
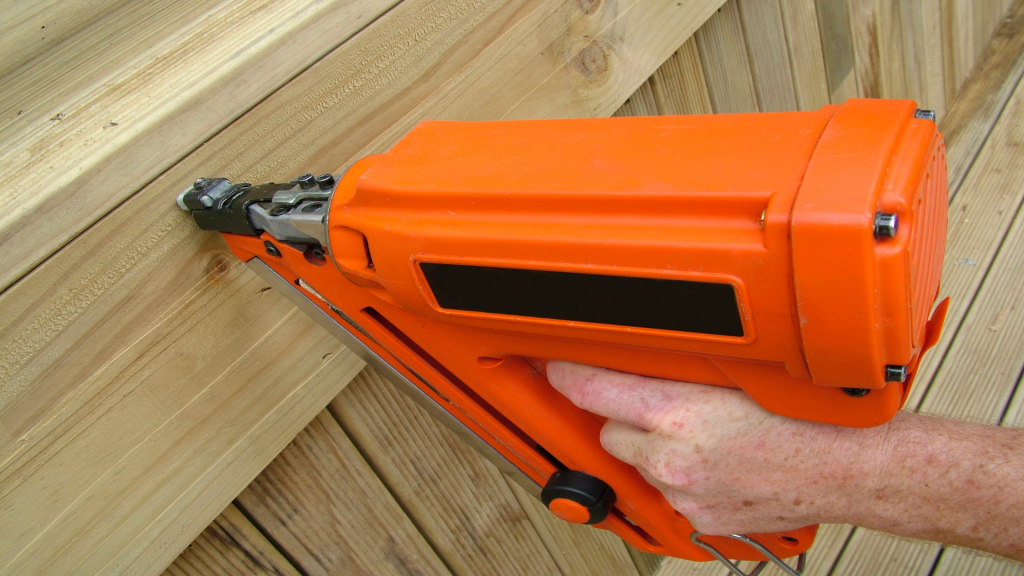
How to Use a Nail Gun for Framing
If framing is your game, mastering a nail gun is essential for a solid and efficient construction process. Here are the key steps to using a nail gun effectively for framing:
- Select the Right Nail Gun: Choose a framing nail gun with the appropriate power and nail size for your project.
- Safety First: Equip yourself with safety gear, including safety glasses, ear protection, and gloves.
- Load Nails: Load the nail gun with framing nails, ensuring they are properly aligned.
- Adjust Nail Depth: Set the nail depth according to the thickness of the materials you’re framing.
- Hold the nail gun perpendicular to the surface and firmly against the material.
- Fire Nails: Squeeze the trigger to fire nails into the framing material, maintaining a consistent pace and pressure.
- Spacing and Pattern: Follow your framing project’s recommended nail spacing and pattern.
- Inspect and Repeat: Regularly inspect your work, ensuring the framing is secure, and repeat the process as needed.
How to Use a Nail Gun Without a Compressor
- Cordless Nail Guns: Cordless nail guns, also known as battery-powered nail guns, are a popular choice for users who want the convenience of mobility without the need for a compressor or hoses. They are equipped with rechargeable lithium-ion batteries, providing ample power for driving nails into various materials. Cordless nail guns are great for small to medium-sized projects, such as trim work, baseboards, and light framing. They offer portability and versatility, allowing you to work in tight spaces or locations without access to electrical outlets.
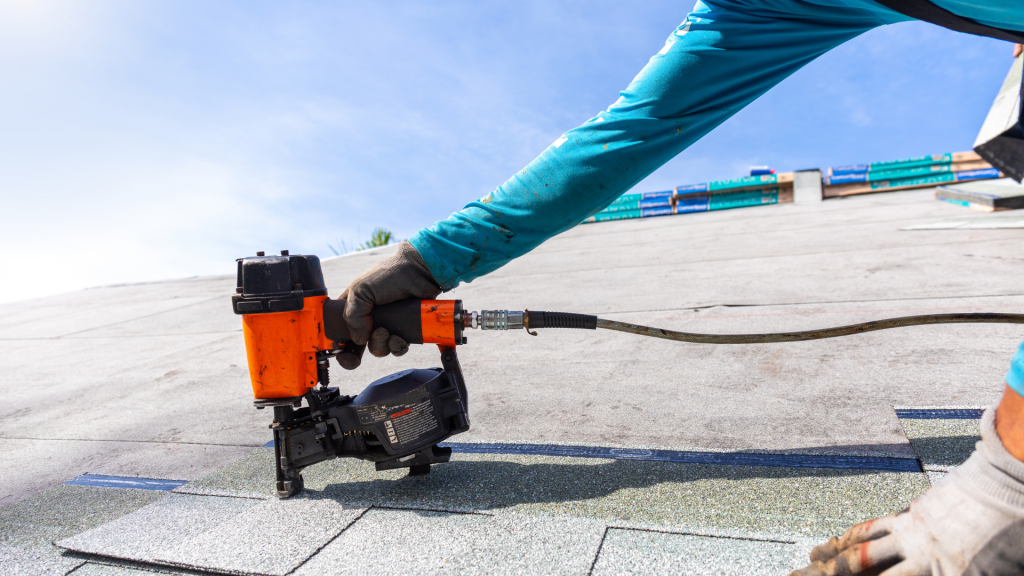
- Gas-Powered Nail Guns: Gas-powered nail guns rely on small disposable fuel cartridges to generate the necessary force to drive nails. These nail guns are typically lightweight and versatile, making them suitable for indoor and outdoor applications. They are commonly used in framing, roofing, and sheathing projects. Gas-powered nail guns offer the advantage of not needing cords or compressors, but they require periodic cartridge replacement.
- Manual Nail Guns: Manual nail guns can be used for low-intensity DIY projects or situations where power tools are not available. These tools don’t rely on electricity, batteries, or gas. Instead, they require manual force to drive nails into the material. They are less efficient and practical for large or demanding projects but can still be a viable option for occasional use.
FAQs
Yes, you can use a regular nail gun for framing, but it’s essential to ensure that the nail gun you select is suitable for framing tasks.
The best angle for a framing nail gun is typically 21 degrees. This angle balances manoeuvrability and holding capacity, making it ideal for framing applications. However, some framing nail guns may have different angles, such as 28 degrees or 30 degrees, which can also work effectively for framing tasks.
Roofing nails should be driven flush with the surface of the roofing material. The exact depth may vary slightly depending on the roofing material and the manufacturer’s recommendations. Still, the nail should typically be just below the surface to ensure a secure hold without causing damage or creating potential leak points.
Most roofing nailers operate effectively with an air pressure of around 90 to 120 pounds per square inch (PSI). However, it’s essential to check the manufacturer’s recommendations for your specific roofing nailer, as the optimal pressure can vary between models.
Leave a Reply