Sanders
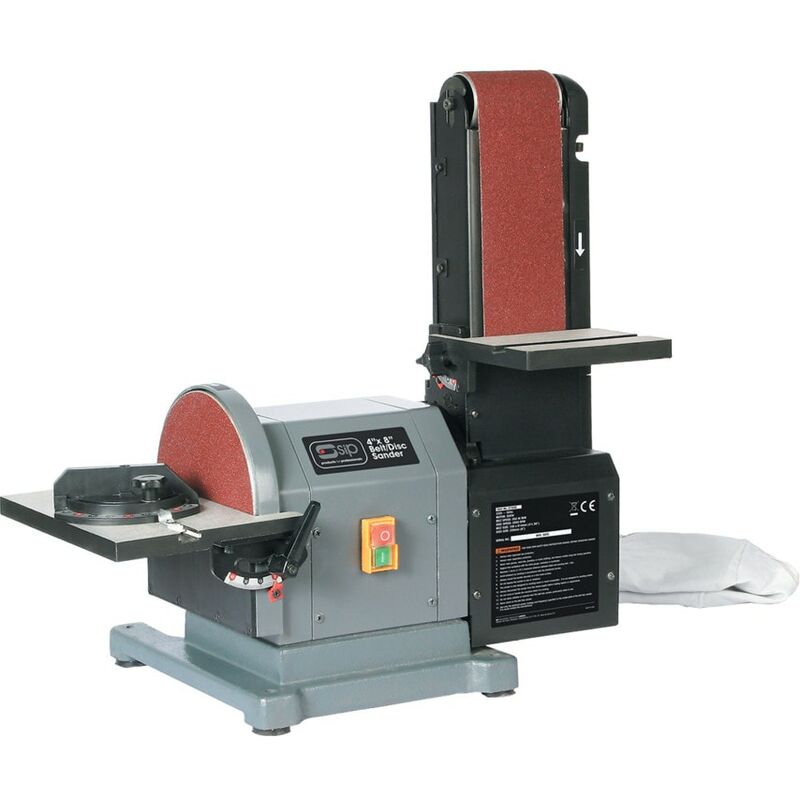
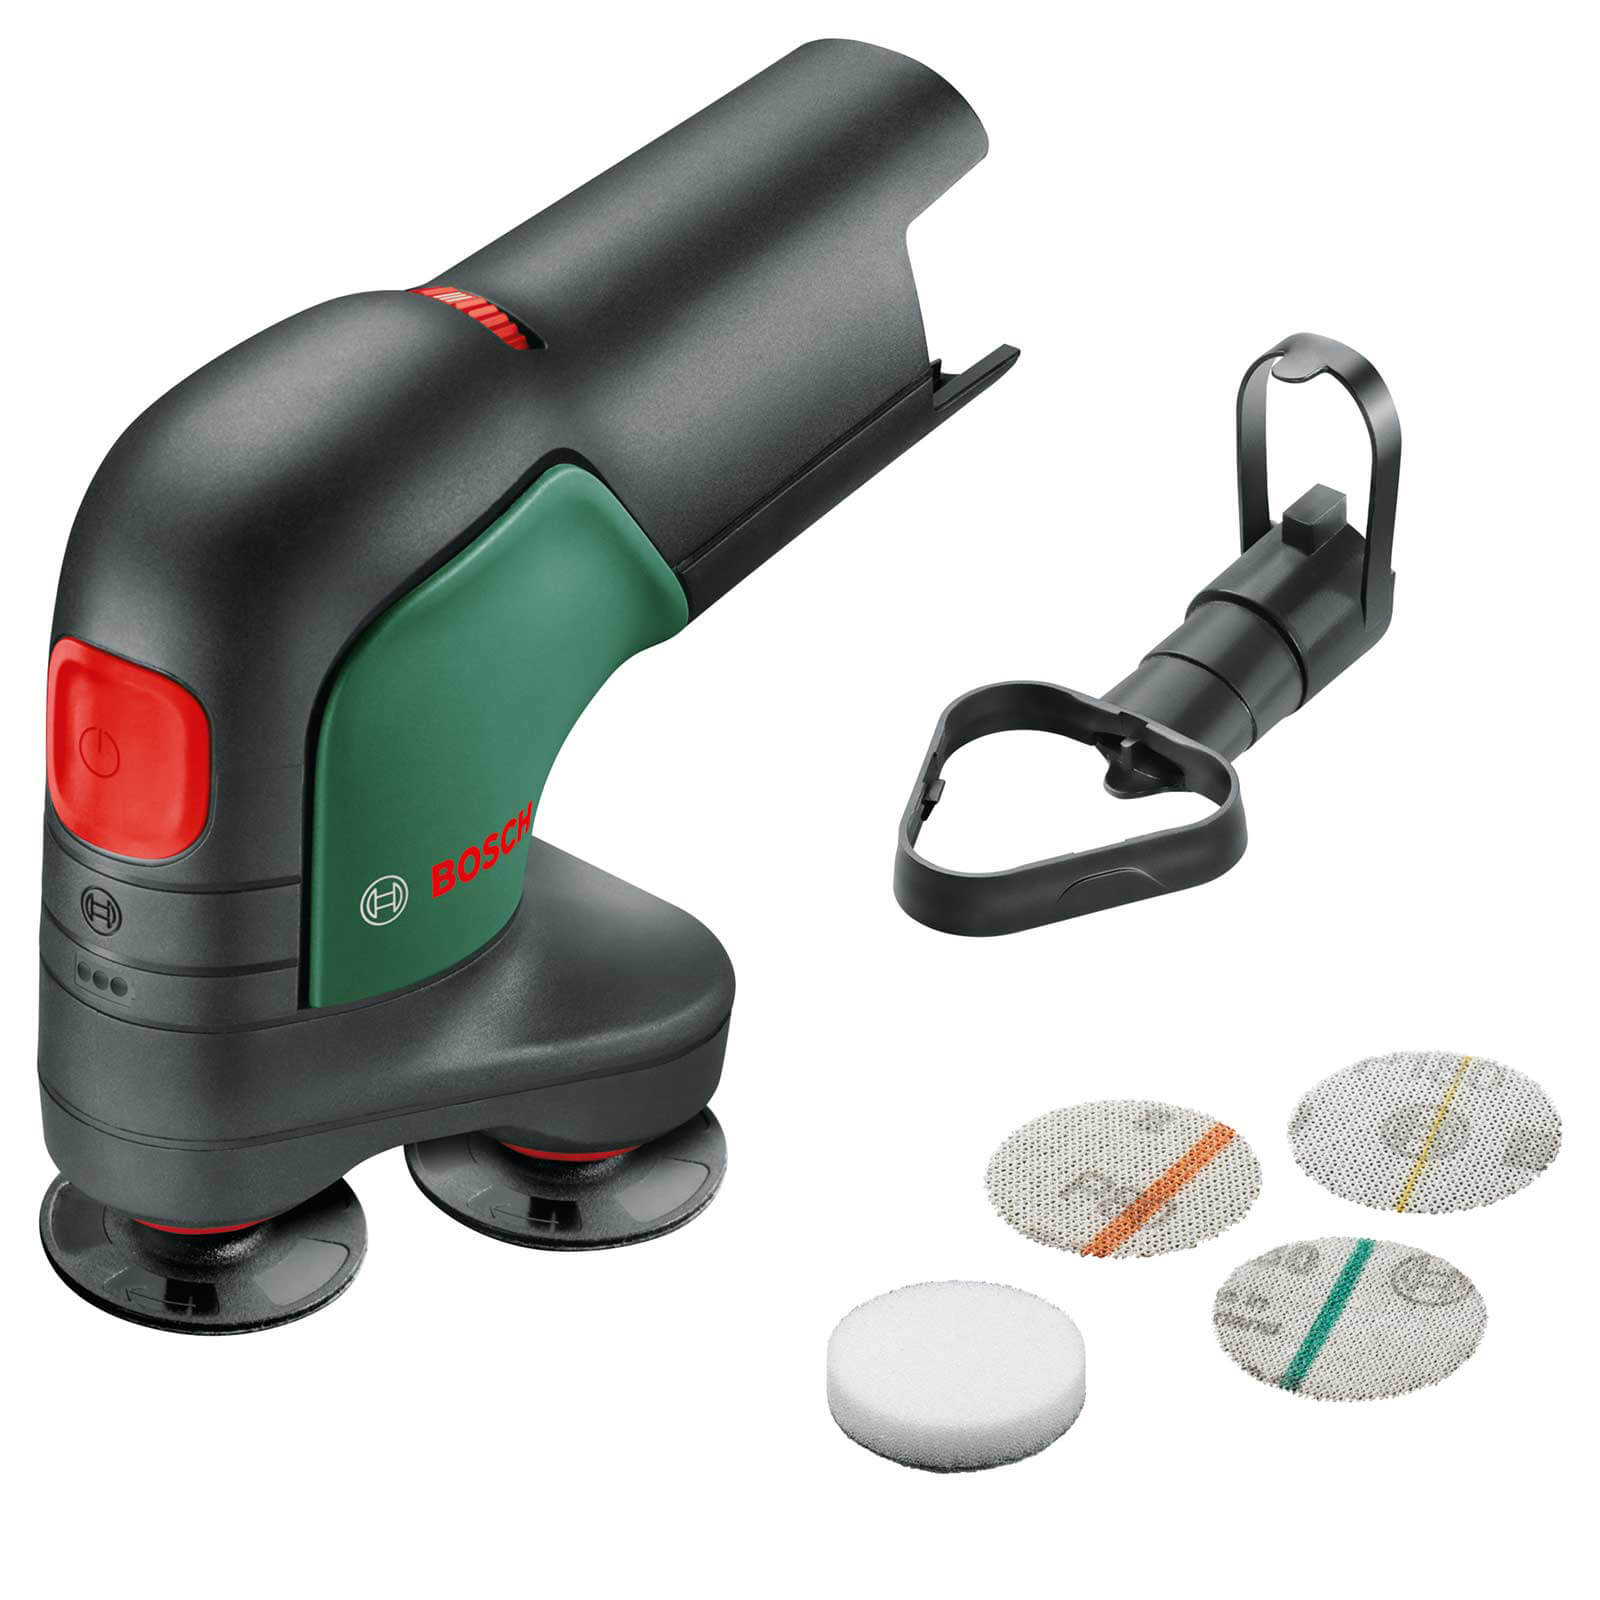
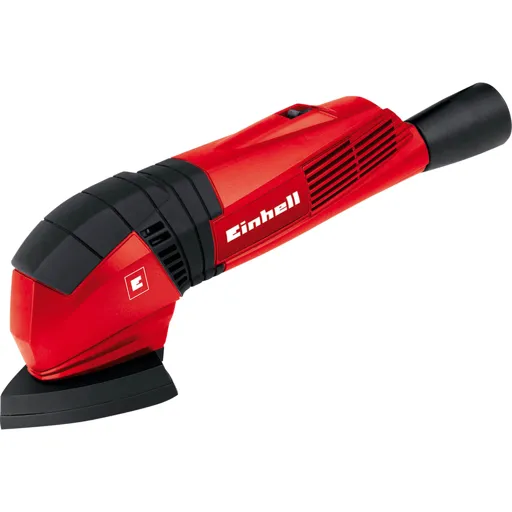
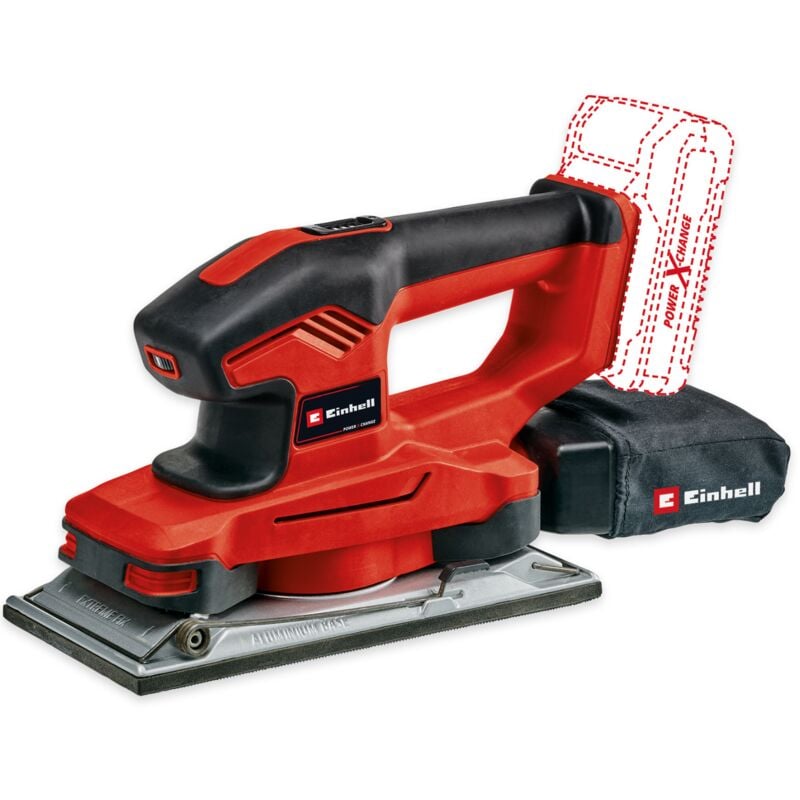
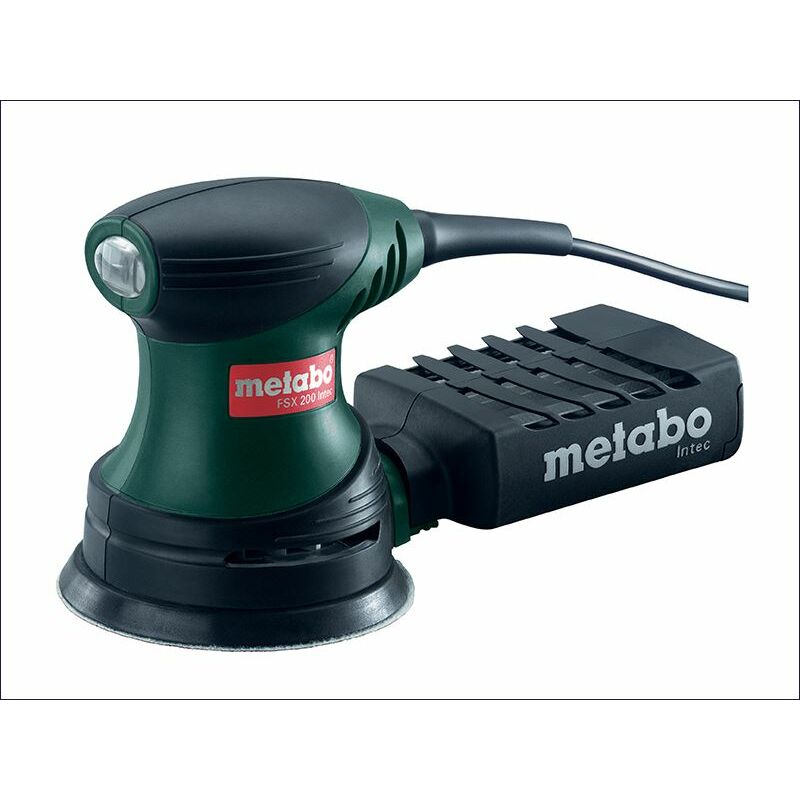
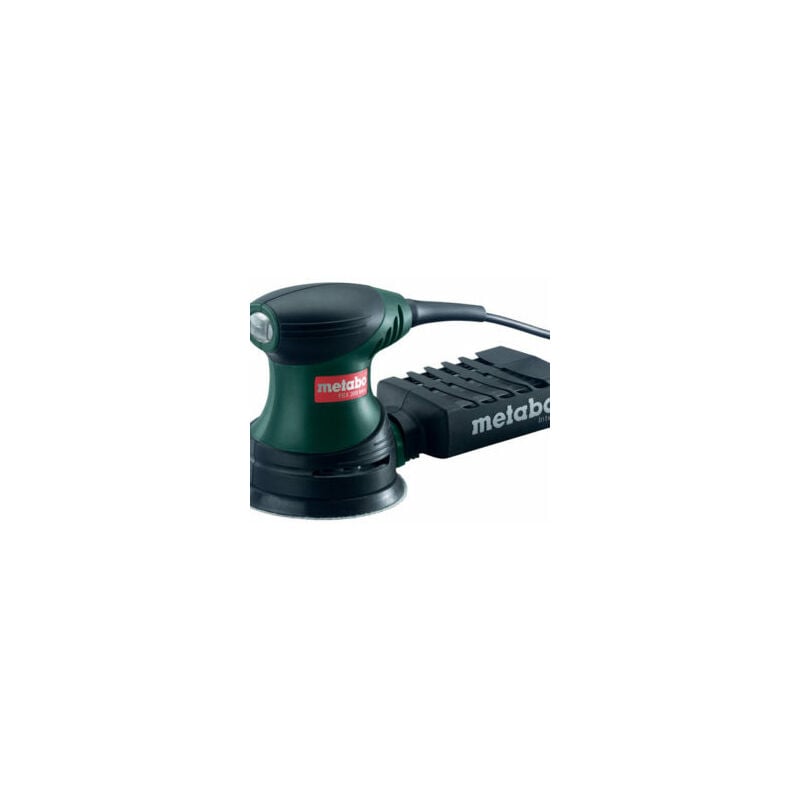
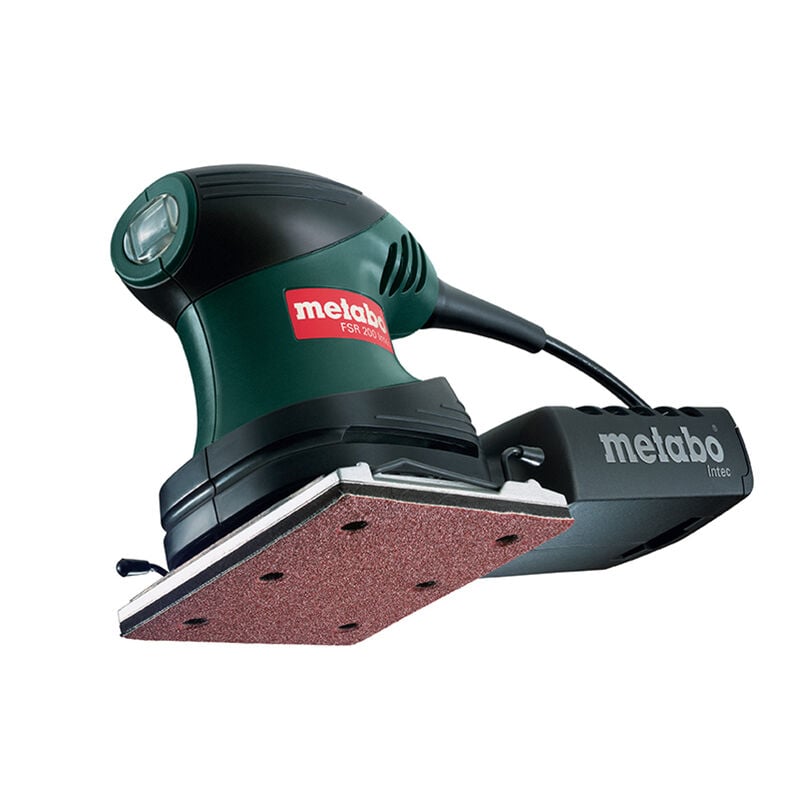
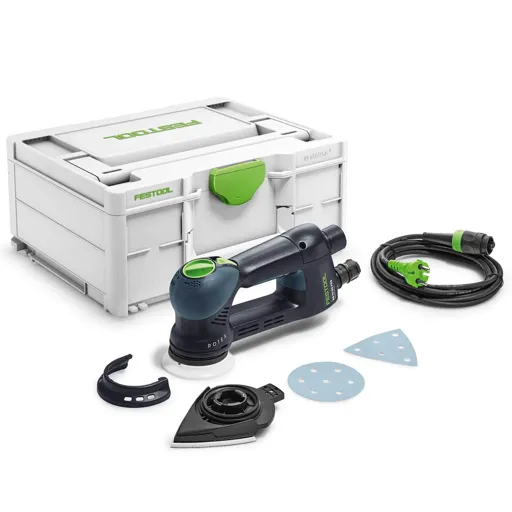
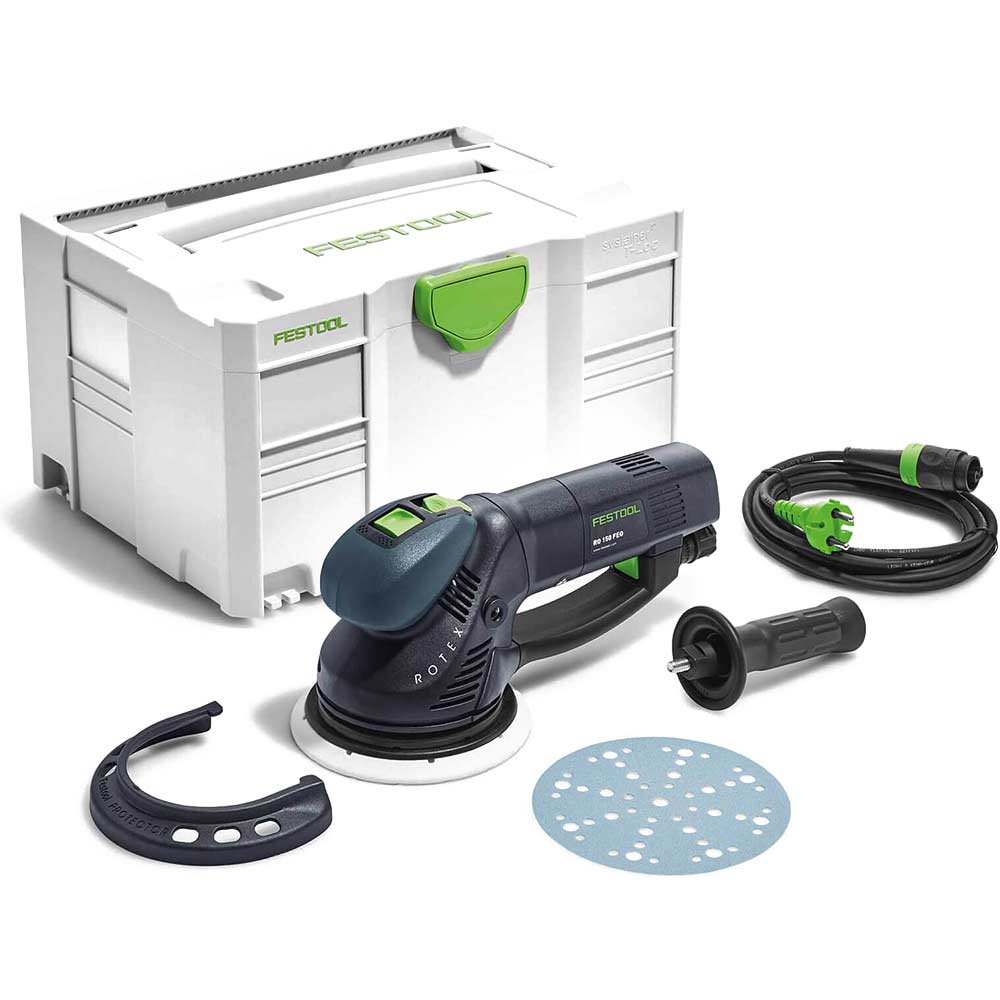
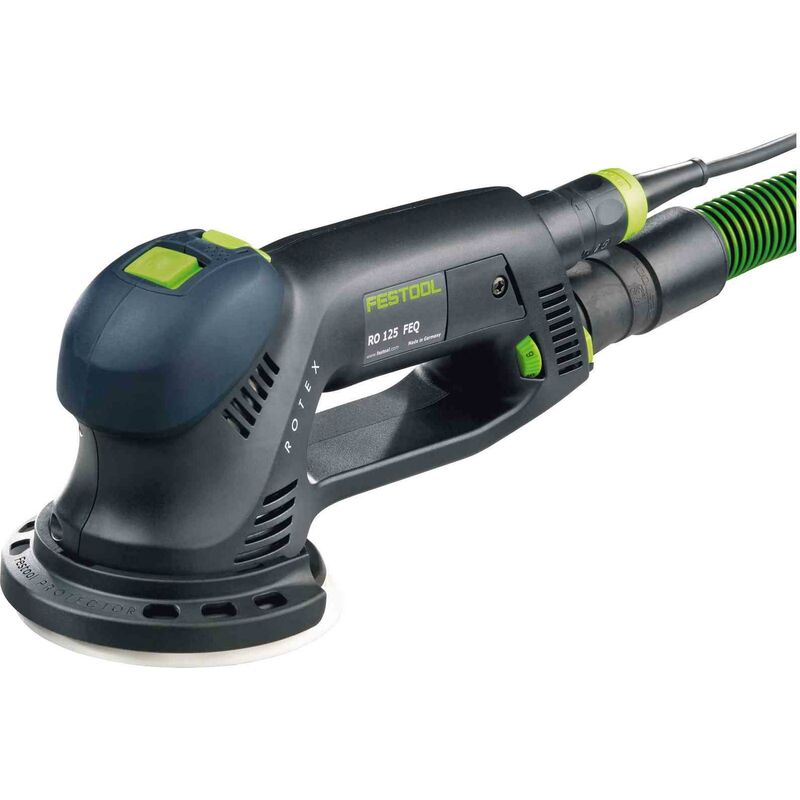
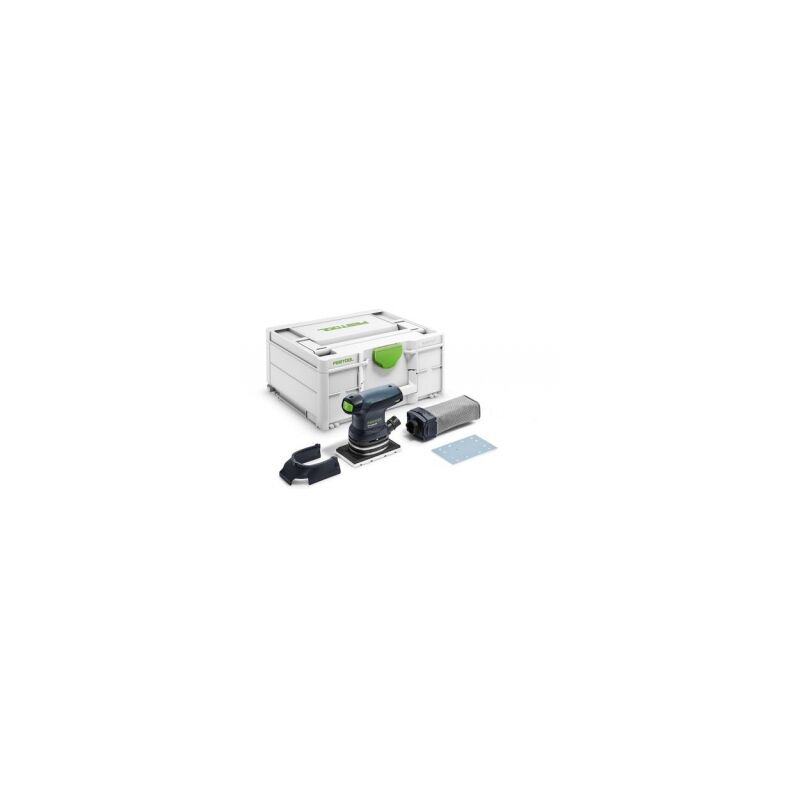
Sanders are versatile tools essential for woodworking and finishing tasks. A sander, in its various forms, is designed to smooth surfaces through abrasion with sandpaper. Each type has its unique advantages. For instance, a wheel sander offers precision in shaping and curving wood, ideal for intricate projects. A bobbin sander operates similarly but excels in sanding internal cuts and curved edges. Sheet sanders, on the other hand, are perfect for flat surfaces, providing a fine finish quickly and efficiently. Belt sanders are robust, great for rapid material removal on larger surfaces. Palm sanders, compact and user-friendly, are suited for smaller projects and tight spaces. Delta sanders, with their triangular sanding pads, reach corners with ease. Disc sanders, often found in workshops, are excellent for shaping and finishing edges. Wall sanders, specialised for vertical surfaces, make light work of plaster and drywall. Lastly, orbital sanders, with their circular or random orbit motion, ensure a scratch-free finish, perfect for fine woodworking. This category hosts a variety of sanders to cater to every need. Whether it's for a DIY project or professional use, comparing products and prices can help save money and select the ideal tool for the job.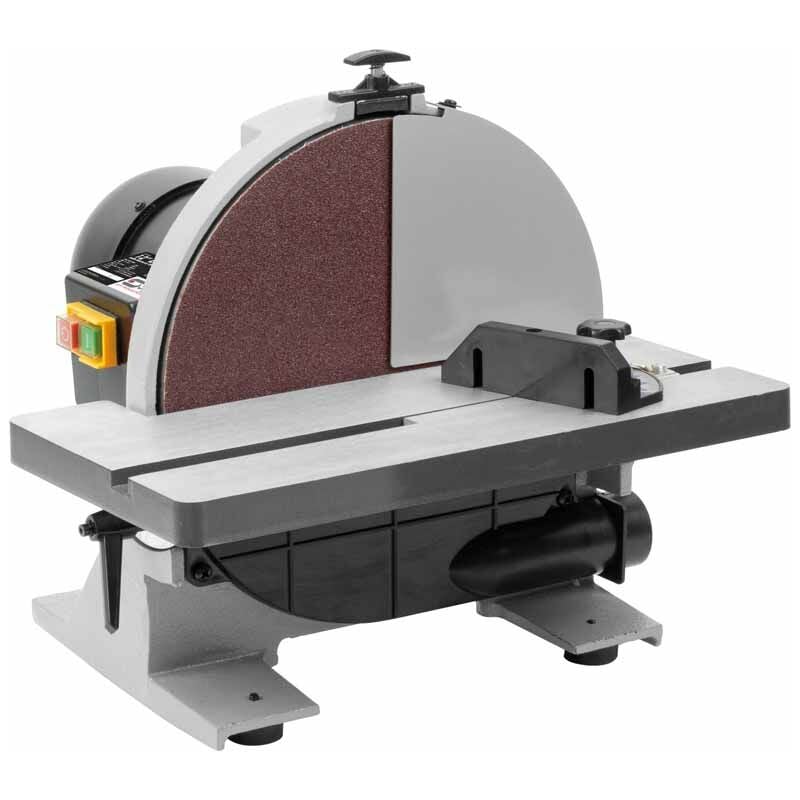



Frequently Asked Questions (FAQ)
If you're looking to give your woodworking projects a professional finish, a belt sander is the way to go. It's easy to use and can quickly and efficiently smooth out imperfections. To get started, choose the right sandpaper grit for the job. Coarse grit is good for removing large amounts of material, while fine grit is great for finishing. Once you have the sandpaper in place, you can start using the sander. Make sure to keep the sander moving in a steady, even motion. Don't press down too hard, as that could cause the sander to leave marks on the wood. Once you've finished sanding, use a brush or rag to remove any dust or debris. And that's it! With a belt sander, you can achieve professional-looking results in no time. So what are you waiting for? Get sanding!
A sander is a powerful tool that can help you create a smooth and professional finish on your projects. Using one is easier than you might think, and once you've mastered the basics you'll be able to tackle a variety of sanding jobs with ease. The first step is to select the right sander for your project. There are several different types of sanders, such as belt, orbital, and detail sanders, each of which is suited to different tasks. Once you've selected the right sander, you'll need to choose the right sandpaper. Different sanders require different grits, so be sure to check the instructions for your specific sander. Then, you can start sanding! Make sure to keep the sander moving in the same direction as the grain of the wood, and use steady, even pressure. After you're done, you can use a vacuum or a damp cloth to remove any dust or debris. And that's it - you've just learned how to use a sander! With the right technique and a little practice, you'll be able to achieve amazing results with your sander.
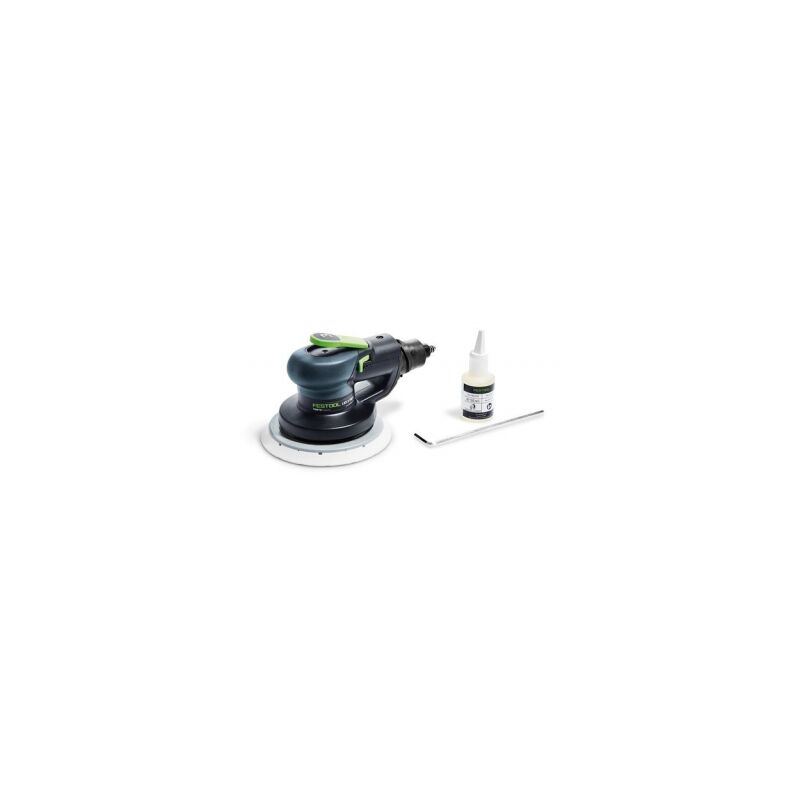
If you're looking to take on a DIY home improvement project, knowing how to use an orbital sander is a must. This tool is perfect for sanding down wood, removing paint and varnish, and polishing up furniture and other surfaces. No matter your project, an orbital sander can make it easier and faster to get the job done. To get started, make sure your sander is properly connected and plugged in. Once it's ready to go, the next step is to choose the right sandpaper. Sandpaper comes in different grits for different jobs, so make sure you pick the one that is best for your project. After you have the sandpaper in place, turn on the sander and start sanding. Move the sander in a back and forth motion, using a light touch. Try to keep the sander level and avoid putting too much pressure on it. This will help you get a smoother finish and prevent any damage to the surface. When you're finished, turn off the sander and wipe away any dust. With the right technique and a bit of practice, you'll be a pro at using an orbital sander in no time!
An orbital sander is one of the most essential tools for any DIY enthusiast or professional. It's a power sanding tool that uses an oscillating motion to quickly and effectively smooth surfaces. This type of sander is incredibly versatile - you can use it to sand wood, metal, plastic, and even composite materials. It also works on both flat and contoured surfaces. The orbital motion of the sander gives you a superior finish compared to traditional sanders, as it prevents the formation of swirl marks. Orbital sanders are relatively light and easy to use, making them perfect for beginners. They also come in a variety of sizes, so you can find one that suits your needs. And with all the different sanding pads available, you can tackle any sanding job with ease. So, if you're looking for a great tool that can help you complete any woodworking or refinishing project, an orbital sander is the perfect choice!