Drills
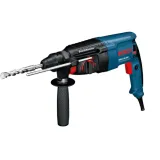
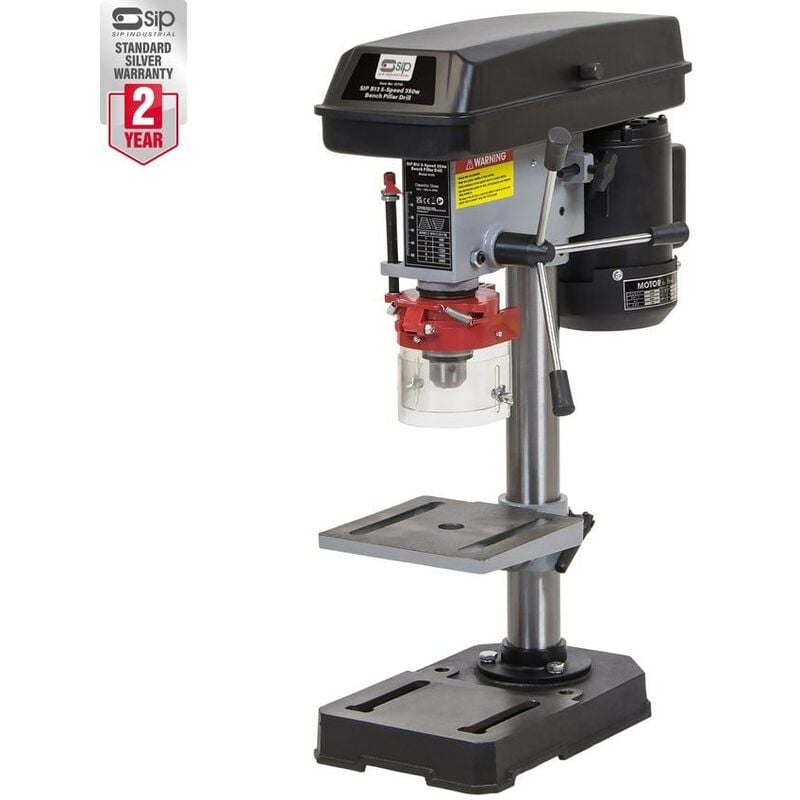
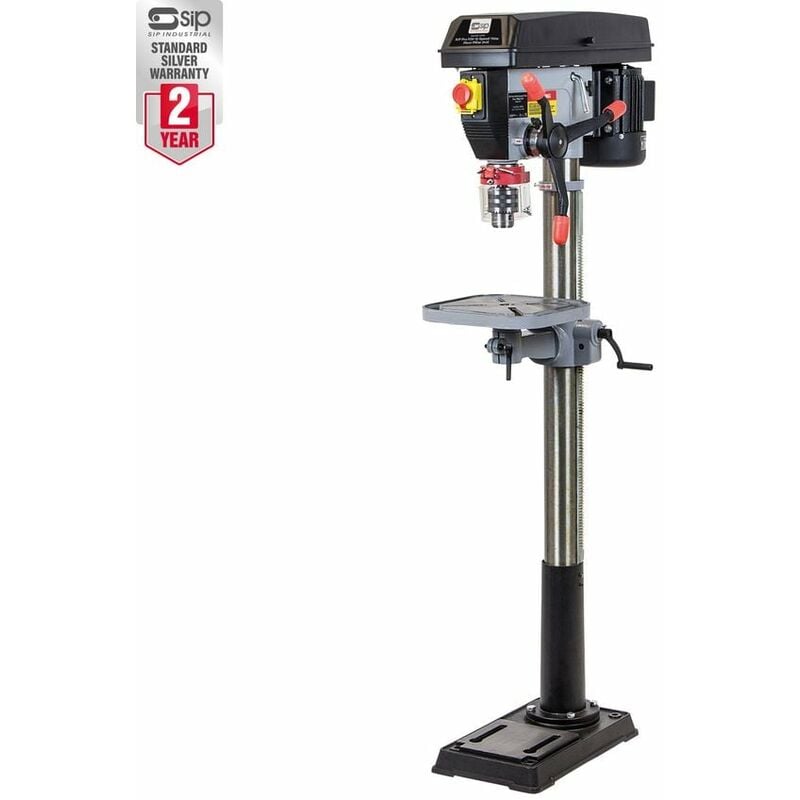
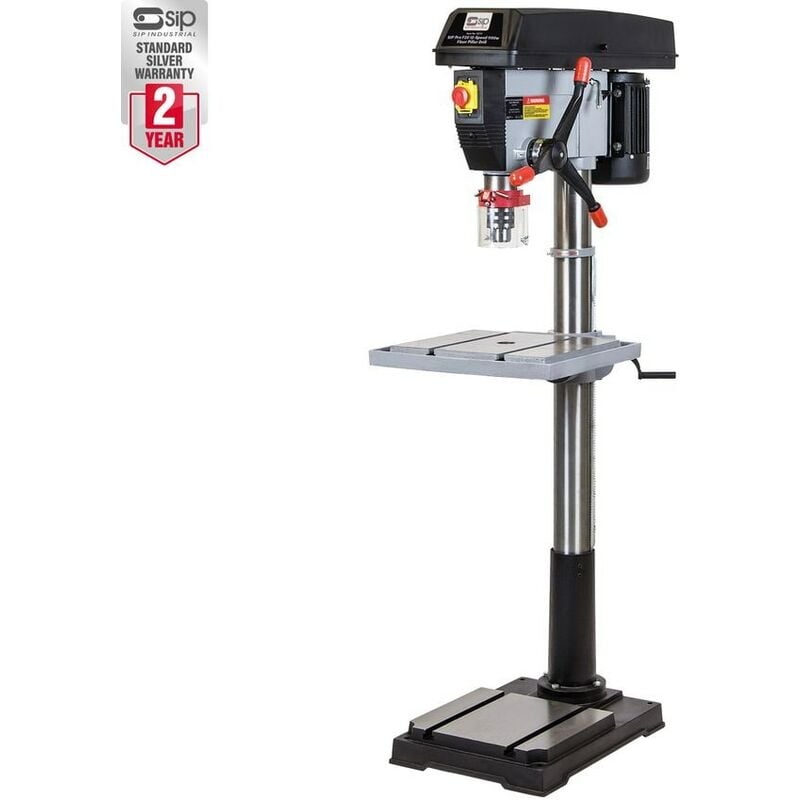
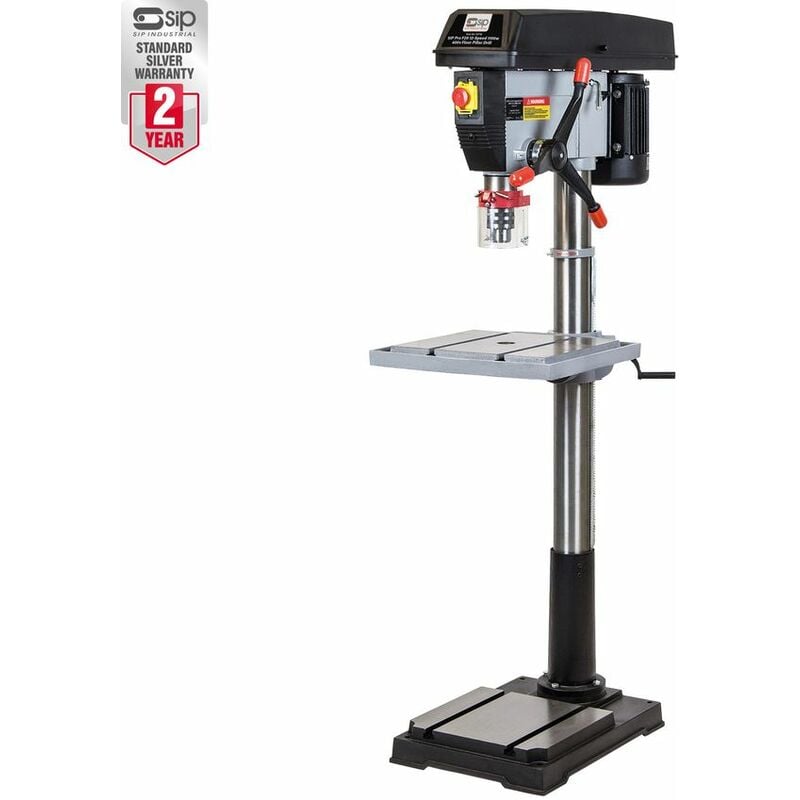
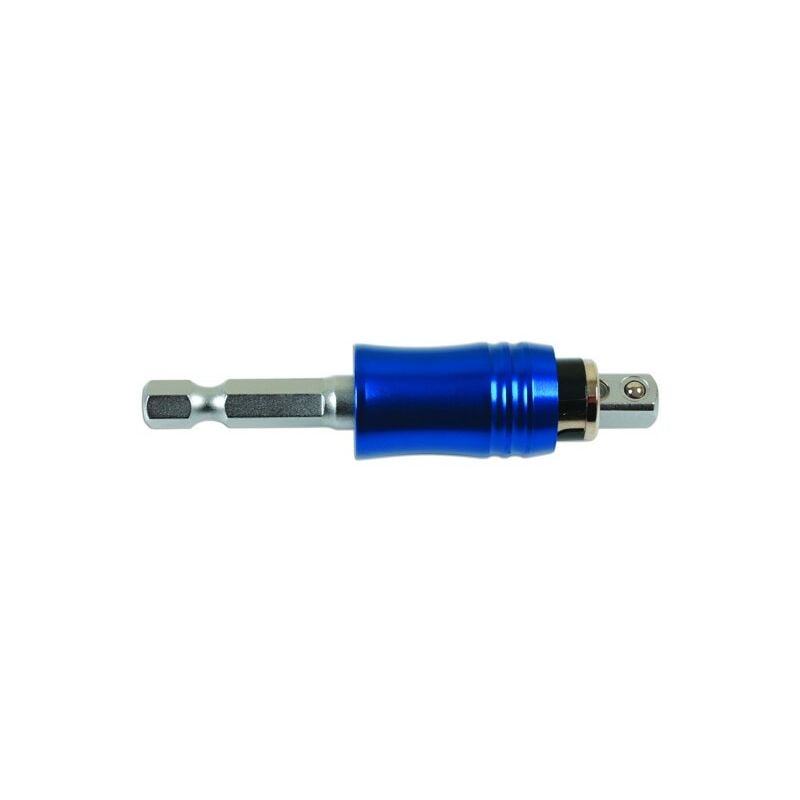
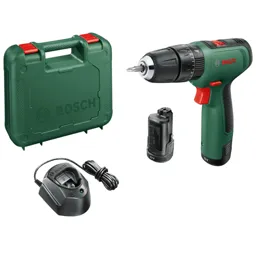
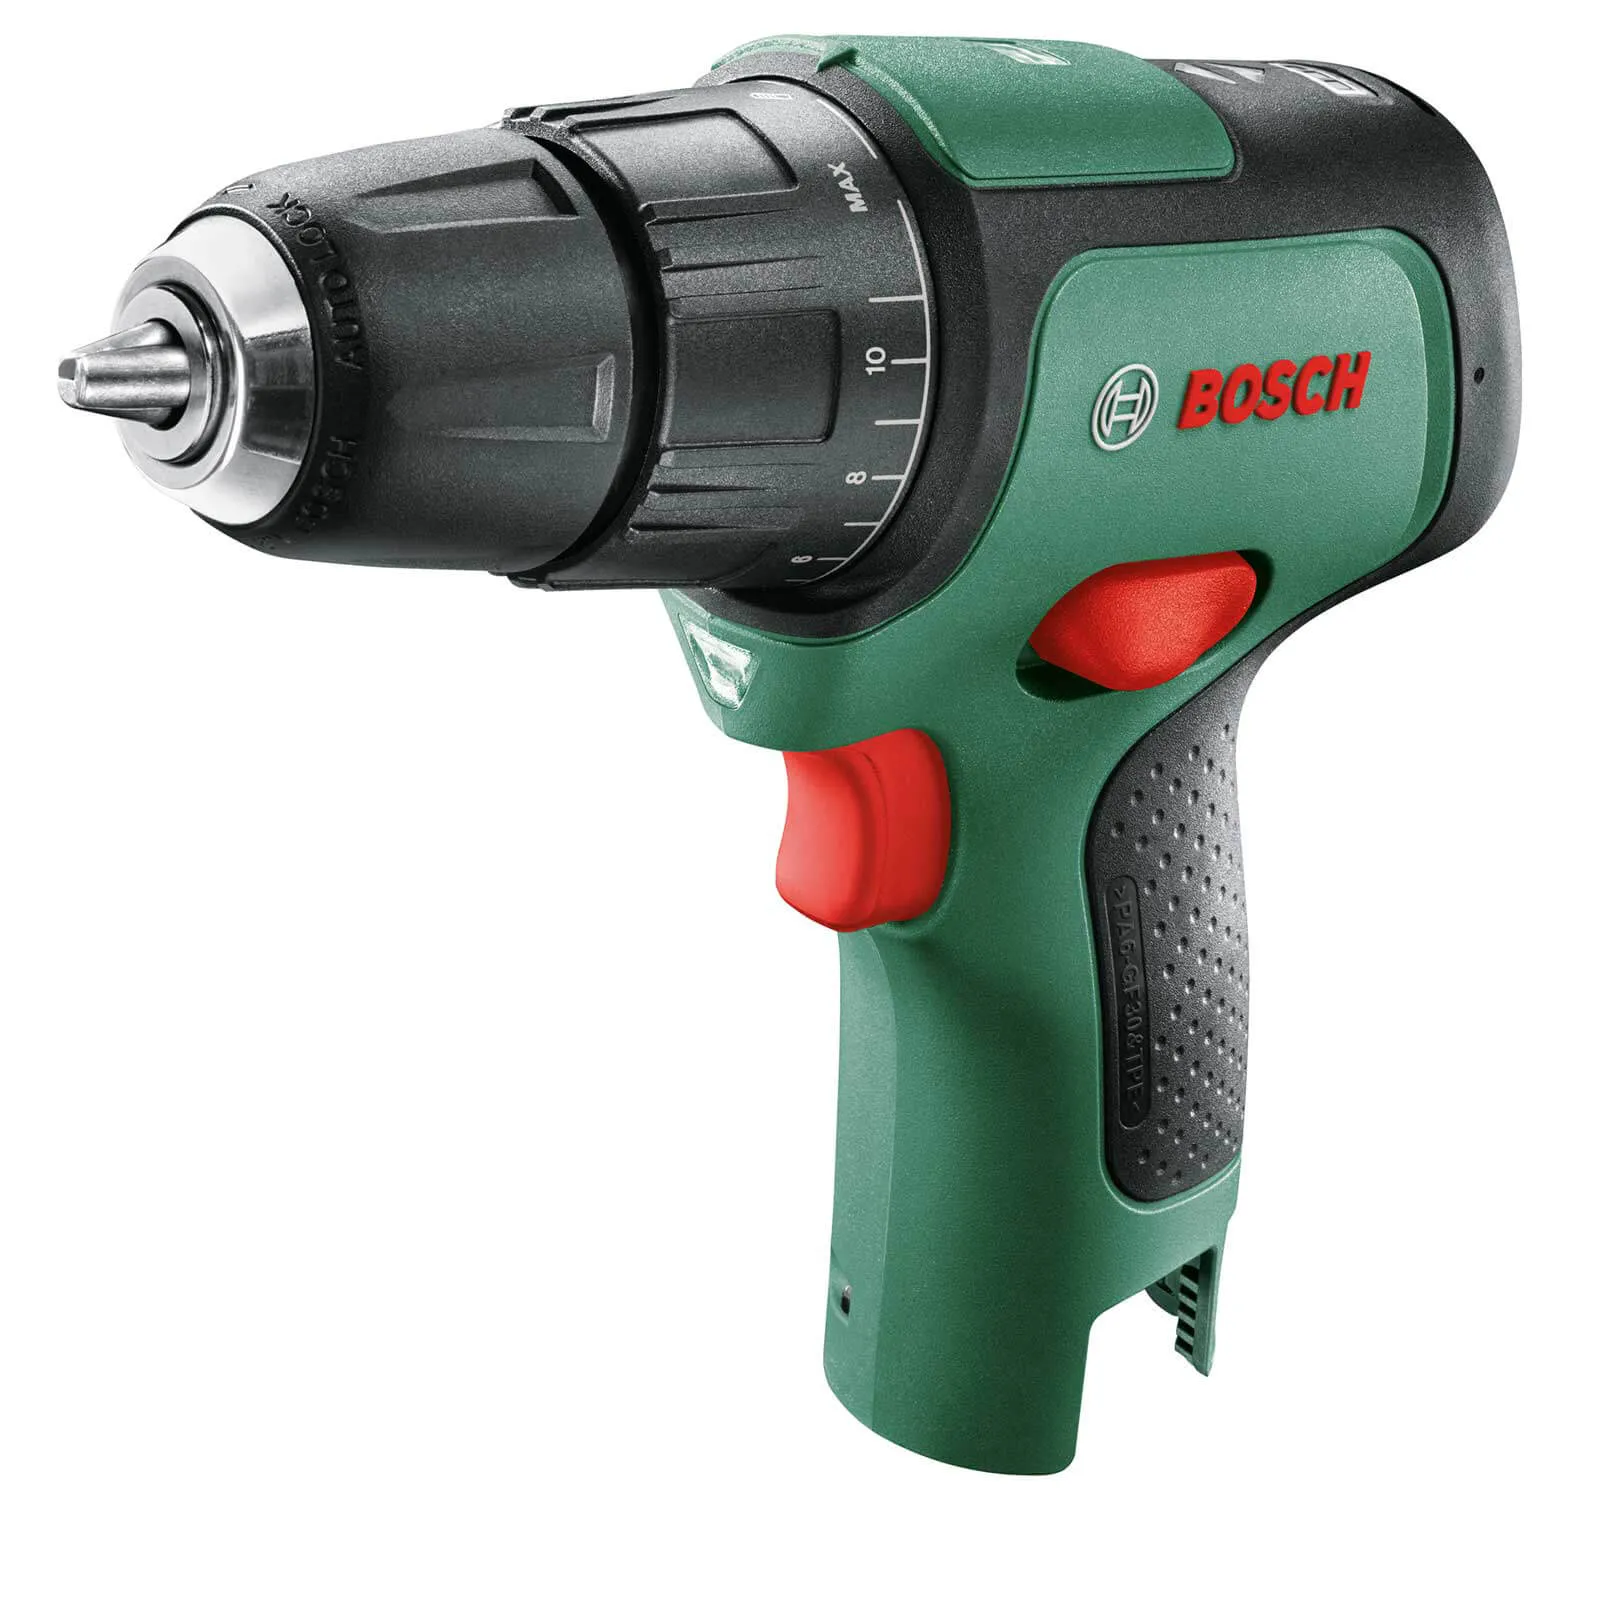
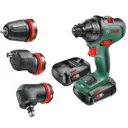
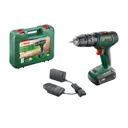
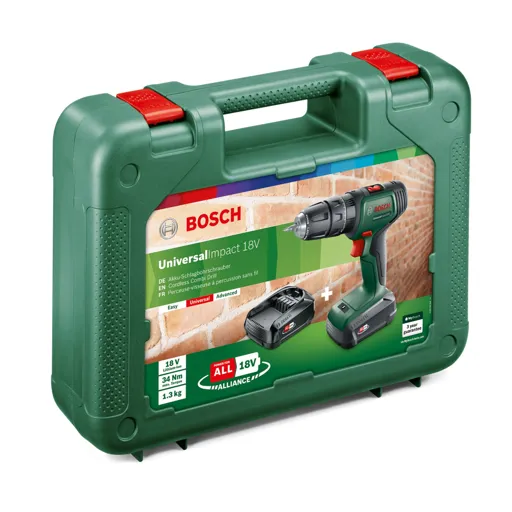
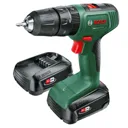
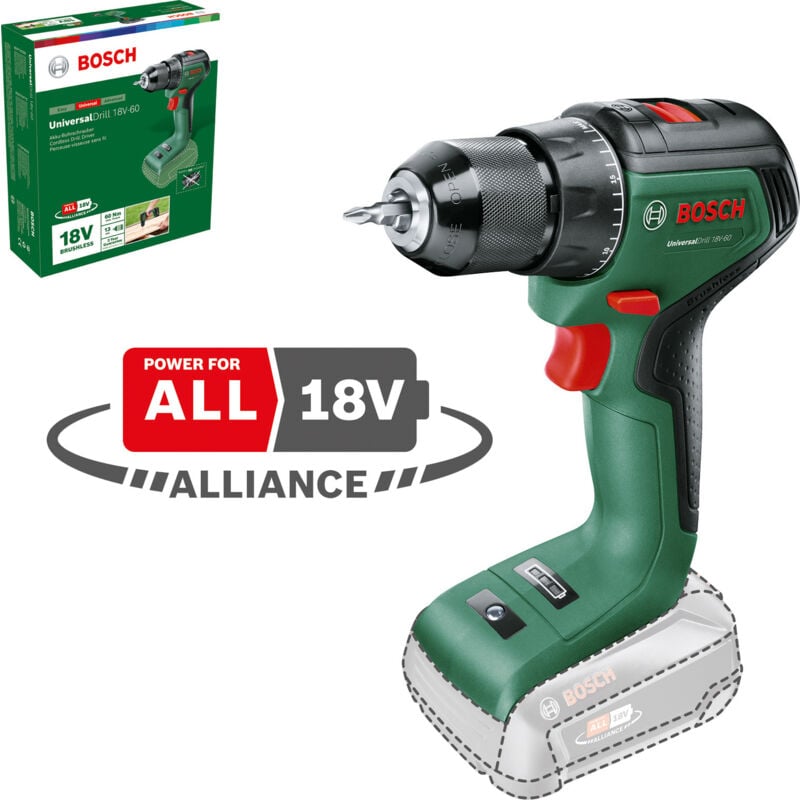
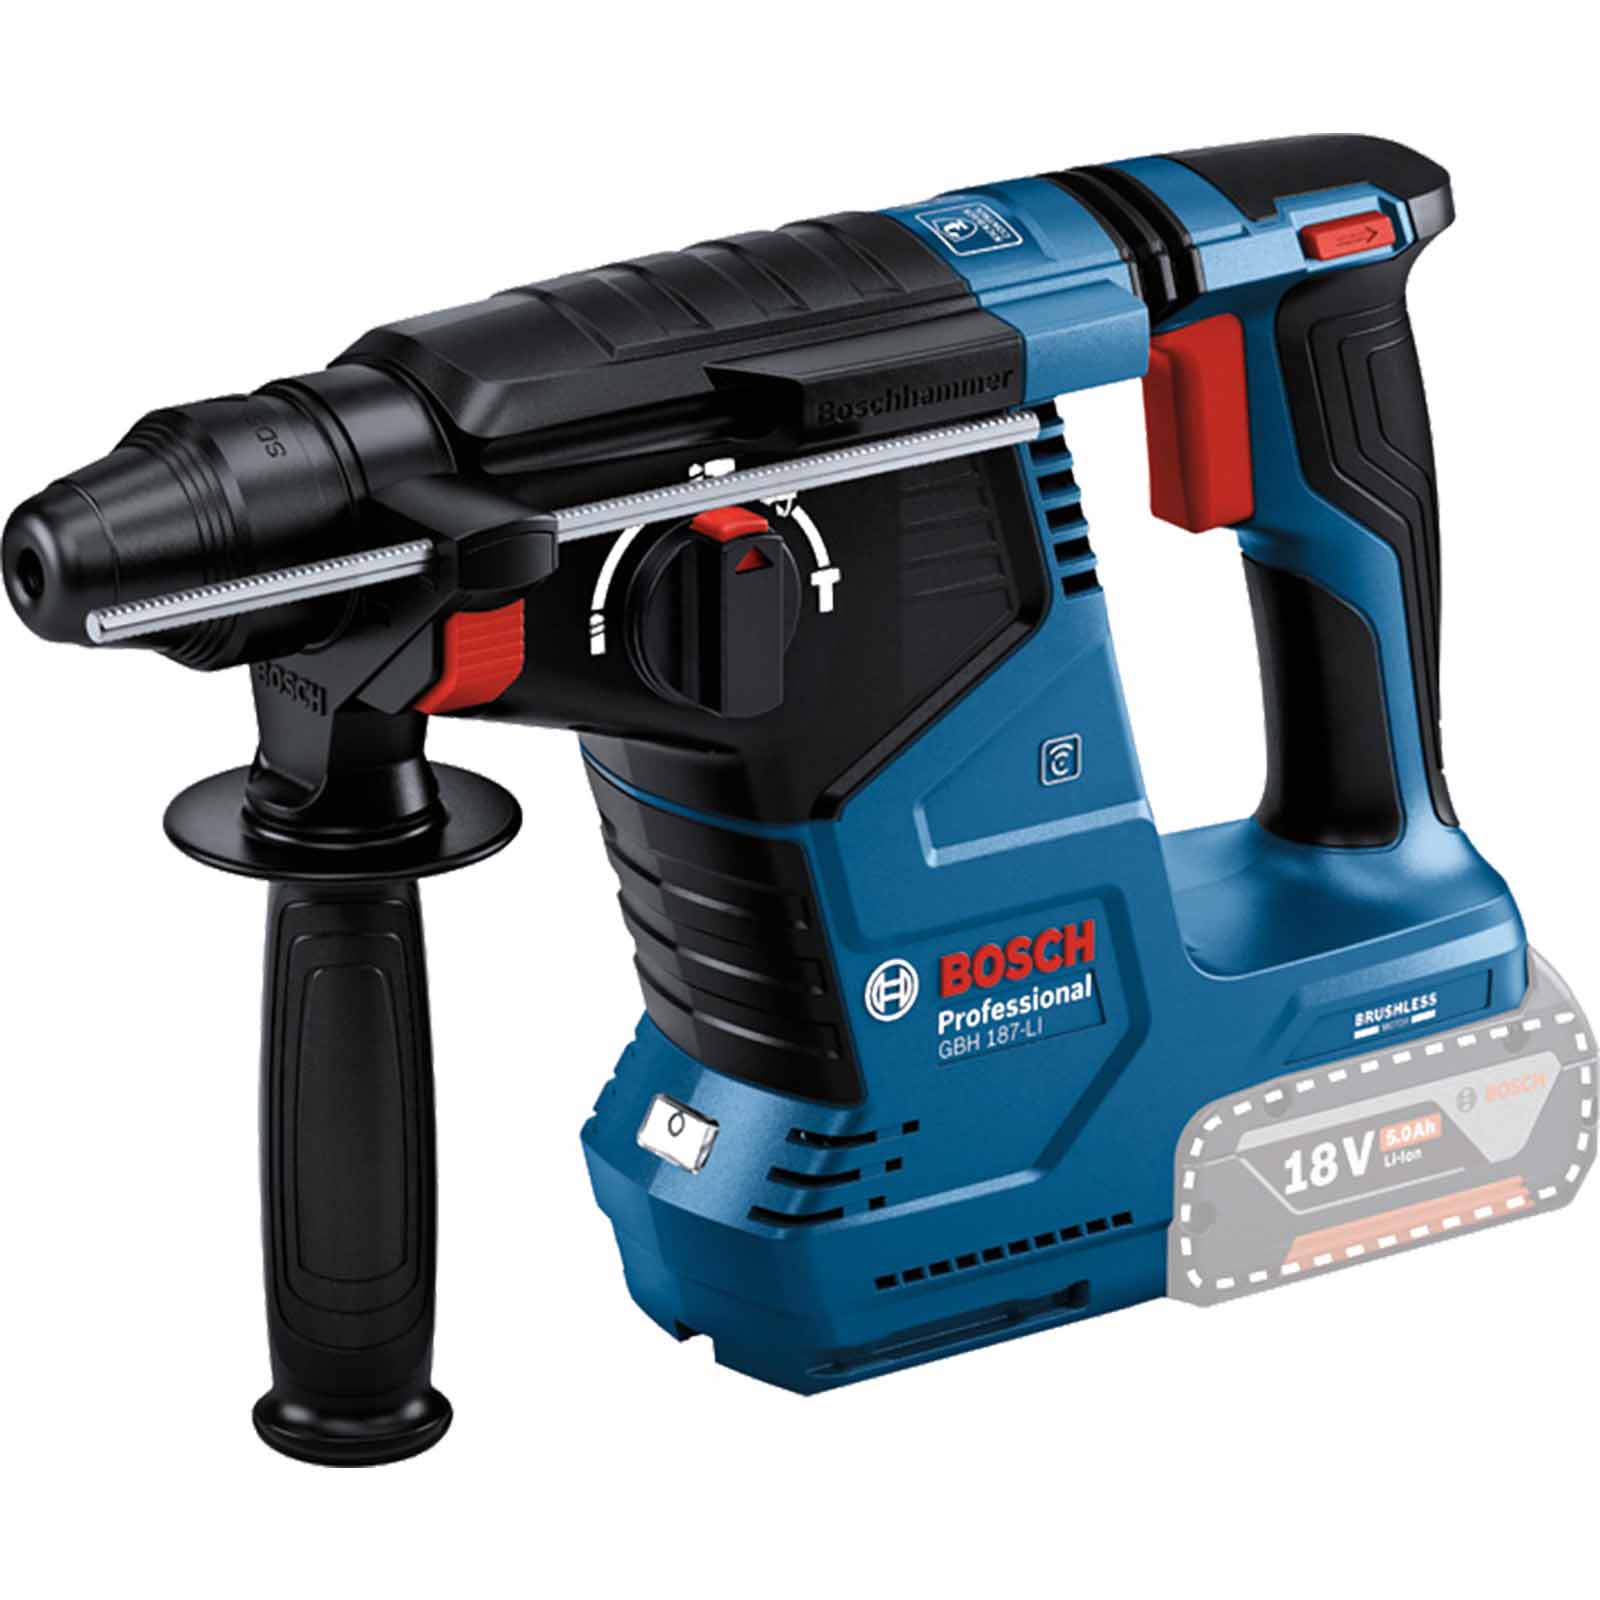
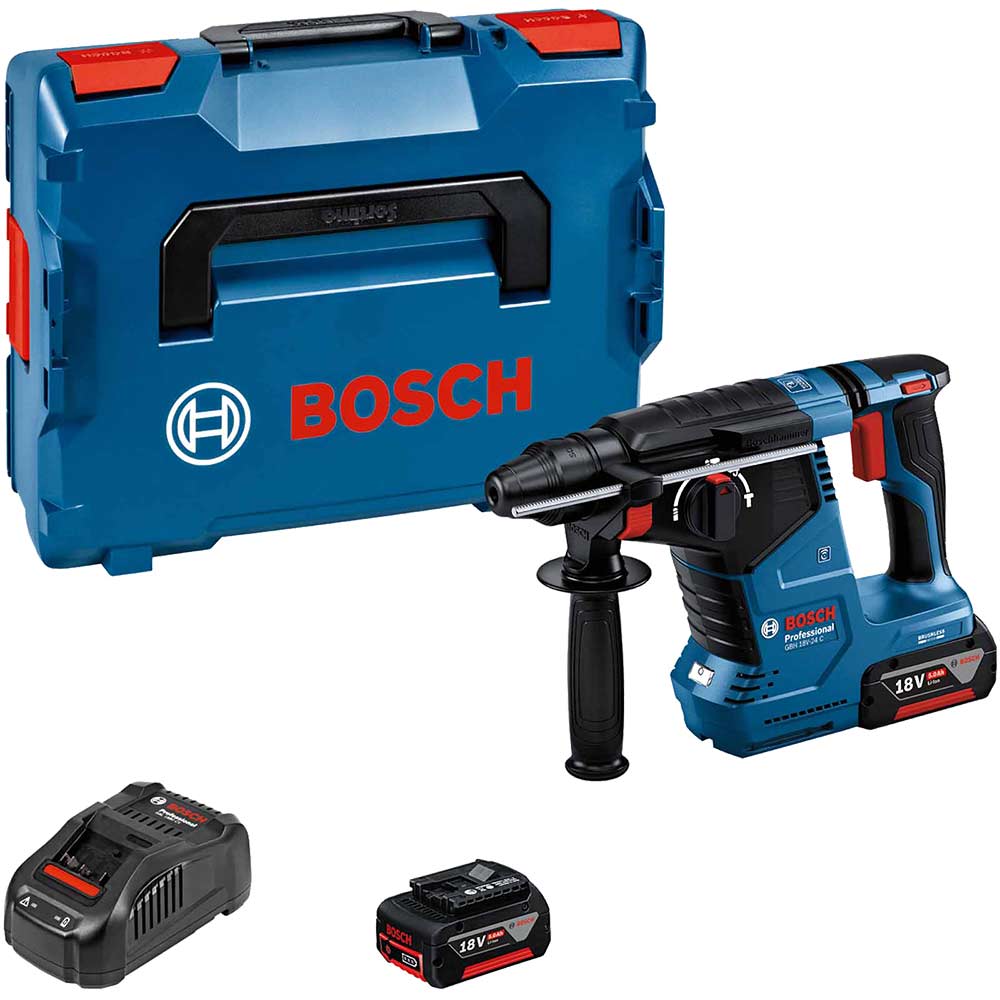
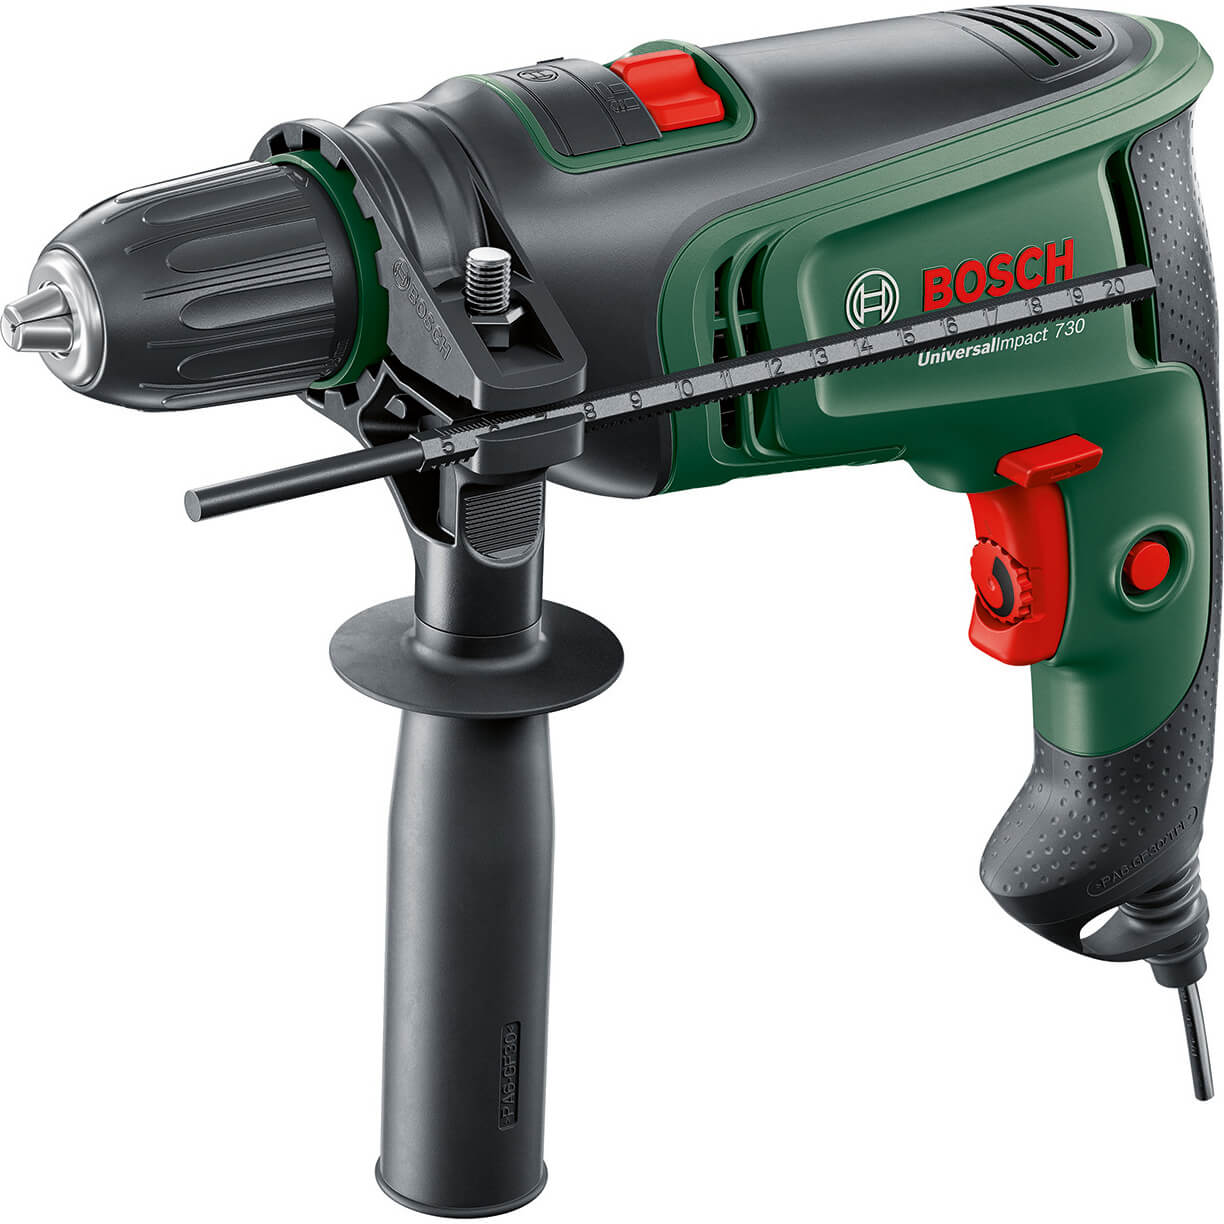
Drills are essential tools for both professional tradespeople and DIY enthusiasts, offering precision and power for a variety of tasks. Buildiro, the largest marketplace for building materials, tools, and DIY products in the UK, presents a diverse range of drills to suit every need. Among the popular types, the cordless drill stands out for its portability and convenience, freeing you from the constraints of a power cord. For tougher jobs, the hammer drill is your go-to, adept at drilling into hard surfaces with its impactful mechanism. Specialised tasks call for specialised tools, like the SDS drill, designed for heavy-duty drilling with enhanced hammer action. For stability and precision, the pillar drill and bench drill are unmatched, perfect for drilling at consistent depths and angles. If you're working with metal, the mag drill is your best choice, known for its strong electromagnetic base that secures it to metal surfaces. With Buildiro, you can compare products and prices, ensuring you find the perfect drill to save money and meet your specific needs. Dive into our extensive collection and discover the ideal drill for your next project.



Frequently Asked Questions (FAQ)
If you need to drill into brick, you're in luck, because it's not as difficult as it looks. The key is to use the right tools, and to be sure to take safety precautions. To start, you'll need a drill with a masonry bit, a brick chisel and hammer, and safety glasses and gloves. Once you've gathered all your tools, you'll want to mark the spot you want to drill. Then, you'll need to use the chisel and hammer to make a starter hole. This will help the drill bit get a better grip, and make it easier to drill into the brick. Keep adding pressure as you drill, and try to keep the drill bit at a 90 degree angle. Once you're done, you can use a brush or vacuum to get rid of any dust or debris. With the right tools and a bit of patience, drilling into brick is a breeze!
The first step is to choose the right drill bit. If you're drilling through softer metals like aluminum, a high-speed steel bit will do the job. If you're drilling through harder metals like steel, you'll need a carbide-tipped bit. It's also important to use plenty of cutting oil to keep the drill bit from heating up and damaging the metal. Once you've got the right bit and oil, it's time to start drilling. Make sure to use a slow, steady speed to avoid a jagged hole and to keep the drill bit from over-heating. If you're drilling through thin metal, you can use a powered drill. But for thicker pieces of metal, you'll need to use a drill press. With the right tools and techniques, you'll soon be drilling through metal like a pro.
Drilling a hole in a ceramic pot can be a tricky task, but with the right tools and a bit of patience, you can create perfect holes every time! First, you'll need to gather the right supplies. Make sure you have a drill bit that's specifically designed for drilling through ceramic, as well as a drill, clamps, and protective gloves. Once you have everything you need, it's time to get started. Start by firmly clamping your pot in place, then begin drilling using a slow and steady speed. This will prevent the bit from slipping off the ceramic surface. After a few minutes of drilling, you should have a nice, clean hole. Now all you need to do is fill it with your favorite flowers or plants and enjoy! With the right tools and a bit of care, drilling a hole in a ceramic pot can be a fun and rewarding experience.
Drilling through tile can be tricky, but it doesn't have to be intimidating. All you need is the right tools and a few tips from the experts. First, start by determining where you want to drill. Mark the spot with a marker and double check to make sure it's the right place. Next, select the right size drill bit for the job. Be sure to use one that's specifically designed for tile. Then, place the bit firmly against the tile and begin drilling. Keep the bit going at a steady speed and use light pressure to prevent it from slipping. Once you've made your hole, it's important to smooth out the edges. Use a file or sandpaper to create a smooth and even surface. Finally, make sure to clean up the tile to remove any dust or debris.
Drilling a hole in glass may seem intimidating, but it's actually quite simple. All you need is a few tools and some patience. First, you'll need to choose the right drill bit. A diamond-tipped drill bit is ideal because it's designed to cut through glass without chipping it. Next, you'll need to affix the glass to a stable surface. Use a clamp or tape to secure it in place. Once the glass is secure, make sure the drill bit is properly lubricated. You can use a bit of water or WD-40 to lubricate the drill bit. Then, with a steady hand, slowly begin drilling. Make sure to go slowly and steadily, and don't apply too much pressure on the bit. When you're done, use a piece of sandpaper to smooth out any rough edges. And that's it! With a few simple steps, you can drill a hole in glass with ease.
Drills are incredibly useful tools that can help you tackle a variety of projects. To get started, make sure you have the right drill bit for your job. Once you have the right bit, it's time to prep the drill. Make sure the area you're drilling is clear and free of obstructions, and use clamps or tape to secure your workpiece if necessary. Now, it's time to get drilling! Turn the drill on, hold it firmly, and start drilling at a slow and steady pace. As you drill, periodically lift the drill out of the hole to clear away any debris. Once your hole is complete, turn the drill off and unplug it. Now you're ready to tackle your project! Using a drill can be intimidating at first, but with the right knowledge and a little practice, you'll be an expert in no time.
A hammer drill is a powerful tool that can make quick work of drilling holes into tough materials like concrete, brick, and stone. The key to the hammer drill's effectiveness lies in its unique design. Instead of just spinning the drill bit, the hammer drill also rapidly hammers the bit into the material. This hammering action creates small cracks in the material, making it easier to drill. The hammer drill is also equipped with a clutch, which allows you to switch between hammering and drilling modes. This makes it incredibly versatile and capable of tackling almost any drilling task. So, if you're looking for a powerful tool that can take care of those tough drilling jobs, look no further than the hammer drill. It's sure to make your life a lot easier!
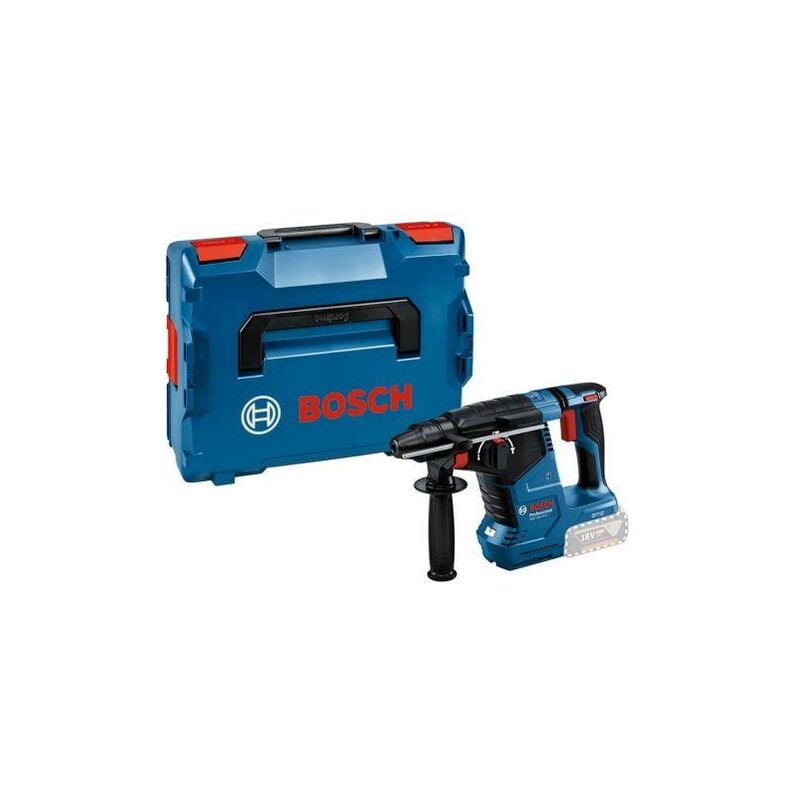
If you're looking for a powerful, versatile power drill, then the SDS drill should be your go-to choice. An SDS drill stands for "Special Direct System" and is a type of rotary hammer drill. It utilizes rotary and hammering action and is commonly used for drilling into harder materials like concrete, brick, and stone. It also features an additional percussive force, which helps to break down material, allowing for more precise drilling. The SDS drill is also designed with an auto-debris collection system, which helps to keep the work environment clean. So whether you're a professional contractor or a DIY enthusiast, the SDS drill is the perfect tool for all your drilling needs. The SDS drill is powerful, reliable, and easy to use, making it the ideal choice for any project!
Drilling into concrete can be intimidating, but it doesn't have to be! With the right tools and some guidance, anyone can do it. First things first, you'll need a masonry drill bit. These bits are specially designed to drill into concrete, so it's important to have the right one. Once you have the bit, you'll want to make sure your drill is set to the correct speed. You'll also need to apply a lubricant to the bit, like WD-40. This will help reduce friction and make the job easier. Now it's time to start drilling! Make sure you're using slow, steady pressure and keep the drill at an angle. This will help ensure you get a clean, even hole. Finally, make sure you keep your hands away from the bit and wear safety goggles to protect your eyes from any dust or debris. With these tips, you'll be able to drill into concrete like a pro!
What to Consider When Purchasing a Drill (Power Drill)?
A drill is a fundamental tool in both professional and DIY toolkits, widely used for making holes in various materials, including wood, metal, plastic, and masonry. Its versatility and necessity make it a staple in any workshop or construction site.
Drills from renowned brands like DeWalt and Makita are highly sought after. A drill DeWalt offers is known for its robustness, reliability, and advanced features, catering to both professionals and home users. Similarly, Makita drills are celebrated for their ergonomic design, durability, and efficiency, making them a preferred choice for many.
For smaller projects or tight spaces, a small drill is ideal. These drills are lightweight and compact, making them easier to handle and manoeuvre, especially in confined areas or for overhead work. Despite their size, many small drills offer considerable power and functionality.
The term 'drill machine' generally refers to the broader category of drills, including both corded and cordless models. Cordless drills offer the convenience of portability and ease of use without the restriction of a power cord. They are particularly useful for work in locations without direct access to electrical outlets.
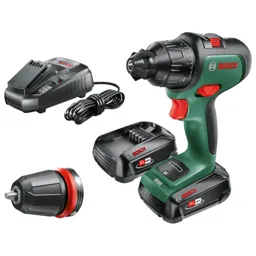
Cordless drills are a favourite for many due to their convenience. The absence of a cord makes them more manoeuvrable and user-friendly, especially in awkward spaces or when working at height. Advances in battery technology have significantly improved the performance and runtime of cordless drills, making them a viable option even for demanding tasks.
For budget-conscious users, there are options for a cheap drill that still offer decent quality and functionality. While they might lack some features of higher-end models, these drills are sufficient for basic tasks and occasional use.
Hammer drills are a specialised type of drill designed for drilling into hard materials like concrete and masonry. They combine a hammering action with the drill’s rotation, making them more effective than standard drills for these materials.
In summary, whether you need a high-end drill from DeWalt or Makita, a compact and convenient cordless drill, a budget-friendly option, or a powerful hammer drill for masonry work, there's a drill available to suit every need and project. The key is to choose a drill based on the specific tasks you plan to undertake, ensuring it has the power, features, and accessories required for your particular applications.
How to Use a Drill?
-
Choose the Correct Drill Bit: Select a drill bit suitable for the material you are drilling into (e.g., wood, metal, masonry). For wood, use a brad-point or spade bit; for metal, a high-speed steel bit; and for masonry, a carbide-tipped bit.
-
Fit the Drill Bit Securely: Open the chuck (the clamp at the front of the drill), insert the drill bit, and then tighten the chuck. For keyless chucks, hand-tighten by holding the chuck and running the drill briefly. For chucks with a key, use the key to tighten.
-
Set the Drill Speed: Adjust the speed setting if your drill has this feature. Use a slow speed for hard materials like metal and a faster speed for softer materials like wood.
-
Use the Correct Drilling Action: For a hammer drill, set it to hammer mode when drilling into masonry. For other materials, use the regular drilling mode.
-
Mark the Drilling Point: Mark the point where you wish to drill with a pencil or a small indentation using a punch tool. This helps in starting the drill at the correct location.
-
Hold the Drill Firmly: Grip the drill with both hands if possible. One hand should be on the handle and the other on the body of the drill for stability.
-
Apply Steady Pressure: Start the drill at a slow speed to establish the hole, then increase the speed. Apply steady but gentle pressure; pushing too hard can break the bit or damage the material.
-
Keep the Drill Bit Cool: For prolonged drilling or drilling into hard materials, periodically withdraw the bit from the hole to clear debris and allow it to cool.
-
Drill to the Correct Depth: If you need a hole of a specific depth, mark the desired depth on the drill bit with tape as a guide.
-
Finish the Hole: Once the hole is drilled, release the trigger and allow the drill to stop before withdrawing the bit. This prevents damage to the material and the bit.
-
Remove the Drill Bit: After use, open the chuck and remove the drill bit. Store the drill and bits safely.
-
Wear Safety Gear: Always wear appropriate personal protective equipment, such as safety goggles and gloves, when using a drill.
What Are the Types of Drills?
-
Hand Drill:
- Manual, hand-operated tool.
- Ideal for small, precise holes and lightweight tasks.
- Doesn't require electricity.
-
Electric Drill:
- Powered by electricity, either corded or cordless.
- Versatile, used for drilling holes in wood, metal, plastic, and masonry.
- Cordless versions are portable but limited by battery life.
-
Hammer Drill:
- Combines spinning with a hammering action.
- Ideal for drilling into masonry and concrete.
- More powerful than standard drills.
-
Rotary Hammer:
- Similar to hammer drills but more powerful.
- Uses a piston mechanism instead of a special clutch.
- Suitable for heavy-duty tasks in concrete and masonry.
-
Impact Driver:
- Designed mainly for driving screws and bolts.
- Uses a combination of rotational and concussive force.
- Very effective for tough jobs like construction.
-
Drill Press:
- Stationary, mounted on a stand or bolted to a workbench.
- Offers more power and precision than hand-held drills.
- Ideal for repeated, accurate hole drilling in workshops.
-
Right-Angle Drill:
- Designed with a short head and a right-angle configuration.
- Ideal for working in tight spaces.
- Often used by electricians and plumbers.
-
Screw Gun:
- Specifically designed for driving screws.
- Comes with a nose instead of a chuck to hold screwdriver bits.
- Frequently used in drywall installation.
-
Core Drill:
- Used for drilling large holes in concrete and masonry.
- Removes a cylinder of material (the core).
- Often used in construction for creating openings for pipes and wiring.
Is 18V Drill Better Than 12V?
Comparing 18V drills with 12V drills involves considering several factors such as power, size, weight, and the type of tasks they are best suited for. Here's a breakdown:
-
Power:
- 18V drills generally offer more power than 12V drills. This means they can handle tougher tasks, such as drilling into harder materials or driving larger screws.
- The extra voltage in an 18V drill translates to more torque, which is beneficial for heavy-duty drilling and driving applications.
-
Battery Life:
- Although the battery voltage doesn't directly indicate battery life, higher voltage tools often come with larger batteries that can store more energy, resulting in longer run times.
- However, the actual battery life depends on the task's intensity and the specific battery's ampere-hour (Ah) rating.
-
Size and Weight:
- 12V drills are usually lighter and more compact than 18V drills. This makes them easier to handle, especially in tight spaces or for overhead work.
- The lighter weight and smaller size of 12V drills reduce user fatigue, making them ideal for prolonged use or for users who prefer a more manageable tool.
-
Task Suitability:
- 12V drills are well-suited for light-duty tasks, general home use, and precision work. They are perfect for tasks like assembling furniture, light drilling in wood or drywall, and other small DIY projects.
- 18V drills are better for heavy-duty tasks, professional construction work, and when working with tougher materials like metal or dense hardwood. They are the preferred choice for contractors and serious DIY enthusiasts who require more power and endurance.
-
Cost:
- Generally, 18V drills are more expensive than 12V drills due to their greater power and capacity.
- For casual users or those with light-duty needs, a 12V drill might offer a more cost-effective solution.
In summary, an 18V drill is "better" than a 12V drill in terms of power and capability for heavy-duty tasks, but it's also heavier and usually more expensive. On the other hand, a 12V drill is more suitable for light-duty tasks, is more user-friendly due to its size and weight, and is often more budget-friendly. The best choice depends on your specific needs and the types of projects you plan to undertake.