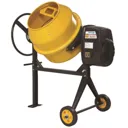
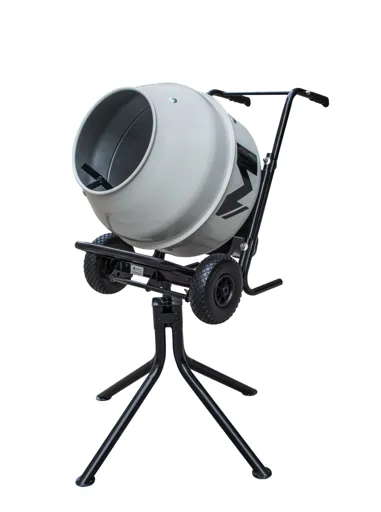
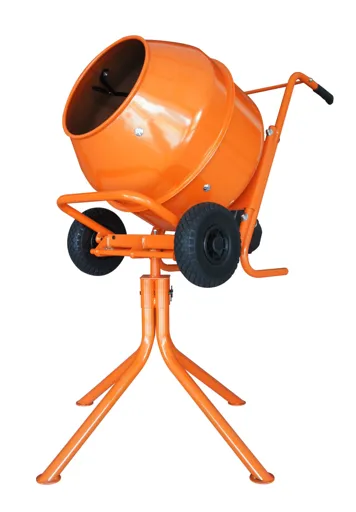
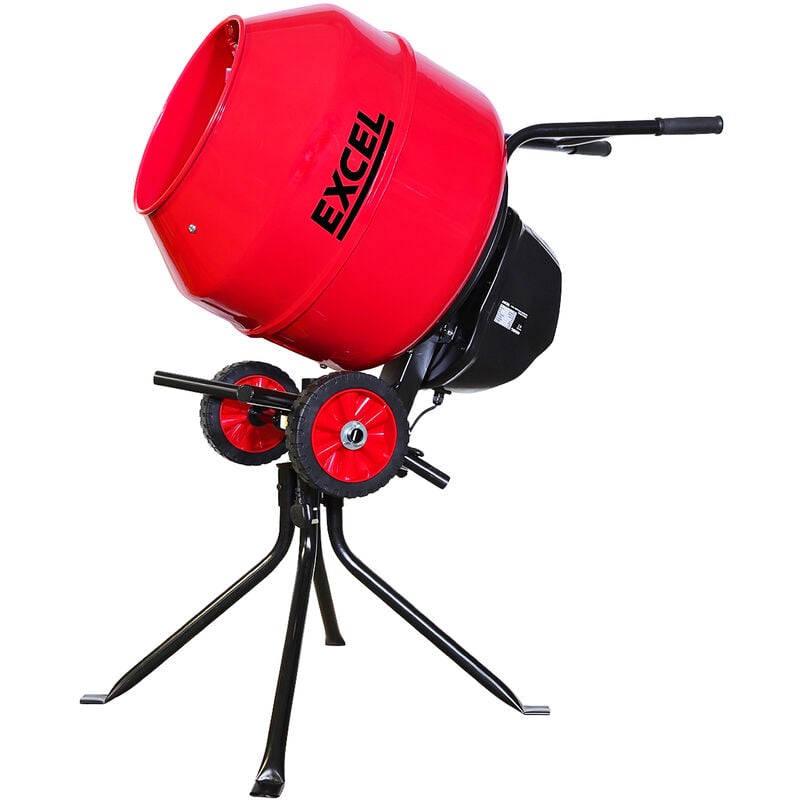
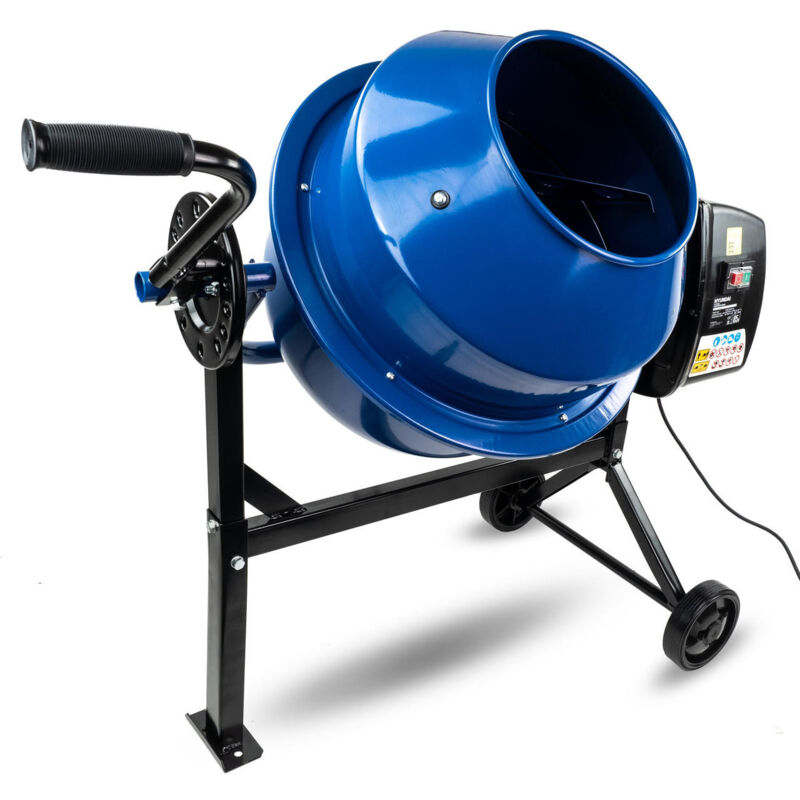
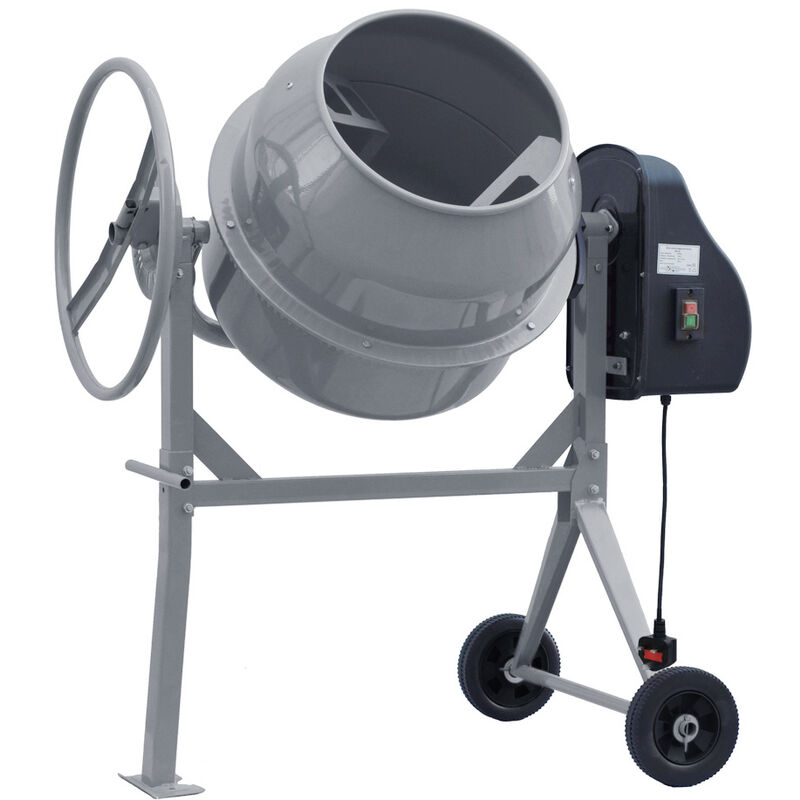
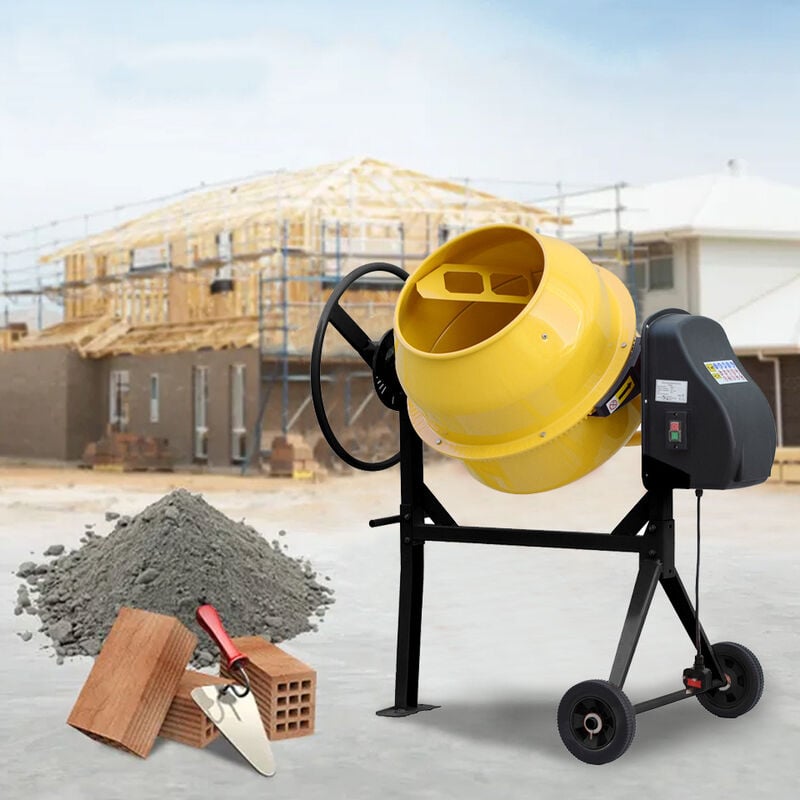
Cement Mixers
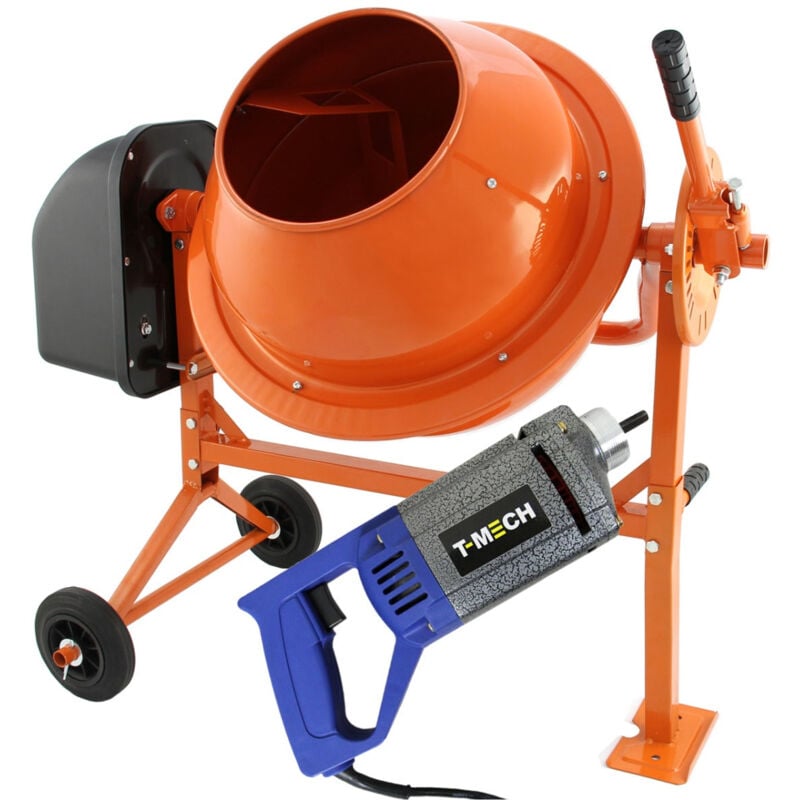
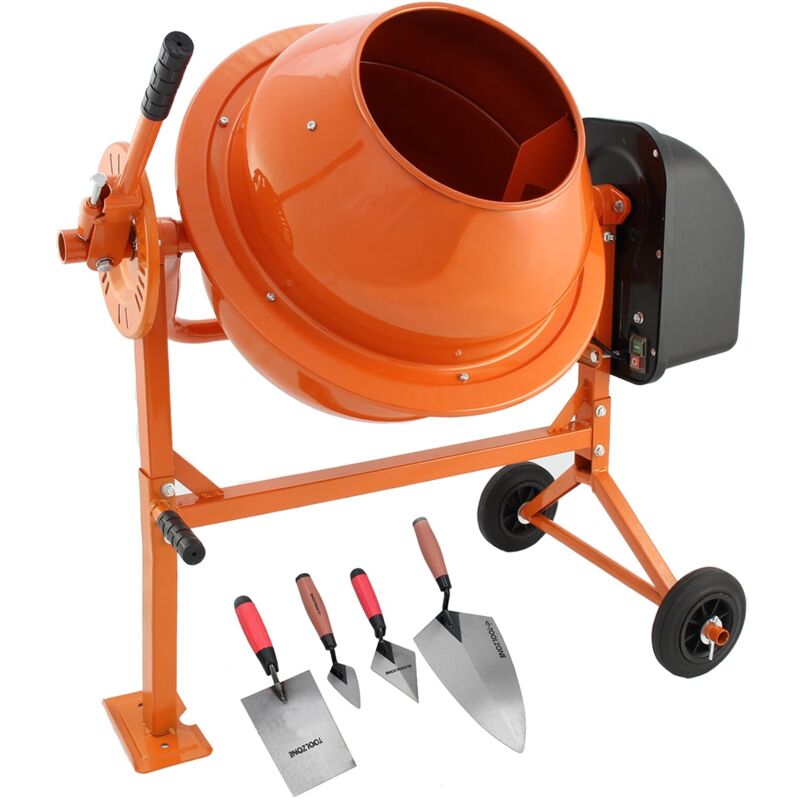
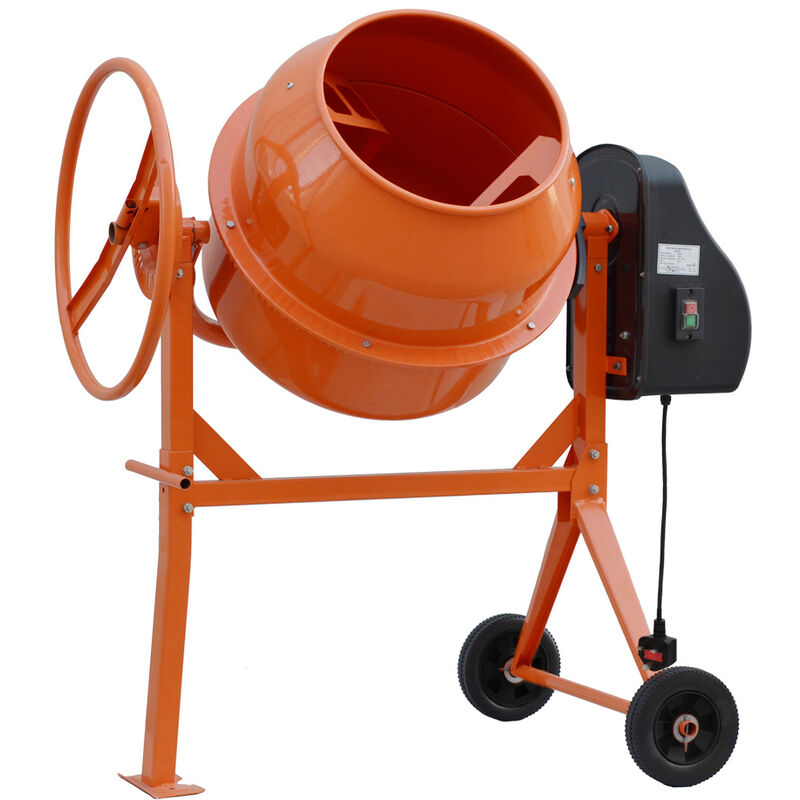
Cement mixers, an essential tool for both professional builders and DIY enthusiasts, simplify the task of mixing cement. With a cement mixer, the strenuous and time-consuming manual mixing is replaced by an efficient, automated process. A belle cement mixer, known for its reliability and durability, stands out as a popular choice. Its robust design ensures a consistent mix every time, making it a reliable partner for construction projects. For smaller tasks or limited spaces, a small cement mixer is ideal. Its compact size allows for easy transportation and storage, yet it's powerful enough to handle a variety of mixing jobs. On the other hand, an electric cement mixer offers enhanced convenience. With just a flick of a switch, it delivers a smooth and even mix, saving both time and energy. For those on a budget, a cheap cement mixer doesn't mean compromising on quality. There are affordable options available that offer good performance and longevity. Whether you're laying a driveway or creating a garden path, a cement mixer is a must-have tool that streamlines the process and delivers consistent results every time.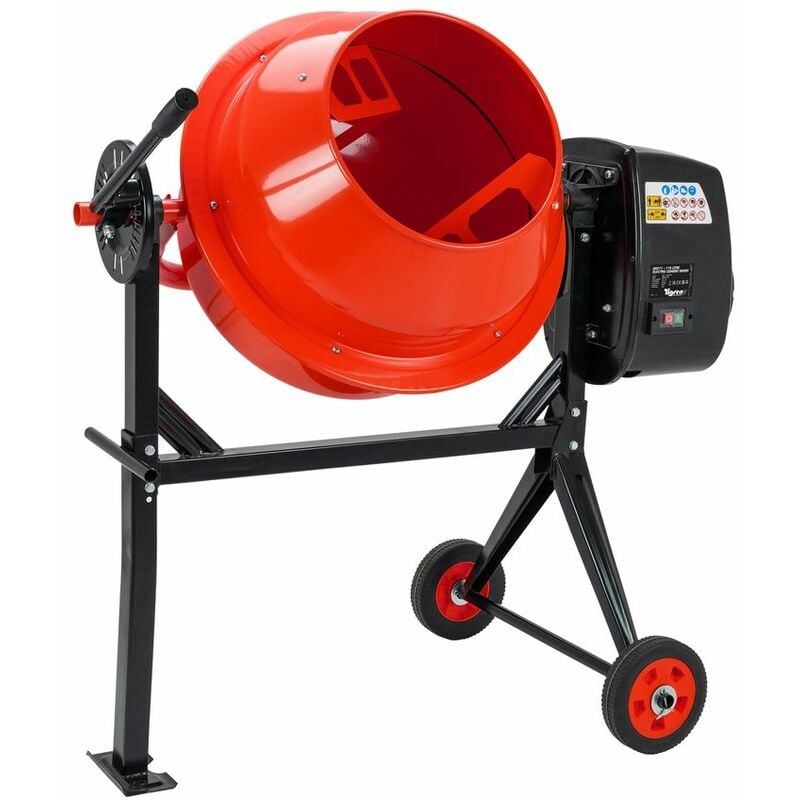


Frequently Asked Questions (FAQ)
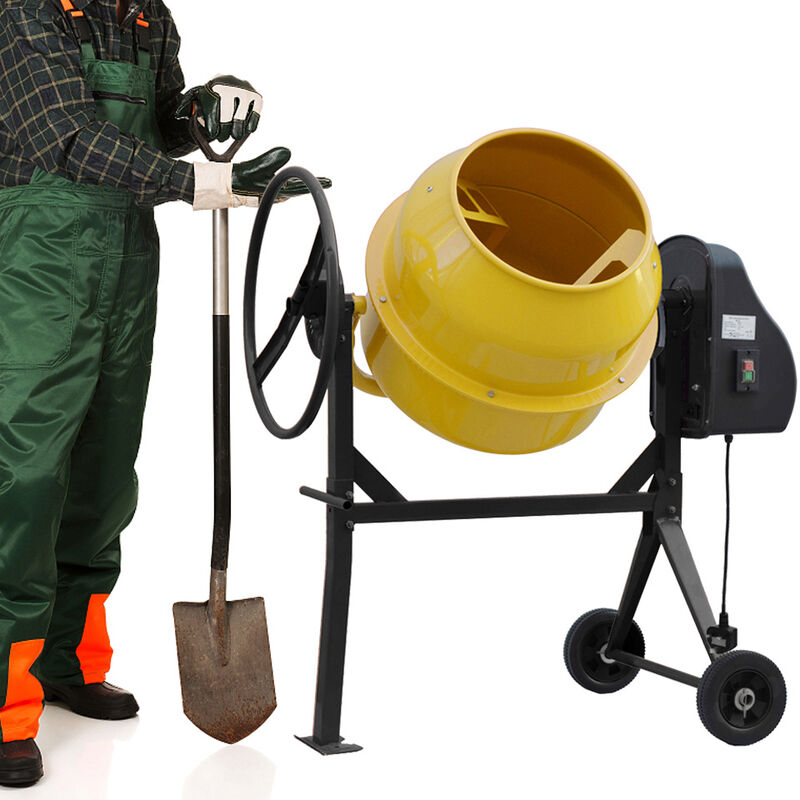
Working with a cement mixer can be incredibly exciting, but it can also be intimidating. Fortunately, it's not as hard as it seems. All you need is the right equipment and a little bit of know-how. To get started, you'll need to assemble your cement mixer. This includes connecting the motor, the drum, and the blades. Once everything is in place and secure, you're ready to start mixing! The next step is to add the cement and water to the drum. Be sure to follow the instructions and use the right proportions, as this will affect the quality of the finished product. Once you've added the cement and water, start the mixer and let it run for a few minutes. After that, you can add the aggregate, such as gravel or sand, and let the mixer run for a few more minutes. Once the mixture is ready, you can turn off the mixer and use it to pour the cement. And there you have it - you've successfully used a cement mixer! With a little practice and patience, you'll be a pro in no time.
Cleaning a cement mixer is a necessary task, especially if you're using it to mix different types of concrete. Fortunately, it's not too difficult of a job. The first step is to make sure the mixer is empty and clean out any debris or leftover concrete. Once that's done, you can start the cleaning process. You'll need a stiff brush, a hose, and some cleaning solution. First, use the brush and hose to scrub away any dirt and grime from the outside of the mixer. After that, mix up your cleaning solution according to the instructions on the package and apply it to the inside of the mixer. Now, get to scrubbing! Make sure to get into all the nooks and crannies. Once you're done, hose the mixer off until all the cleaner has been removed. Finally, use a cloth to dry the exterior of the mixer and you're done! Cleaning a cement mixer may not be the most exciting job, but it's necessary to keep it in top working condition.
Is It Better to Buy or Hire a Cement Mixer?
Regarding cement mixers, the decision between buying or hiring can be pivotal. Consider your project's scope, frequency, and budget carefully. Buying a cement mixer provides long-term convenience and cost savings for frequent users, while hiring can be a cost-effective choice for occasional use or smaller projects. Evaluate your needs and explore our range of cement mixers for sale to make the best decision for your construction endeavours.
Is an Electric or Petrol Cement Mixer Better?
Choosing between an electric or petrol cement mixer depends on your specific requirements. Electric cement mixers are ideal for indoor and smaller-scale projects, offering quiet operation and ease of use. On the other hand, petrol cement mixers provide the power and mobility necessary for more significant construction sites and outdoor projects. Consider the nature and scale of your work when deciding which type of cement mixer is better suited for your needs. Explore our selection to find the perfect match for your project.
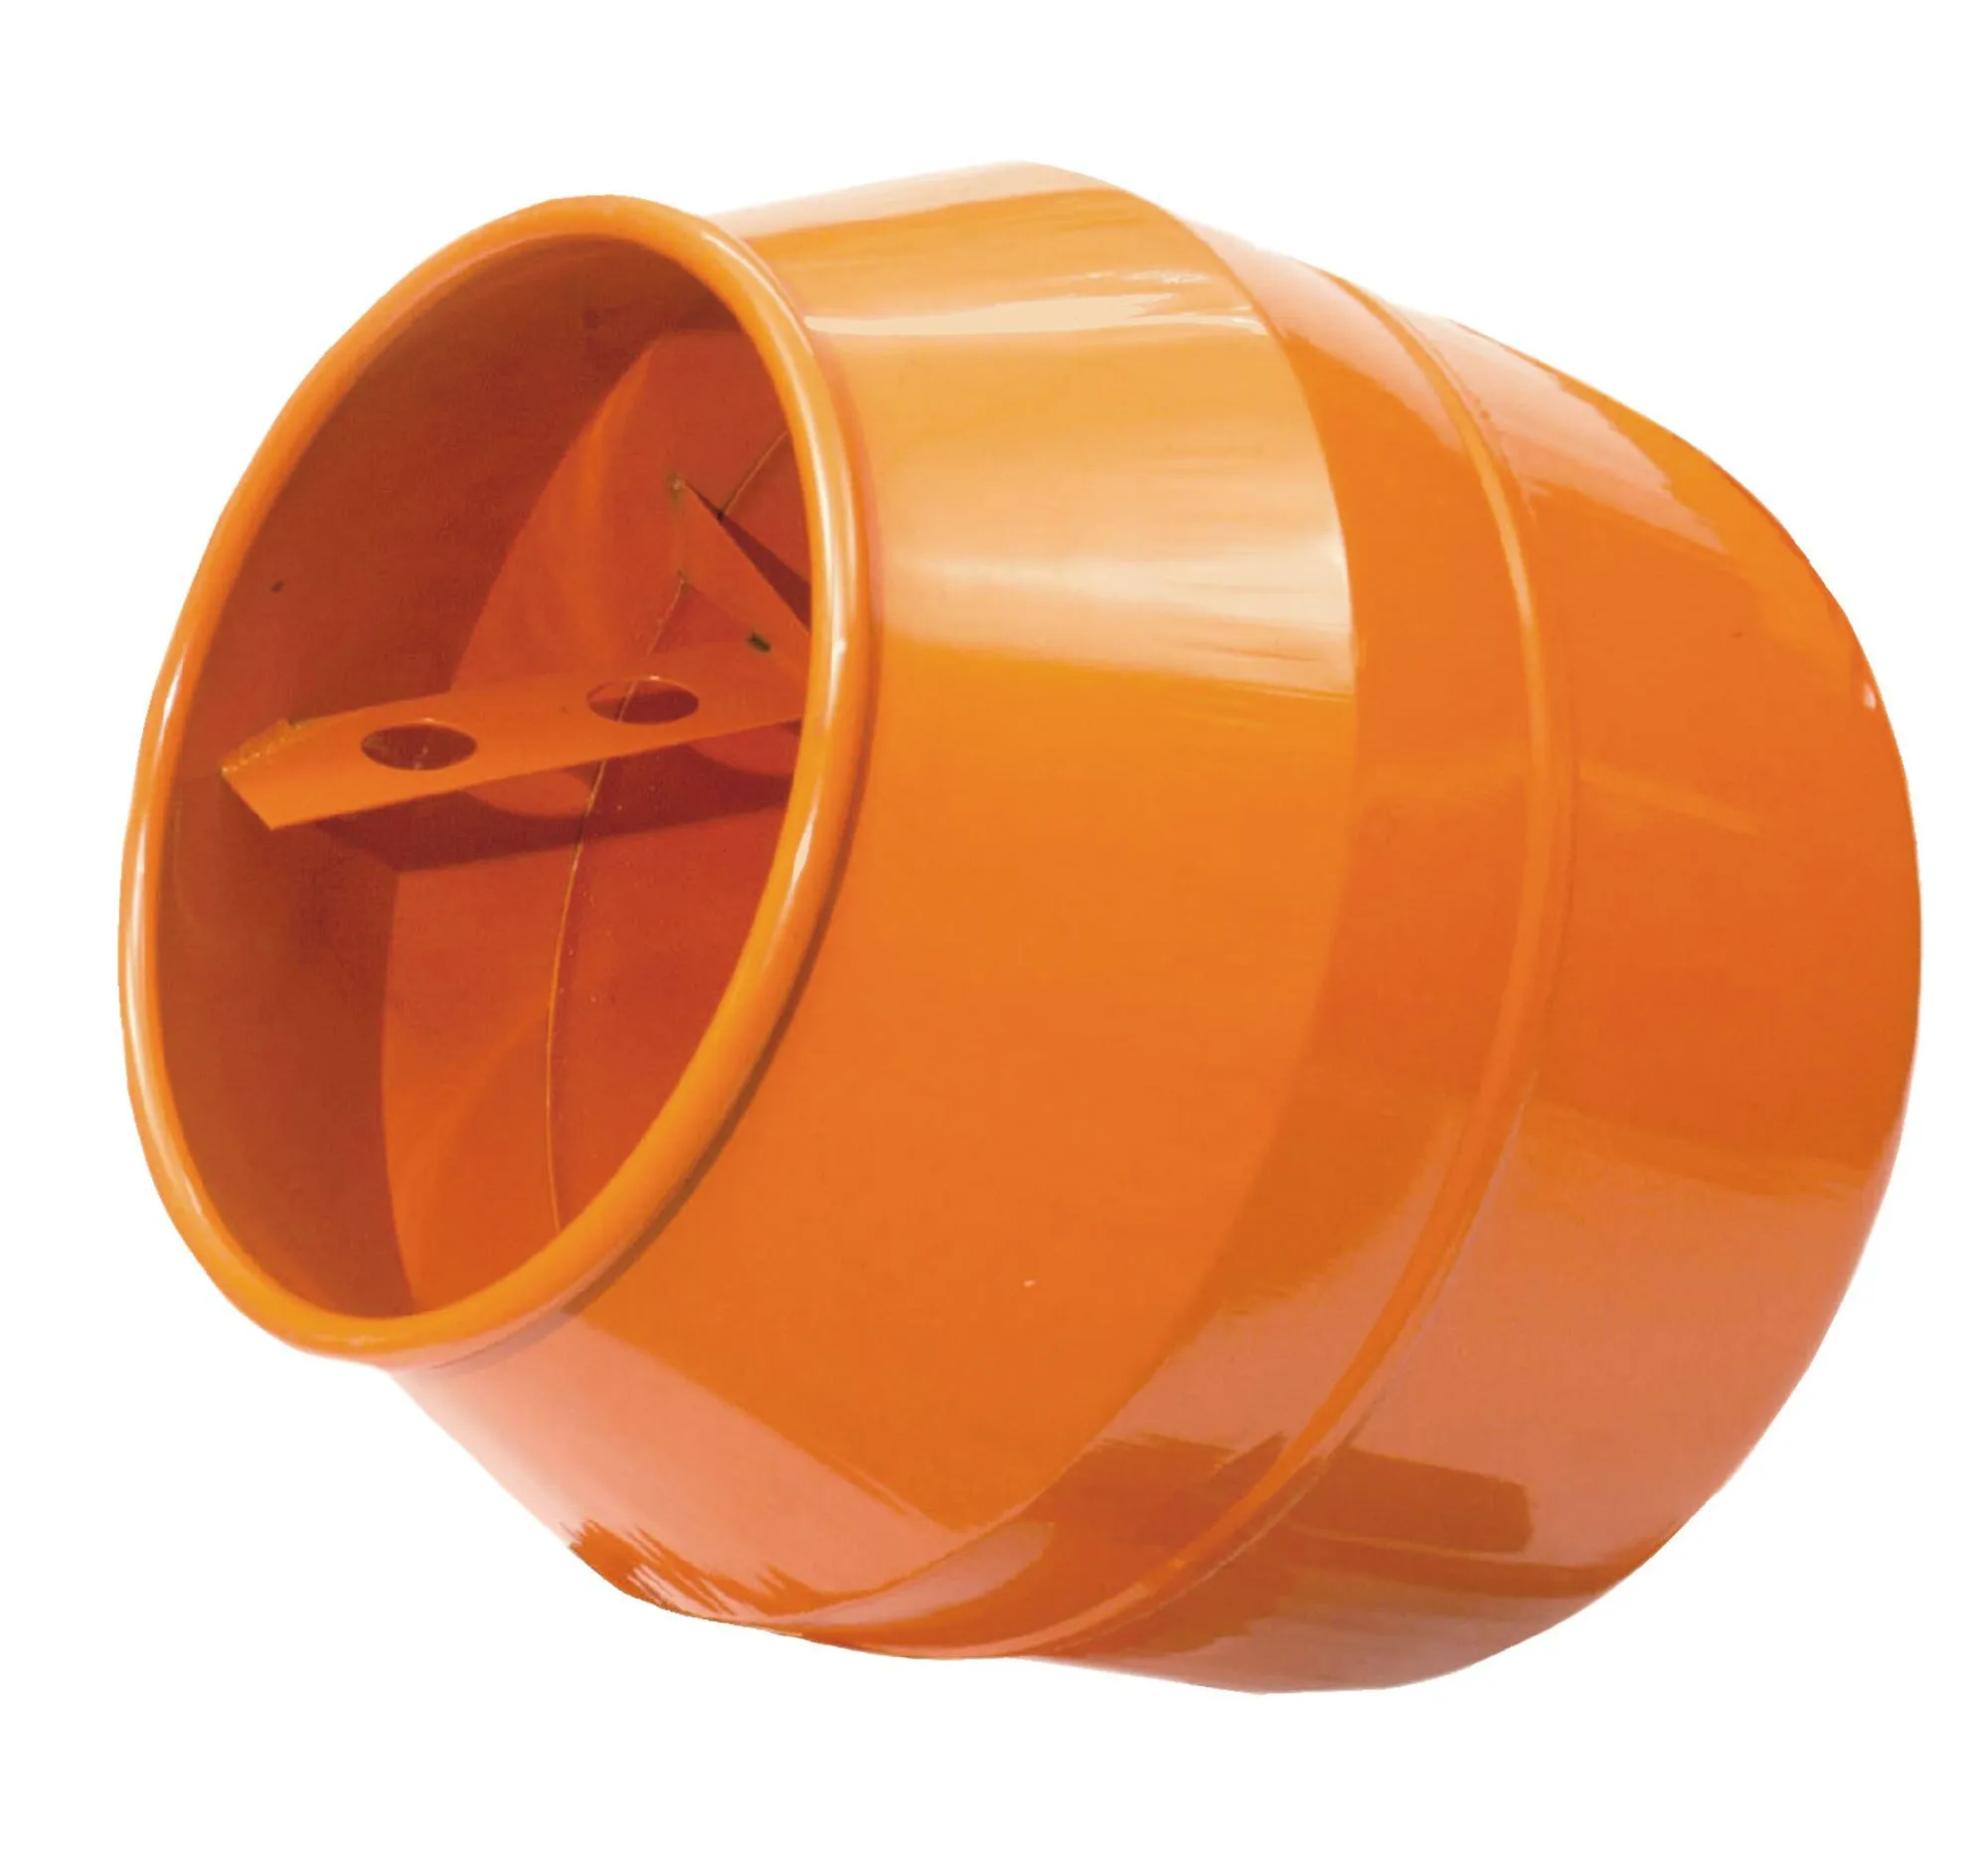
What is an Ideal Drum Volume?
The ideal drum volume for your cement mixer largely depends on the scale of your projects. A smaller drum volume, typically around 120-140 litres, is suitable for DIY and small-scale construction tasks. If you're tackling larger projects or commercial work, opting for a larger drum volume, often exceeding 160 litres, can significantly increase efficiency. Consider the scope and frequency of your concrete mixing needs when determining the ideal drum volume for your cement mixer to ensure your projects run smoothly and efficiently.
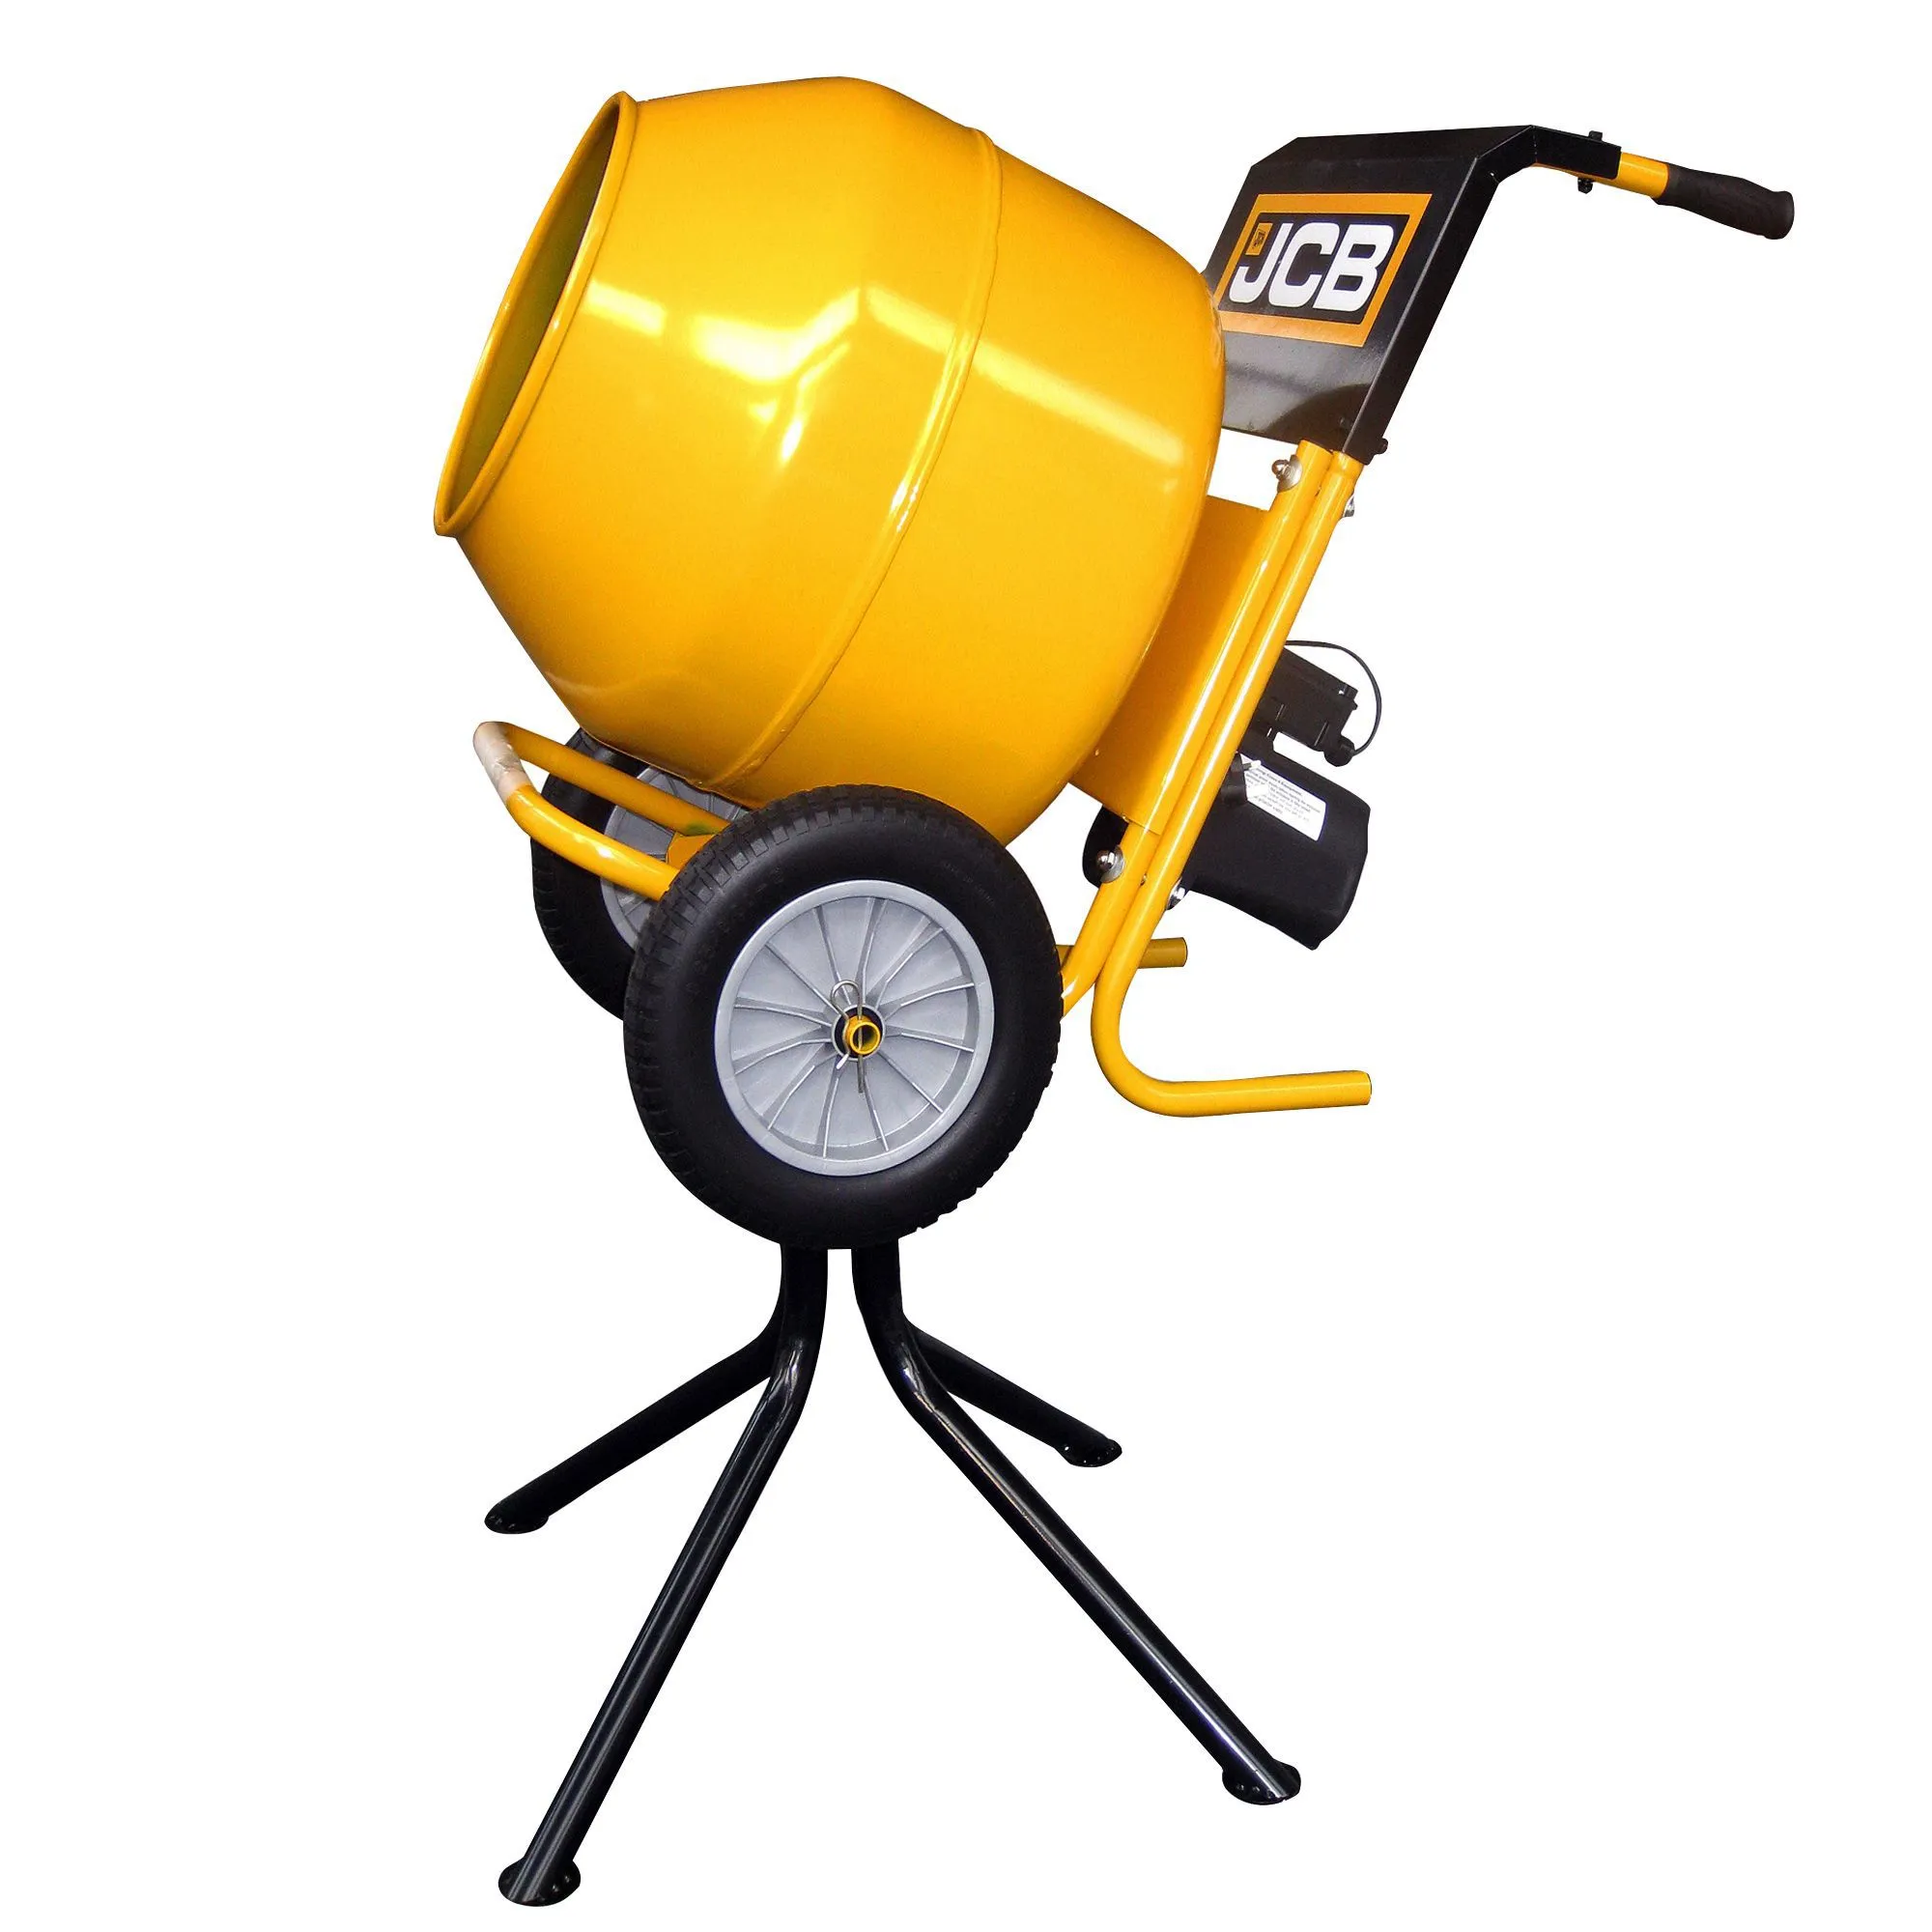
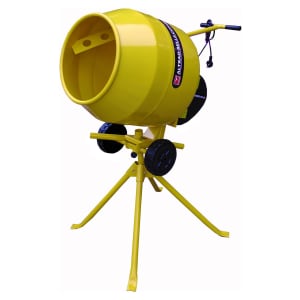
What are The Best Cement Mixer Brands?
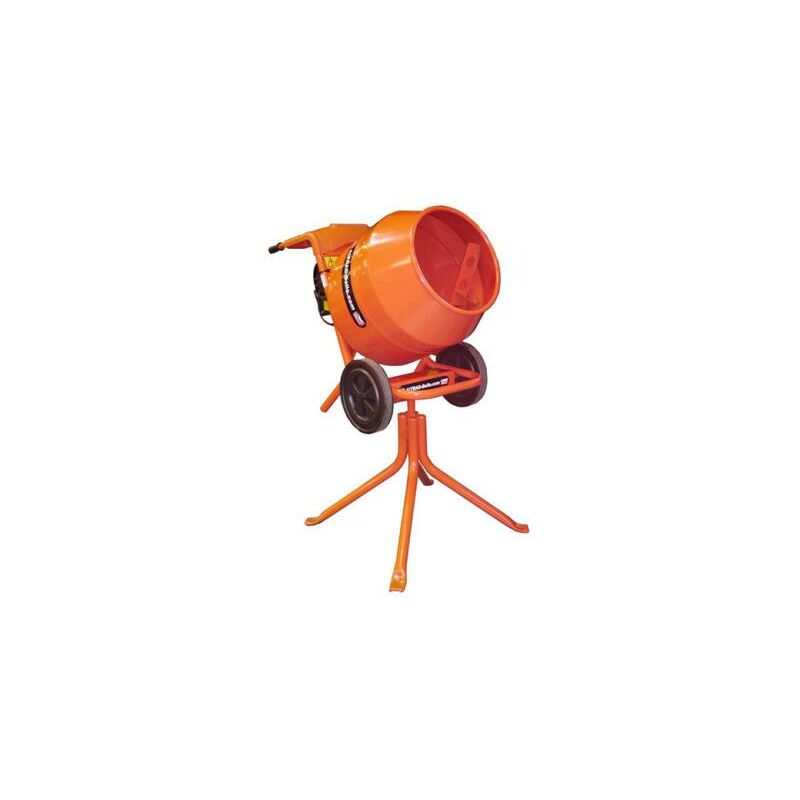
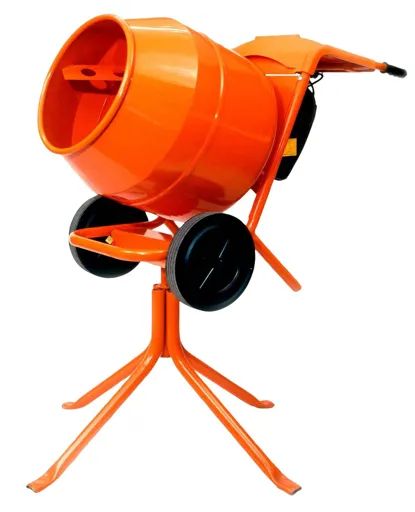
Belle, formerly headquartered in the UK, underwent a significant transformation in 2009 when it merged with Altrad Group and relocated its operations to France. Today, they are renowned for their diverse product range, which includes compactors, saws, flatbeds, generators, and cement mixers available in various styles and sizes, particularly featuring 100-150L drum capacities. Their product line has garnered substantial recognition and enjoys a strong following among professionals in various trades.
Charles Bentley
Charles Bentley is a UK company dating back to 1860. They now offer a variety of home, garden, and leisure items, including cement mixers in sizes from 63 to 140 litres. They're affordable and popular with DIY enthusiasts and professionals alike.
Klutch
Klutch makes cement mixers in the US with steel drums and rubber wheels. They have electric and petrol models available.
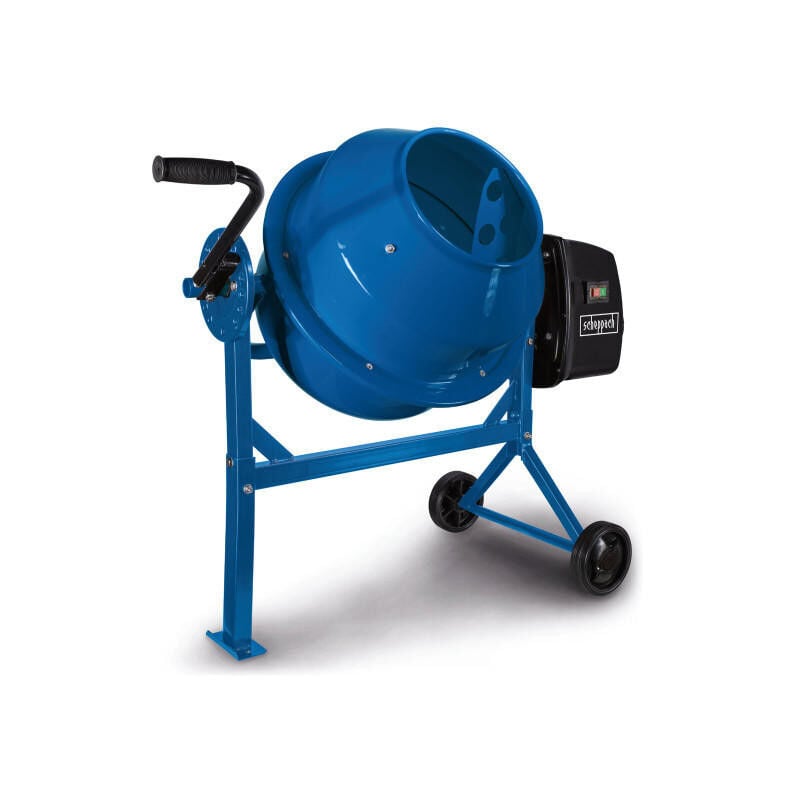
Scheppach
Scheppach Direct sells woodworking and construction equipment in the UK. Their cement mixers have 125-180L drum capacity and competitive pricing. Each mixer comes with a 2-year warranty.