If you’re looking to refresh the look of your UK home, painting your skirting boards can be a great place to start. Not only can it make your walls and floors appear more polished, but it can also protect your baseboards from wear and tear.
Painting skirting boards doesn’t have to be a daunting task. With proper preparation and the right technique, it can be a hassle-free DIY project. In this article, we’ll provide a step-by-step guide on how to paint skirting boards in UK homes.
Key Takeaways
- Painting skirting boards can enhance the overall look of your UK home
- Properly preparing the area, cleaning and sanding the skirting boards, applying primer, and painting carefully can lead to professional-looking results
- Take extra precautions when painting skirting boards next to carpets or wooden floors
- Choose high-quality paint that is suitable for your skirting boards and desired finish
- Finish with touch-ups and allow the paint to fully cure before removing any masking tape or protective coverings
Tip: Choose the best paint for skirting boards
Preparing the Area
Before diving into painting your skirting boards, it is crucial to prepare the area to avoid any unwanted mess or damage. By taking a few precautions, you can ensure a hassle-free painting process with optimal results.
Clear the Area
The first step is to remove any furniture, objects, or items near the skirting boards. It’s best to clear the entire room if possible to avoid accidentally damaging any other surfaces or objects through the painting process. This also ensures that you have enough room to move around and have easy access to the skirting boards.
Protect the Floor
Cover the floor with a drop cloth or protective sheet to avoid any paint splatters or spills. Ensure the entire surface is covered, and the sheet is secured to the floor. If you have a carpet or wooden floor next to the skirting boards, use masking tape to cover the edges. This will protect the floor from any accidental paint drips or stains.
Masking Tape
In some cases, it may be necessary to use masking tape to protect other surfaces near the skirting boards. For example, if the wall is going to be painted, apply masking tape to the edge where it meets the skirting board. This will ensure that the paint doesn’t bleed over the edges or damage any other surfaces.
Clean the Skirting Boards
Before starting the painting process, make sure that the skirting boards are clean and free from any dirt, grease, or grime. Use a damp cloth or sponge to clean the surface thoroughly. If there are any stubborn stains, use a gentle cleaning solution to remove them.
Sanding the Skirting Boards
To achieve a smooth surface and optimal paint finish, it’s recommended to sand the skirting boards. Use fine-grit sandpaper to gently sand the boards, focusing on any rough or uneven areas. Wipe away any dust from sanding before moving on to the next step.
By following these steps and properly preparing the area, you can ensure a smooth and hassle-free painting experience and achieve professional-looking results.
Cleaning the Skirting Boards
Before you start painting the skirting boards, it’s essential to clean them thoroughly to ensure a smooth and long-lasting paint finish. However, cleaning the skirting boards can be a tedious task, especially if they haven’t been cleaned for a while. But don’t worry, our step-by-step guide will make it easier for you.
Here’s what you’ll need:
- A damp cloth or sponge
- A cleaning solution (if needed)
Follow these simple steps to clean your skirting boards:
- First, remove any dust or loose dirt from the skirting boards using a soft-bristled brush or a vacuum cleaner.
- Next, use a damp cloth or sponge to wipe the skirting boards. Start from the top and work your way down to avoid streaks.
- If there are stubborn stains or marks, you may need to use a cleaning solution. But before applying any cleaning solution, test it on a small and inconspicuous area to ensure it doesn’t damage the paint or material of your skirting boards.
- If you’re using a cleaning solution, apply it to the cloth or sponge, not directly on the skirting board, to avoid dripping and excess moisture.
- Remember to wipe the skirting boards with a clean and damp cloth after using the cleaning solution.
- Finally, let the skirting boards dry completely before moving on to the next step of priming and painting.
And that’s it, your skirting boards are now clean and ready for priming and painting. By following these simple steps, you’ll achieve a professional-looking finish that will enhance the overall look of your UK home.
Sanding the Skirting Boards
Before painting your skirting boards, it’s crucial to sand them to achieve a smooth surface. Follow these steps to ensure a successful sanding process:
- Start by gathering the necessary materials, including fine-grit sandpaper, sanding block or electric sander, and a vacuum or cloth to clean up the dust.
- If your skirting boards have any rough or uneven areas, use the sanding block or electric sander to smooth them out. Be careful not to sand too much or too vigorously, as this can damage the skirting board’s surface or edges.
- After sanding each section, use a vacuum or cloth to remove any dust and debris. Take special care to clean any crevices or corners where dust tends to settle.
- Inspect the skirting boards to ensure that they are smooth and free of any rough patches. If necessary, lightly sand any remaining imperfections until you are satisfied with the surface.
- Once you have finished sanding, use a vacuum or cloth to remove any remaining dust. This will prevent any unwanted particles from sticking to the painted surface.
By sanding your skirting boards before painting, you will ensure a smooth and flawless finish that will make your home look professionally painted. Remember to use the right sandpaper, clean up the dust, and take breaks to avoid fatigue.
Benefits of Sanding Skirting Boards
By sanding your skirting boards, you will enjoy several benefits:
| Benefits of Sanding Skirting Boards | Description |
|---|---|
| Smooth Surface | Sanding will help to remove rough patches and create a level surface. This makes it easier to achieve a professional-looking finish. |
| Better Adhesion | Sanding the skirting boards will help the paint adhere to the surface better. This helps extend the life of the paint and reduces the need for touchups. |
| Cleaner Surface | Sanding the surface will remove any dirt, grime, or grease, creating a clean surface that will take the paint flawlessly. This will ensure a long-lasting paint finish. |
Priming the Skirting Boards
Before painting your skirting boards, it’s important to prime them. Priming helps create a surface that is easier to paint and helps the paint last longer.
Tip: Make sure to check your chosen paint’s label to ensure it is compatible with your primer.
To prime your skirting boards, you will need:
- Primer suitable for your skirting board’s material
- A paint brush or roller
Follow these steps to prime your skirting boards:
- Clean the skirting boards with a damp cloth or sponge and allow them to dry completely.
- Stir the primer thoroughly before use.
- Use a brush or roller to apply the primer evenly to the skirting boards.
- Make sure to follow the manufacturer’s instructions regarding the application, as drying times and application techniques may vary depending on the type of primer you are using.
- Allow the primer to dry completely before moving on to the painting stage.
Note: If your skirting boards are dark, use a tinted primer to help the paint cover them more easily.
Expert tip: If your skirting boards are made of MDF, it’s important to use an MDF primer to avoid any issues with the paint later on.
Painting the Skirting Boards
After preparing and priming the skirting boards, it’s finally time to paint them. Here’s how to paint skirting boards like a pro:
Choose the Right Paint
Choose a high-quality paint that is suitable for your skirting boards and desired finish. For example, gloss paint is a popular choice for skirting boards, but satin or eggshell finishes can also work well. Remember to consider the material of the skirting boards, as some paints may not adhere well to certain materials.
Cutting In
Start by cutting in along the edges of the skirting boards with a brush. Use a small 1-2 inch brush and apply paint in long, even strokes. Be careful not to get any paint on the adjacent walls or carpet, as this can be difficult to remove.
Rolling on the Paint
Once you have cut in all edges, use a small roller to apply paint to the rest of the skirting board. Apply thin and even coats, in the same direction as the wood grain. Avoid overloading the roller with too much paint, as this can cause drips and uneven coverage.
Second Coat
Allow the first coat of paint to dry completely before applying a second coat. This will ensure complete coverage and a professional-looking finish. Again, use the brush to cut in around the edges and the roller to apply the paint to the rest of the skirting board.
Clean Up
Once you have finished painting the skirting boards, clean your brushes and rollers with warm, soapy water. Remove any masking tape or protective coverings carefully to avoid damaging your freshly painted skirting boards.
By following these steps, you can achieve a perfect finish when painting skirting boards in your UK home.
Touching Up and Finishing
After the paint has dried, it’s time to touch up any imperfections and finish the project. Inspect the skirting boards carefully, looking for areas that may need a touch-up. Use a small brush to fix any missed spots or imperfections in the paint.
Once you are satisfied with the coverage, it’s essential to allow the paint to fully cure before removing any masking tape or protective coverings. This process can take several hours or even overnight, depending on the type of paint and the environmental conditions.
Final Inspection
When the paint has fully cured, perform a final inspection of the skirting boards to ensure a smooth and even finish. Remove any protective coverings and masking tape, and dispose of them properly.
If you notice any areas that still need a touch-up, use a small brush to fix them. Don’t forget to allow the paint to dry completely before reapplying any fixes.
Once you are satisfied with the final look of your freshly painted skirting boards, it’s time to sit back and enjoy your hard work. Your skirting boards will look brand new and add a polished finish to your home interior.
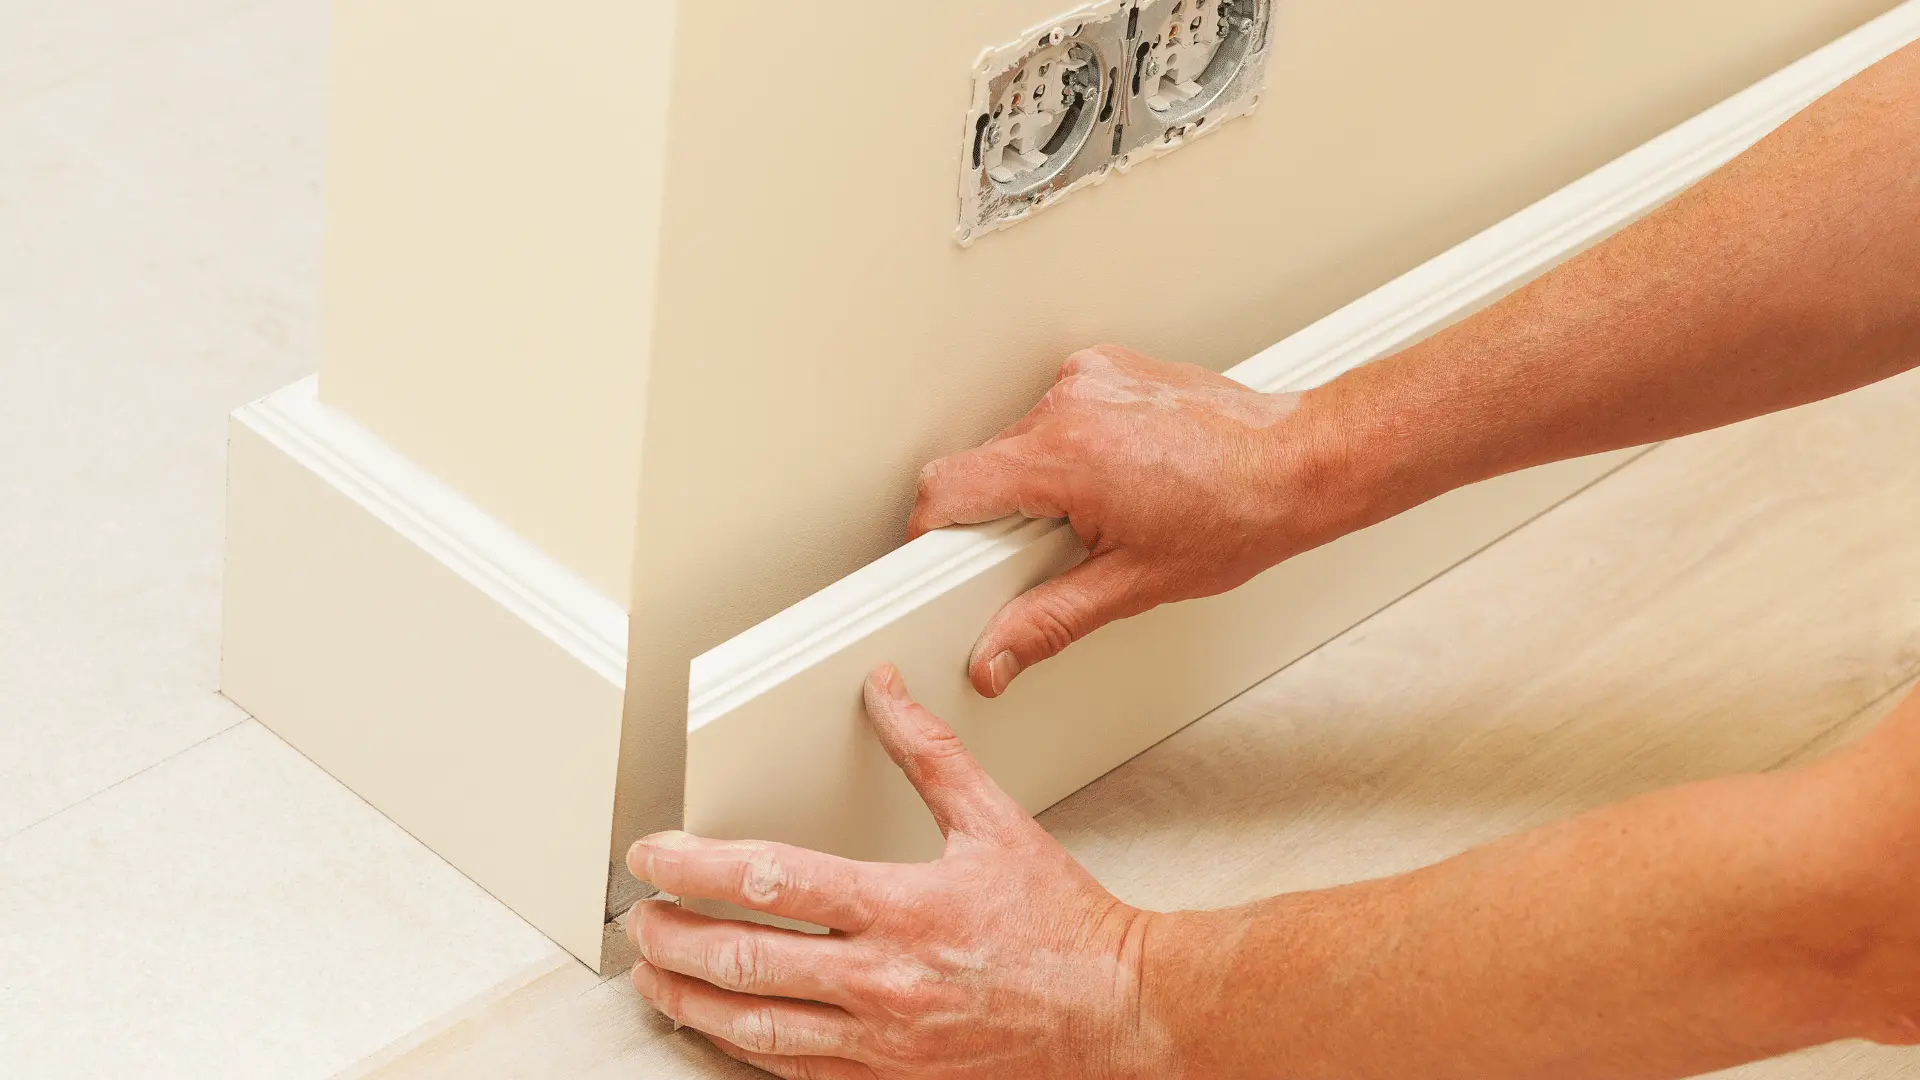
Painting Skirting Boards with Carpet or Wooden Floor
If you have a carpet or wooden floor next to the skirting boards, it’s essential to take extra precautions to protect them during the painting process. Here are some steps you can follow:
Protecting Carpeted Floors
If you have a carpeted floor, use masking tape to cover the edges of the carpet that meet the skirting boards. Apply the tape carefully to ensure it sticks firmly, and cover as much of the carpet as possible. You may also want to cover the rest of the carpeted area with a drop cloth or protective sheet to prevent any drips or spills from staining the carpet.
When painting, use a small brush to carefully cut in along the edge of the skirting boards, taking care not to get any paint on the carpet. Use a roller to apply the paint to the rest of the skirting board, avoiding any drips or spills. Apply thin and even coats, allowing each coat to dry before applying the next one.
Once you’re done painting, allow the paint to dry completely before removing the masking tape and protective coverings.
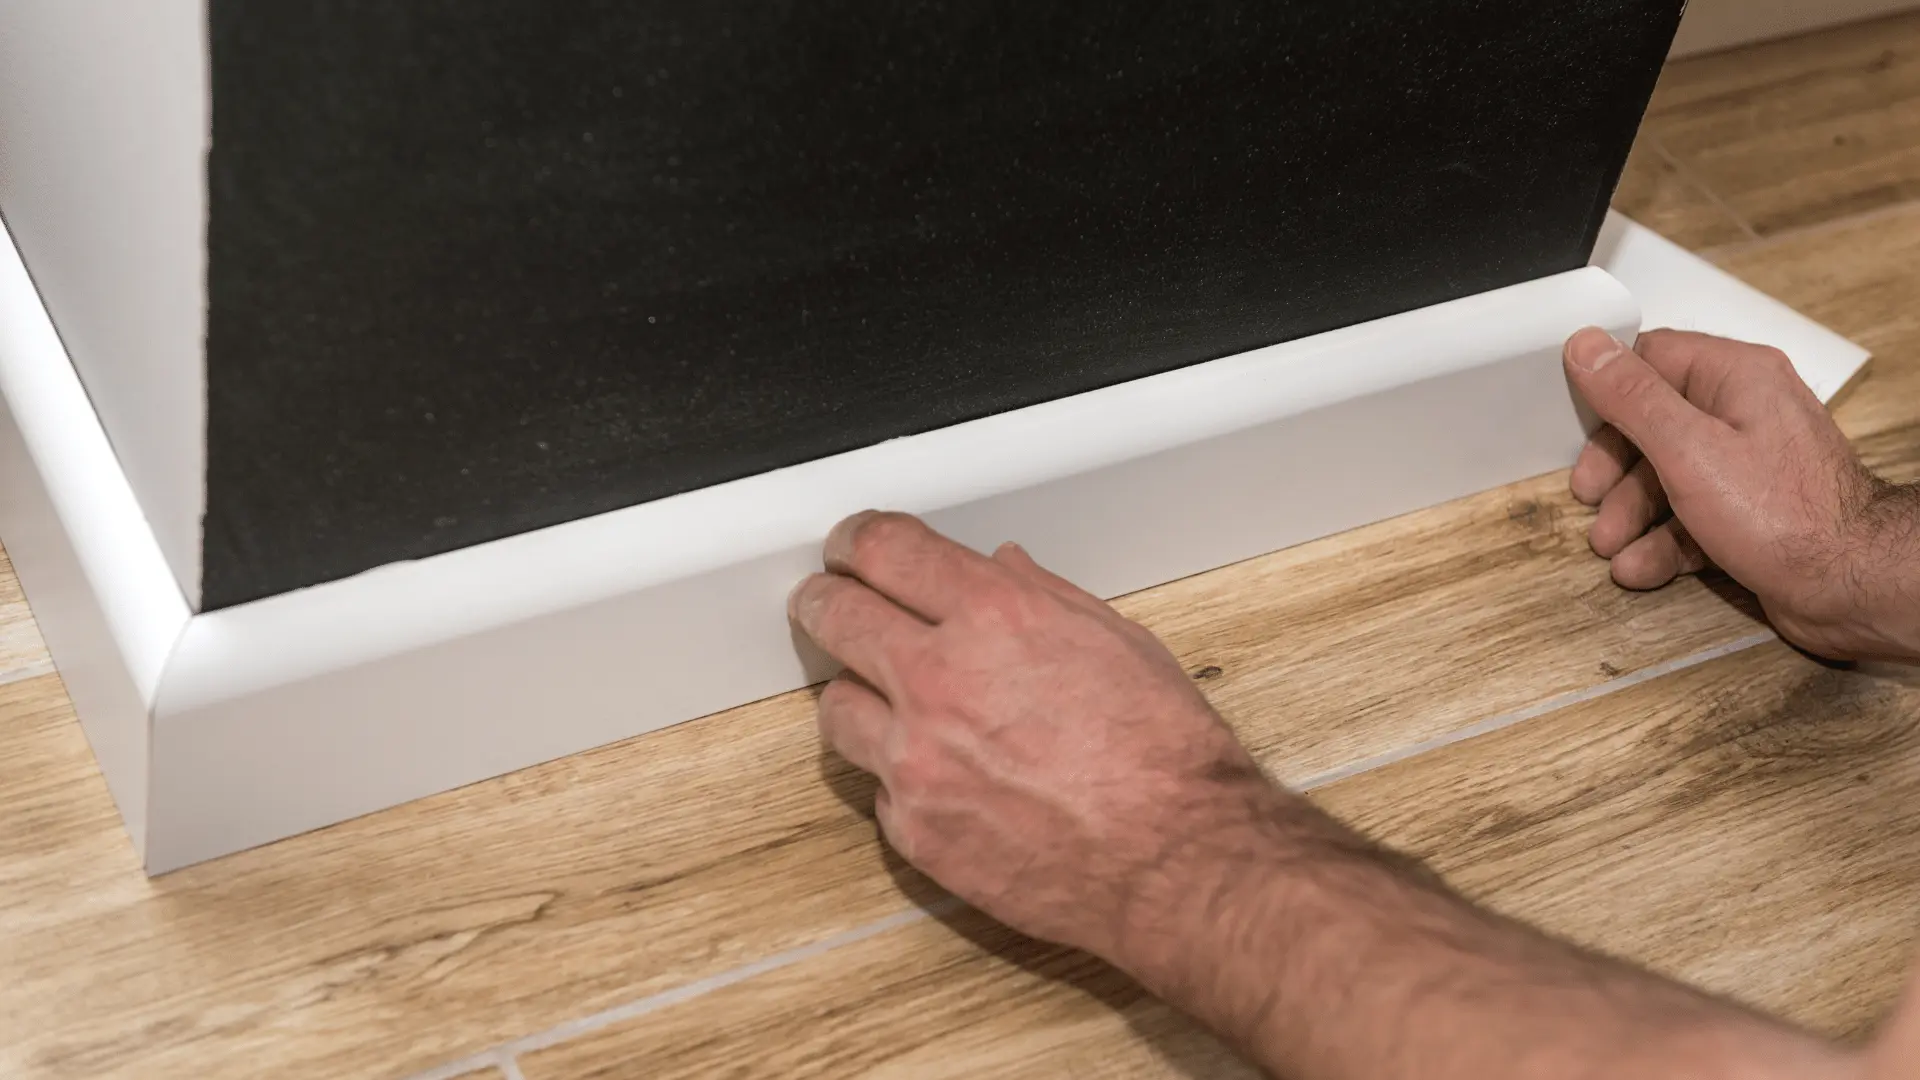
Protecting Wooden Floors
If you have a wooden floor, you’ll need to take extra care to avoid getting paint on it. Use masking tape to cover the edges of the wooden floor that meet the skirting boards, taking care to apply the tape as close to the skirting board as possible. This will create a clean edge between the painted skirting boards and the wooden floor.
When painting, use a small brush to cut in along the edge of the skirting board, taking care not to get any paint on the wooden floor. Use a roller to apply the paint to the rest of the skirting board, avoiding any drips or spills. Apply thin and even coats, allowing each coat to dry before applying the next one.
Once you’re done painting, allow the paint to dry completely before removing the masking tape and protective coverings. You may want to touch up any areas where the tape may have pulled up some of the paint.
Painting skirting boards with carpet or wooden floor can be a bit tricky, but by taking the necessary precautions, you can achieve great results without damaging your flooring. Just remember to use masking tape to cover the edges, apply the paint carefully, and allow it to dry completely before removing any protective coverings.
Conclusion on Painting Skirting Boards
Painting skirting boards is a simple but effective way to enhance the look of your UK home. By following the steps outlined in this guide, you can achieve professional-looking results and avoid any hassle during the painting process.
Preparation is key when painting skirting boards. Always remember to clean and sand the boards before applying a primer. Be careful when painting near carpet or wooden floors, and protect them with masking tape or protective covering.
Choosing the right paint is also crucial to achieve the desired finish. Always opt for high-quality paint that is suitable for your type of skirting boards and the look you want to achieve.
Finally, remember to take your time, apply thin and even coats, and allow each coat to dry before applying the next one. Once you are satisfied with the coverage, inspect the skirting boards for any areas that need touching up and apply another coat if necessary.
We hope this guide has been informative and helpful to you. Happy painting and enjoy your newly painted skirting boards!
FAQ
How to Paint Skirting Boards?
Follow these steps for painting skirting boards in UK homes: 1. Prepare the area by removing furniture and covering the floor. 2. Clean the skirting boards thoroughly with a damp cloth or sponge. 3. Sand the skirting boards to create a smooth surface. 4. Apply a suitable primer evenly on the boards. 5. Use high-quality paint, cutting in along the edges with a brush and then applying with a roller. 6. Touch up any imperfections and allow the paint to fully cure before removing protective coverings.
How to prepare the area for painting skirting boards?
Before painting skirting boards, remove any furniture and cover the floor with a drop cloth or protective sheet. Use masking tape to cover the edges of the carpet or wooden floor if necessary.
What is the process for cleaning skirting boards?
To clean skirting boards, use a damp cloth or sponge to remove dust, dirt, or grease. For stubborn stains, a gentle cleaning solution may be required.
Should I sand the skirting boards before painting?
Yes, sanding the skirting boards is recommended to create a smooth surface. Use fine-grit sandpaper to gently sand any rough or uneven areas, and remember to wipe away any dust before proceeding.
Do I need to apply a primer to skirting boards?
Applying a primer is beneficial as it improves paint adherence and provides a more even finish. Use a suitable primer for your skirting boards’ material and apply it evenly using a brush or roller, following the manufacturer’s instructions.
How should I paint skirting boards?
Start by cutting in along the edges with a brush, then use a roller to apply the paint to the rest of the boards. Apply thin and even coats, allowing each coat to dry before applying the next one.
What should I do for touch-ups and finishing?
After the paint has dried, inspect the skirting boards for any areas that need touching up. Use a small brush to fix imperfections or missed spots. Once satisfied, allow the paint to fully cure before removing any masking tape or protective coverings.
How should I protect carpet or wooden floors when painting skirting boards?
Use masking tape to cover the edges of the carpet or wooden floor to protect them from paint spills or drips. After painting, allow the paint to dry completely before removing the protective coverings.
Leave a Reply