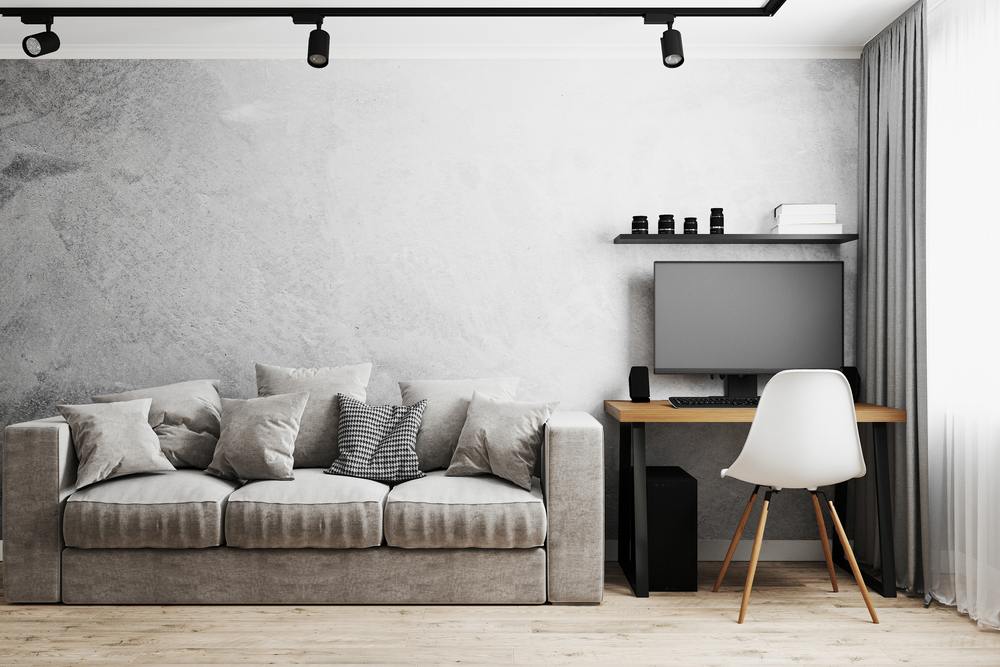
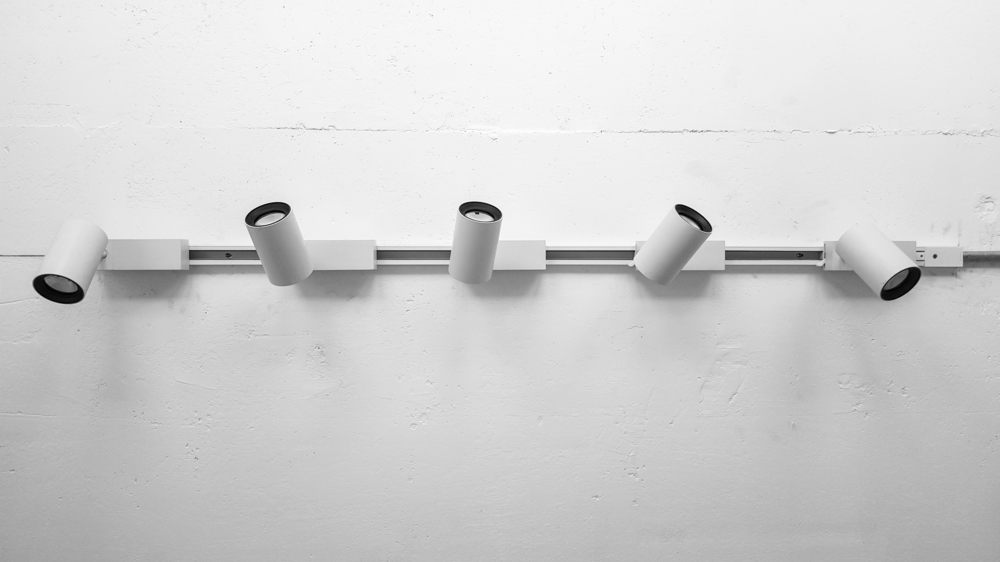
Installing track lighting is a relatively easy do-it-yourself project that can add function and style to your home. They can illuminate a room, add extra light to a workspace or highlight a piece of art. Whatever your reason for installing track lighting, the process is essentially the same. With a few tools and some basic instructions, you can install track lighting in no time.

How to install track lighting?
1. Begin by examining the location where you intend to install the track lighting. You’ll need to have a clear understanding of the area you’re working with before you can proceed. Measure the space’s length and width and note any obstacles that might be in the way.
2. Once you know the ceiling length you want to add lights to, choose the type of track lighting you want to install. Several different types are available on the market, so take some time to research your options before making a decision. For the remainder of this guide, we will assume that you need to know how to install track lighting without existing fixtures.
3. Track and connectors typically come in lengths of 1.2m or 2,4m long. Choose the size that best suits your needs. If you’re unsure, it’s always better to err on the side of caution and choose a longer track. You can always cut it down to size if necessary. Connectors allow your track to take any necessary turns on your ceiling. Connectors slide into the ends of the track pieces.

4. Cut the track to your desired length. Measure and mark the track. Use a hacksaw and a steady surface to ensure you create a straight cut.
5. Turn off the power at the breaker box to ensure that the area you plan to work in is safe. Before getting to work, turn on the lights where you are working to ensure there is no power running through the wires.
6. Remove the existing light fittings, carefully unscrewing and disconnecting the wires behind the fitting. Behind the fitting, you will discover the electrical box.
7. Most tracks will come with an installation kit containing all the necessary hardware. Connect the end power adapter to the exposed wires. The adapter will have wires of the same colour – simply marry the two together to complete the circuit using wire nuts. Put the wires into the electrical box and screw the mounting plate to the ceiling, leaving the power adapter hanging outside the electrical box.
8. Most tracks have two holes drilled into them at either end. These holes are for the mounting screws. Use a drill to create pilot holes in the ceiling where you plan to mount the track. The bit size should be slightly smaller than the mounting screws so that the threads can bite into the wood. We recommend you have someone to help you keep the track aligned.
9. Drill 9mm holes where your pilot holes are, ensuring they are wide enough to accommodate toggle bolts. The track needs to be close enough to the end power adapter to be fed into the track.
10. With the help of a friend, lift the track into place and screw it into the ceiling using toggle bolts. The weight of the track should be evenly distributed across the two toggle bolts.
11. With the track in place, insert the power adapter into the track. You will need to pay attention to the manufacturer’s instructions, as there are many different track variants. 12. You can now install your chosen light fixtures. There are a wide variety of lights available for track lighting, and you should check each manufacturer’s instructions on how to install track lighting heads. Start by attaching the connectors to either end of the track. Once they are in place, you can slide your light fixtures onto the track.

Conclusion
Track lighting is a safe and easy way to add light to any room in your home. It’s relatively quick to switch out existing fixtures in place of track lights, and they are an ideal way to add focused light to a specific area. Most tracks come with all the necessary hardware included in the installation kit. All you need is a drill and a friend to help you get started. However, if you are uncertain of any aspect of the installation, seek a trained professional electrician.
FAQs
Yes, it’s relatively simple, although we recommend working with someone else to help you hold the track in place for convenience and safety.
If you want to know how to install track lighting without a junction box, the simple answer is that you cannot. The Junction box, or electrical box, is a legal requirement for any modern installation, which helps protect people from getting hurt by electricity and helps to prevent fire risks.
Follow our guide above to learn how to how to install track lighting without an existing fixture. Once fitted, the lights themselves require no additional special knowledge, in case you were wondering how to change a track light bulb.
The answer depends on the size of the room, the type of track lighting you choose, and how many fixtures you need. However, as a ballpark figure, if you are curious about how much to install track lighting, we’d estimate typical costs of £100 – £210 for a track fixture, 2/3 attractive heads, and associated accessories.
Fitting a track light without an existing fixture is often easier than using an existing one. Often, there is a compatibility problem between older track lights and modern lamps, so it’s easiest to start fresh. We’d recommend removing old fitting if you aren’t sure about compatibility and begin with a fresh installation, using our guide above.
Leave a Reply