Downlights are among the most popular lights used in residential and commercial spaces. They offer a sleek, modern look and can be installed in various ways to achieve different effects. Contrary to popular belief, downlights are not as tricky to install as many believe. In fact, with the right tools and some basic knowledge, anyone can do it!
We’ve got you covered if you’ve ever wondered how to install downlights. Let’s take a look at how to fit downlights in a few easy steps.
The Buildiro 6-step guide to installing downlights
1. Getting Ready
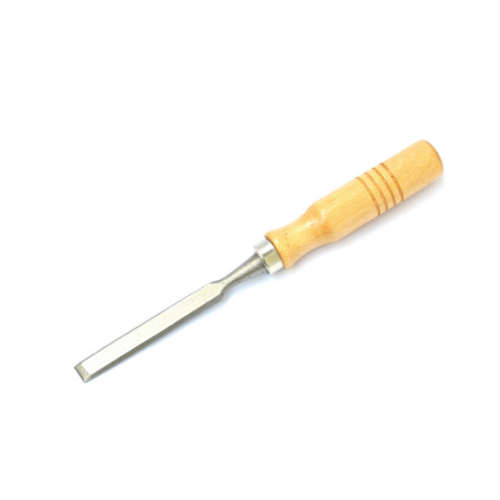
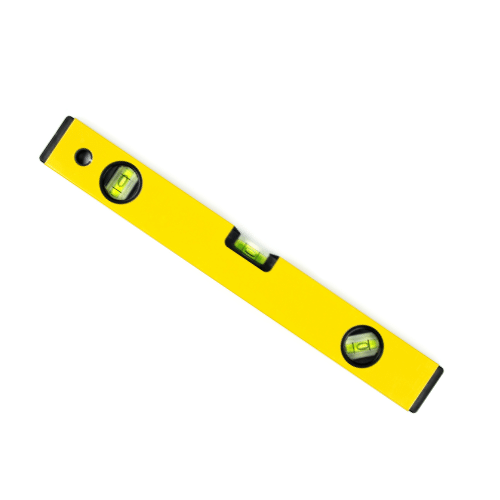
The first step in fitting a downlight is gathering the correct tools and materials. You will need a screwdriver, drill, hammer, chisel, tape measure, spirit level, and downlights.


2. Check for safety features
Once you have all of the correct tools, it is time to mark out where you want the downlights to go. Before fitting downlighters into ceiling spaces, it is essential to check that the installation will not compromise the building regulations by reducing the property’s fire safety. Ceilings should slow the spread of fire, but multiple holes can hinder this protection if the ceiling has been damaged during installation. It is recommended that you use fire-rated downlights that will not reduce the overall fire safety of the ceiling.
3. Positioning
The primary light source in most kitchens and bathrooms is artificial ceiling lighting. For this reason, downlights are often positioned in these areas, allowing light to be focused where it is needed most. It is essential to use a tape measure and mark out the positions of the downlights on the ceiling with a pencil.
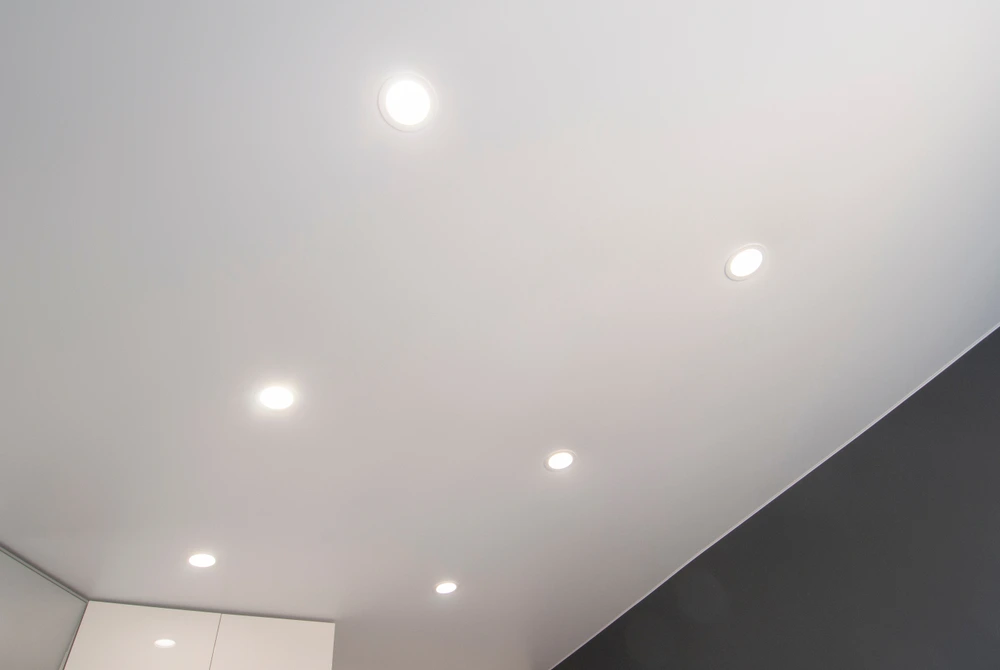
The number of lights required will depend on the size of the room and the desired effect. In a typical ceiling downlights installation, in rooms that require brighter illumination, such as kitchens, downlights are typically used every 1.2m to 1.4m.
4. Drilling Holes
The next step in fitting ceiling downlights is to know where to drill the holes. Use a stud finder to help you avoid electrical wires and other hidden dangers. Once you have located the joists, mark where the holes need to be drilled with a pencil.
As the joists should be equally spaced, you should be able to estimate where they all are once you have located a few. We recommend drilling your holes at least 6 inches from a joist.
Drill a pilot hole, and then assess from above to ensure that you are clear to carry on fitting the downlights in the positions you have chosen. If you cannot assess from above, you may need to try probing with a wire to ensure there are no obstacles before cutting out the plasterboard.
The hole size will depend on the type of light you are using. It is essential to make sure that the hole is big enough to fit the light securely. Once you have marked out the desired location of the downlights, use a drill to create holes for them. The size of the hole will depend on the size of the downlight.
5. How to wire downlights
It is important to know how to wire downlights in ceiling spaces. If you are not confident dealing with electricity, we strongly recommend hiring a professional when fitting LED downlights or other electrical projects.
However, assuming you know what you’re doing and just need a little specific guidance on how to wire downlights in a ceiling, we’re here to guide you.
Downlights are wired in series, meaning the electricity flows from one light to the next in a loop. The first downlight in the circuit is connected to the light switch. Each subsequent light is connected to the previous light in the circuit. The final light in the circuit is also linked back to the main supply, completing the loop.
If you’re planning a large run of lights, we’d recommend you create a downlight wiring circuit diagram to ensure that you don’t make a mistake in your downlight connection process.
Having run the wiring through your ceiling, use chocboxes to connect the downlight fittings to the wires, as this is the easiest way to make the connections.
6. Insert the downlight
At this point, you should have your downlights hanging from the ceiling. The final task is to insert the downlights into the drilled holes.
There are several fitting types, but the most popular are spring-loaded or twist-and-lock. With a spring-loaded fitting, simply push the downlight up into place, and it will ‘click’ into position. For a twist-and-lock fitting, screw the downlight in until it is tight.

Be careful not to over-tighten the downlight as this could damage the fitting.
Downlights can get hot, so it is vital to check that they are not in contact with combustible materials, such as insulation.
Finally, turn on the electricity at the fuse box and test your new lights. If you have wired them correctly, they should all turn on.
Conclusion
And that’s it! You have now successfully installed your downlights. Remember to carefully dispose of any offcuts and packaging and switch on your new light fittings at the fuse box.
Why not check out our other home improvement advice if you found this guide helpful? From painting and decorating tips to how to install a new kitchen, we’ve here to help you. Below are some common questions we often receive on this topic.
FAQ
Many people are rightly worried about dealing with electricity and turn to professional installation services. This is likely to be faster, neater, and safer. However, installing downlights yourself is possible if you are confident in dealing with electricity and have the right tools.
The two most common types of downlight fittings are spring-loaded and twist-and-lock, giving you a choice on how to fix downlights to ceiling spaces in your home. With a spring-loaded fitting, simply push the downlight up into place, and it will ‘click’ into position. For a twist-and-lock fitting, screw the downlight in until it is tight.
If you’ve wondered how to install LED downlights in a ceiling, follow our 5-step guide to fit a downlight in ceiling spaces to enjoy energy-efficient and stylish lighting in your home.
If you don’t want to lift your floorboards, you could try to fish the wiring through an existing hole. However, this is more difficult and may not be possible depending on the layout of your home. A stiff, bent wire can let you feel around for obstacles that will prevent you from successfully installing the lighting.
Leave a Reply