Whether you’re a seasoned DIY enthusiast or a novice in the world of measurements, mastering the art of spirit level usage is critical to achieving flawless results. This comprehensive guide will walk you through the A to Z of using a spirit level effectively. From choosing the right type for your project to delving into the intricacies of calibration, we’ll cover it all. Get ready to explore proper handling techniques, advanced levelling tips, and practical applications for this seemingly simple yet indispensable tool. Whether hanging pictures, levelling shelves, or navigating uneven surfaces, our step-by-step guide will empower you with the knowledge to elevate your craftsmanship. Let’s embark on a journey to unlock the secrets of the spirit level and ensure your projects stand on a solid foundation of precision and expertise.

1. Choosing the Right Spirit Level
- Selecting the Appropriate Type: Consider the nature of your project. Torpedo levels are excellent for tight spaces, while longer levels offer better accuracy for larger surfaces.
- Considerations for DIY Projects: If you’re a DIY enthusiast, explore user-friendly levels with features like magnetic edges for hands-free use.
2. Understanding Spirit Level Components
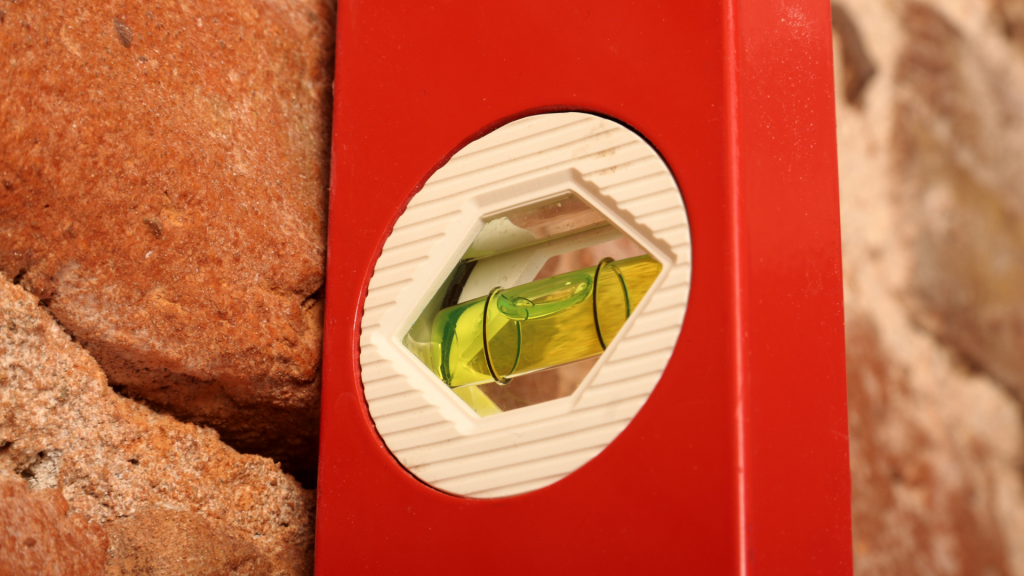
- Bubble Vials and Their Importance: Learn how the bubble vials indicate levelness. Understand the significance of a centred bubble for accurate readings.
- Checking for Calibration: Examining the bubble’s position on a level surface ensures your spirit level is calibrated correctly.
3. Proper Handling and Grip
- Correct Positioning for Accurate Readings: Discover how to hold and position your spirit level to prevent parallax errors and ensure precise measurements.
- Avoiding Common Mistakes: Learn about common mistakes, such as applying too much pressure, that can lead to inaccurate readings.
4. Basic Leveling Techniques
- Establishing a Reference Point: Begin your levelling process by setting a reliable reference point to base your measurements on.
- Ensuring Horizontal and Vertical Accuracy: Master the art of achieving horizontal and vertical levelness for comprehensive project success.
5. Calibrating Your Spirit Level
- DIY Calibration Tips: Explore step-by-step procedures for calibrating your spirit level at home, ensuring consistently accurate readings.
- When to Seek Professional Calibration: Recognize signs that indicate your level may need professional calibration for optimal performance.
6. Advanced Tips for Precision
- Navigating Uneven Surfaces: Gain insights into techniques for using your spirit level on irregular surfaces, maintaining accuracy in challenging conditions.
- Using Extensions and Accessories: Discover how extensions and accessories can enhance your spirit level’s capabilities for specialized projects.
7. Common Spirit Level Applications
- Hanging Pictures and Shelves: Learn the proper technique for using a spirit level to hang pictures and shelves precisely.
- Checking Angles in Carpentry: Explore how spirit levels aid in achieving accurate angles for carpentry projects.
8. Troubleshooting and Common Issues
- Identifying and Resolving Calibration Errors: Understand common calibration issues and troubleshoot them to maintain the accuracy of your spirit level.
- Dealing with Damaged Spirit Levels: Learn how to recognize and address common damages to ensure the longevity of your tool.
9. Maintenance for Longevity
- Cleaning and Storing Your Spirit Level: Discover best practices for cleaning and storing your spirit level to prolong its lifespan.
- When to Replace or Upgrade: Recognize signs that indicate it’s time to replace or upgrade your spirit level for continued precision.
10. Safety Precautions
- Handling Spirit Levels in Different Environments: Understand safety considerations when using spirit levels in various settings, such as construction sites or home projects.
- Ensuring Personal Safety During Use: Prioritize your safety by adopting proper techniques and precautions during spirit-level use.
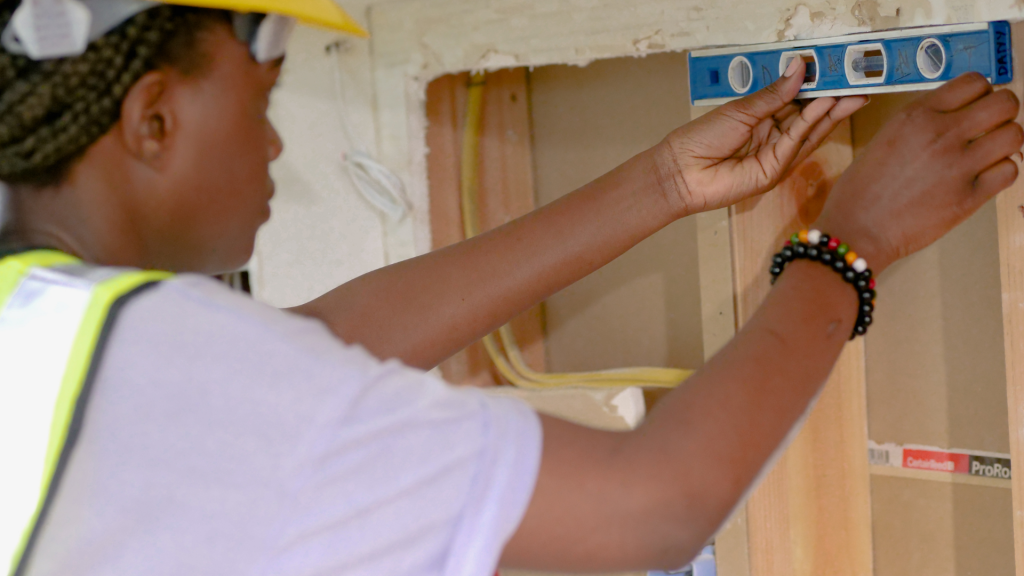
How to use a spirit level on a wall
To use a spirit level on a wall, follow these steps:
- Choose the Right Level: Select a spirit level suitable for the length of the wall. Longer levels provide better accuracy.
- Position the Level: Place the level horizontally on the wall, ensuring it makes full contact.
- Check the Bubble: Adjust the position until the bubble is centred between the level’s indicators. This indicates a perfectly level surface.
How to use a spirit level horizontally
- Select the Level: Choose a level appropriate for the length of the surface.
- Place the Level: Position the level horizontally on the surface.
- Bubble Centering: Adjust the level until the bubble is centred between the indicators. This indicates a horizontal orientation.
How to use a spirit level vertically
- Choose the Right Level: Select a level suitable for vertical measurements.
- Position the Level: Place the level vertically against the surface.
- Bubble Centering: Adjust until the bubble is centered between the indicators for a perfectly vertical alignment.
5 uses of spirit level
- Hanging Pictures: Ensure your frames are perfectly level on the wall.
- Shelf Installation: Achieve level shelves for both aesthetics and functionality.
- Carpentry Angles: Check and maintain precise angles in woodworking projects.
- Tile Installation: Ensure tiles are laid evenly on floors and walls.
- Checking Appliances: Use a level to confirm the level of household appliances like refrigerators or washing machines.
Leave a Reply