A jigsaw is one of the most versatile power tools in the hands of a DIY enthusiast or professional. Whether you’re crafting a piece of furniture or making intricate designs in wood, a jigsaw can prove to be your best ally. For beginners, however, mastering the jigsaw can be a bit daunting. In this guide, we break down the process of how to use a jigsaw for beginners, ensuring that you can make the best out of this fantastic tool.
How to Use a Jigsaw to Cut a Straight Line
For many, cutting a straight line with a jigsaw can be a challenging feat. But with the right technique, you can make precise straight cuts with ease.
- Choose the Right Blade: For straight cuts, use a blade with a higher tooth count. This ensures a smoother cut.
- Mark the Line: Always mark the cutting line on your material using a pencil or chalk.
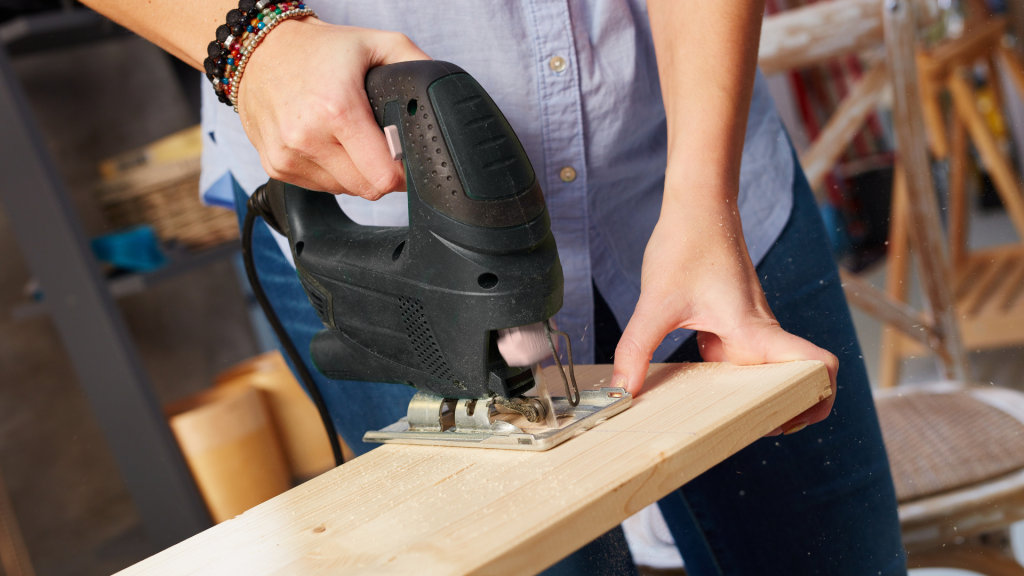
- Steady Your Material: Secure your workpiece using clamps to prevent any movement.
- Start Slowly: Begin the cut at a slower speed to ensure you’re following the line.
- Use a Guide: For added precision, use a straightedge or a metal ruler as a guide. Run the jigsaw shoe along the guide as you cut.
- Apply Even Pressure: Press down on the jigsaw with even pressure, allowing the blade to do the work.
Read also: The Best Jigsaws of 2023
How to Use a Jigsaw Step-by-Step
- Safety First: Always wear safety goggles and ear protection. Make sure your work area is well-lit.
- Select the Correct Blade: Depending on the material and type of cut, select the right blade. For instance, use a coarse blade for wood and a fine-toothed blade for metals.
- Insert the Blade: Turn off the jigsaw and unplug it. Open the blade clamp and insert the blade, ensuring it’s securely fastened.
- Adjust the Settings: Based on your cutting needs, adjust the speed and orbit settings. Higher speed settings are suitable for softer materials, while lower speeds are ideal for harder ones.
- Make the Cut: Place the shoe of the jigsaw flat against the material. Start the tool, gradually increasing the speed. Move the jigsaw forward, following your marked line.
- Clean Up: After completing your cut, turn off the jigsaw and wait for the blade to stop completely. Clean away any debris and store the jigsaw safely.
How to Use a Jigsaw to Cut Curves
Curved cuts might seem intimidating, but with the right approach, they become straightforward.
- Select a Flexible Blade: For curves, opt for a narrower blade which provides better maneuverability.
- Mark Your Curve: Draw your desired curve on the material.
- Make Relief Cuts: For tight curves, make straight relief cuts that run up to the curved line. This will help remove chunks of material, making the curving process smoother.
- Start the Cut: Begin the cut as you would for a straight line, but gently steer the jigsaw along the curve.
- Maintain a Steady Pace: Don’t rush. It’s essential to maintain a consistent speed to ensure a smooth curved cut.
Choosing the Right Jigsaw for Your Project
Just as crucial as knowing how to use a jigsaw is selecting the right one for your project.
- Corded vs. Cordless: Corded jigsaws offer constant power, while cordless ones provide mobility. Choose based on your workspace and project needs.
- Orbital Action: Some jigsaws have an orbital action feature which allows for faster, more aggressive cuts.
- Variable Speed: A jigsaw with variable speed settings allows you to adjust the speed based on the material you’re working with.
Conclusion
Using a jigsaw can be incredibly satisfying, especially as you master different cuts and techniques. By following the steps outlined above, beginners will find themselves well on their way to making the most of this versatile tool. Remember, practice makes perfect, so don’t be discouraged by initial mistakes. With time and patience, you’ll be able to make precise cuts, whether straight or curved, like a pro.
Leave a Reply