It is always important to confirm whether electricity flows through a circuit, even when you’ve switched the power off at the breaker box. Several tools can provide you with this confirmation, the simplest of which is a non-contact voltage tester, also known as a tester pen. The most commonly used is a two-pronged voltage tester.
Typically a tester pen will consist of a small hand-held tool that contains an LED bulb. The bulb will light up green (this may vary, depending on the exact tool you buy) and will be ready to use. But how do you use it?

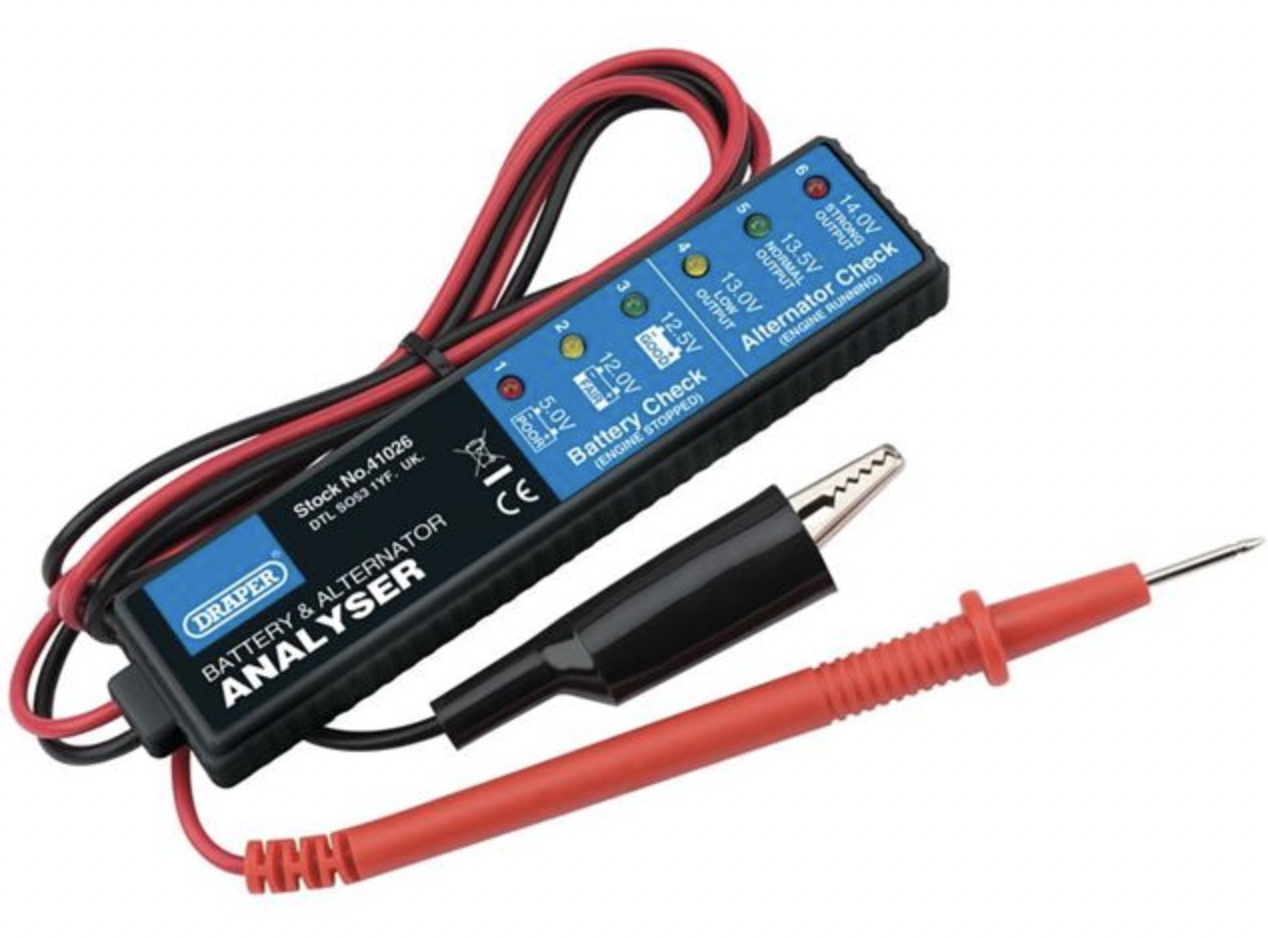
Learn how to use a voltage tester pen or two-pronged device
Step 1: Testing your device
Your voltage tester is a safety device. You must know how to use electrical tester devices before you begin to think about working on an electrical circuit. As a first step, you need to know that you can trust your tool and be able to confirm that the power has been cut. You need to test the tool on a known live circuit to do this. We will assume that you will be working on a power socket. You should try running a lamp or other small device from the socket. Does it light up? If so, you know it’s an energised circuit. Now take your voltage tester pen and insert it into each socket hole. It will light up red for your live wire. If you have a two-prong voltage tester, you insert a prong into the live and earth simultaneously, and the LEDs that indicate voltage will light up. When the light shows, this confirms that your chosen tool is working.
Step 2: Turn off the power and confirm
Now that you have confirmed that your voltage tester is working, it’s time to turn off the power. Even if you’re changing a light bulb, it’s always better to be safe than sorry and cut the power at the breaker box. Once the power has been turned off, use your voltage tester to check each of the sockets in the circuit that you’ll be working on to ensure no power is flowing through them. If the tool lights up, power is still flowing, and you should not proceed until you have located and fixed the problem.
Step 3: Test the wires directly
The third and final step is to test the wire’s connection to the plate directly. Unscrew the plate from the socket and pull it forward to allow access to the wires. The LED should remain green on a tester pen or off for a two-prong probe, indicating no electricity flowing through the circuit. If your tester turns red or lights up, this indicates a fault with the socket, as power is present. You should not proceed with your work until you confirm that the power is off.
Conclusion
Using a voltage tester is not a complex operation, but the first step, which is most often overlooked, is to test your device on a known live circuit. Once you have confirmed that your voltage tester is working, you can proceed confidently to use it on the circuit you’re working on, knowing that you’ll be able to identify when power is present. If you’re not sure how to do it all, contact one of the local electricians.
FAQs
Learning how to use circuit tester devices when working with electricity is important. To use a non-contact voltage meter, insert it into the live socket. It will light up red when power is present.
Insert one prong into the earth socket and the other into the live socket. If power is flowing, the tool will show this by lighting up.
A voltage meter will confirm the presence of electricity and also report the voltage detected. You will insert the black probe into the neutral hole and the red probe into the live socket. The meter will provide information on wattage, amps, and volts, but you should refer to the manufacturer’s instructions, as these tools can have a lot of options.
A voltage tester works by showing a light (or several in some cases) when it detects electricity flowing through the probe.
You can use voltage testers to perform LED tests. If you are working with a faulty LED light strip, work along the strip with the voltage meter while it is powered, testing for a drop in power across one light. Once this is located, you can cut the faulty section and reconnect the two strips using a replacement section and LED strip clips.
Leave a Reply