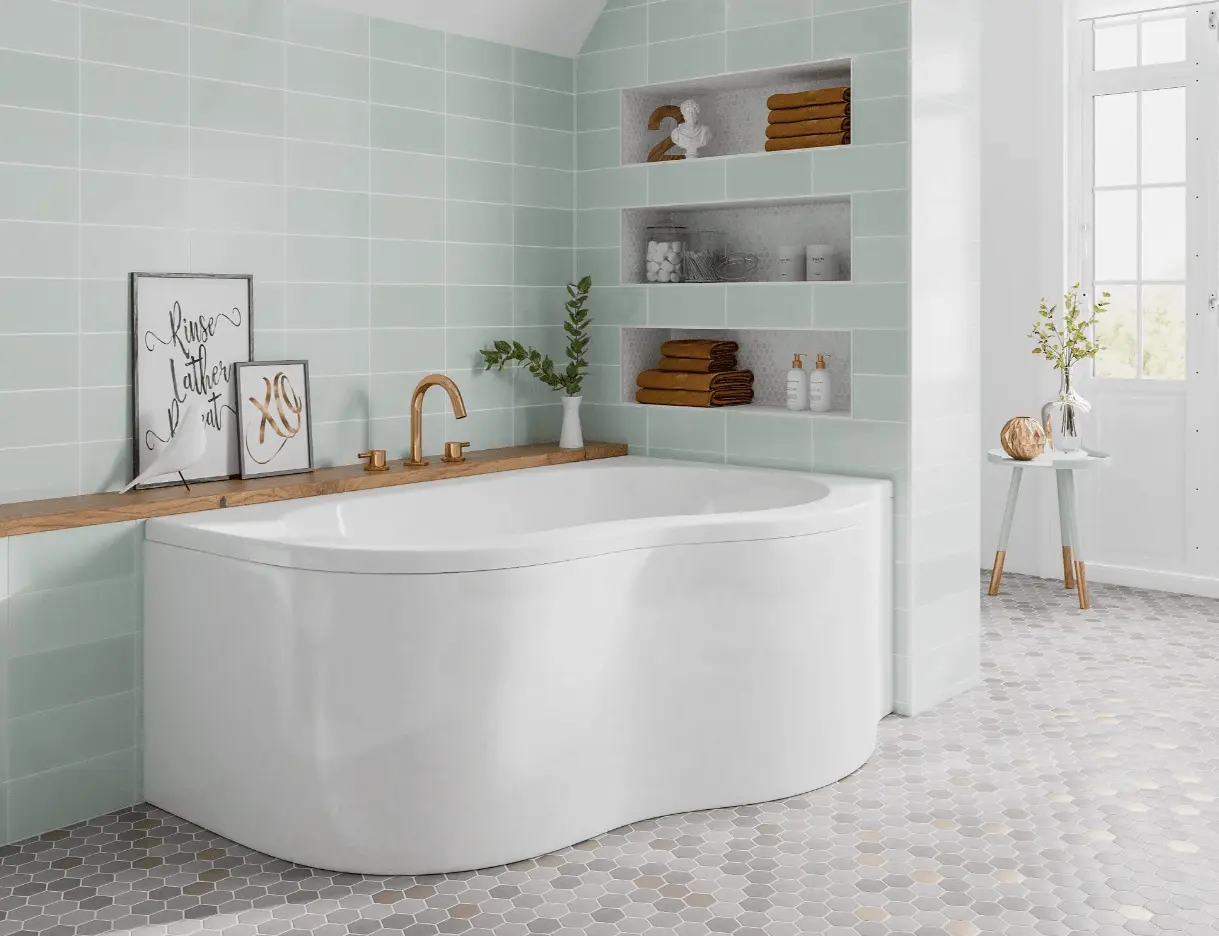
Are you looking to give your bathroom a facelift? Removing a bath panel is a great way to update the look of your bathroom without breaking the bank. Installing a new bath panel can be a daunting task, but with the right tools and a step-by-step guide, you can remove the existing bath panel with ease. This guide will provide you with all the information you need to remove your bath panel successfully. From identifying the types of bath panels to the tools and materials you’ll need, this guide will cover all the basics and help you to get the job done quickly and correctly. So, if you’re ready to give your bathroom a makeover, read on to get started!
Types of bath panels
There are two main types of bath panels: composite and wooden panels. Each type has its own benefits and drawbacks, which is why it’s important to know which type of panel you have before attempting to remove it. The first type of panel is a composite panel, which is made from a combination of different materials. This is one of the most common types of panels in bathrooms today. It is made from a mixture of polyurethane and polyester resin, which makes it both durable and waterproof. The second type is a wooden bath panel. These panels are made from real timber and are a great choice if you are going for a natural look. They are relatively easy to maintain, but you will need to seal them regularly to prevent them from drying out and warping.
Tools and materials needed for the job
Before you get started on your bath panel replacement, it is important to prepare your work area and gather all the necessary tools and materials. The first thing you will need is a towel, which you can use to protect the surrounding area from drips and splashes. Next, you will need a bath panel removal tool, which is available online or at hardware stores. You can also use a small hammer to gently tap the panel loose if you don’t have a removal tool. Once the panel is loose, you will need a screwdriver for loosening the bath panel screws, followed by a tape measure for measuring the size of the new panel. Last but not least, you will need an old bath towel, and a dust mask to protect yourself from any dust or debris that might be in the panel.
Step-by-step guide to removing a bath panel
– Before you begin, it is important to turn off the water supply to the bath panel so you don’t make a mess. – Use a towel to protect the surrounding area from drips and splashes. – Use a bath panel removal tool to loosen the bottom clips of the panel. – Once the panel is loose, use a screwdriver to loosen the screw behind the panel. – Once the screw is loose, the panel should separate from the wall. – Use the screwdriver to remove the braces at the top of the panel. – Use the towel to protect your hands from the sharp edges of the panel. – Finally, lift the panel away from the wall and remove it completely. – Once the old panel is removed, you can measure the size of the new panel and begin installing it.
Tips for reinstalling a new bath panel
First, completely remove all the existing screws from the wall before installing the new panel. Next, use waterproof sealant to secure the new panel in place. This will help to prevent any leaks or water damage. It is also important to position the panel correctly to ensure that it fits properly. Finally, use a level to make sure that the panel is even. This will prevent any potential problems in the future.
Troubleshooting tips for common problems
If the screw behind the panel gets stuck or breaks, it can be difficult to remove the panel. If this happens, you can try using mineral spirits to dissolve the old sealant. Once the sealant is removed, you can try using a different screwdriver to remove the broken screw. If the new panel doesn’t fit properly, make sure that you have correctly positioned it against the wall. If the new panel is leaking, there may be a problem with the sealant. Make sure that you use enough sealant to cover the entire area where the new panel is installed. If you don’t, the new bath panel could leak.
Safety precautions to consider when removing a bath panel
Working with sharp edges can be dangerous, so make sure that you use protective gloves when removing the old panel. You can also cover the sharp edges with duct tape to protect your hands. Another thing to keep in mind is that you should always wear protective clothing and eye gear when removing the old panel. When disposing of the old bath panel, make sure that you use a dust mask and old towels to avoid getting dust and debris on your hands and clothing. You can either dispose of the old panel at a recycling center or take it to a dumpster.
Disposal methods for the old bath panel
If you are planning to dispose of the old bath panel, there are a few options to consider. You can sell or give away the old bath panel to someone who might want it. You can also use the old panel as firewood or simply throw the panel away. If you choose to throw the old panel away, make sure that you put it in a plastic bag first to prevent it from leaking. You can also put the panel in a cardboard box before taking it to the dumpster.
Benefits of replacing a bath panel
Bath panels are a quick and easy way to update the look of your bathroom. Replacing an old bath panel with a new one can completely change the look and feel of your bathroom, while also helping you to save money on monthly energy bills. Replacing your old bath panel with a new, energy-efficient one can help to keep your home cooler in the summer and warmer in the winter, which can save you up to 50% on your monthly energy bills. Bath panels are a great option if you are on a budget. You can find a wide variety of options available online and at hardware stores, many of which are available at an affordable price.
A step-by-step guide to installing a new bath panel
– Before you begin, make sure that you have all the necessary tools and materials to install the new panel. – Use the screwdriver to remove the screws from the wall behind the panel. – Once the screws are loosened, use the bath panel removal tool to loosen the bottom clips of the panel. – Once the panel is loose, use a screwdriver to remove the screws behind the panel. – Once the screws are removed, the panel should separate from the wall. – Use the screwdriver to remove the braces at the top of the panel. – Use the old bath towel to protect your hands from the sharp edges of the panel. – Finally, lift the panel away from the wall and remove it completely. – Once the new panel is removed, you can measure the size of the new panel and begin installing it. – Use the screwdriver to remove the screws from the wall behind the panel. – Once the screws are loosened, use the bath panel removal tool to loosen the bottom clips of the panel. – Once the panel is loose, use a screwdriver to remove the screws behind the panel. – Once the screws are removed, the panel should separate from the wall. – Use the bath towel to protect your hands from the sharp edges of the panel. – Finally, lift the panel away from the wall and remove it completely. – Once the new panel is removed, you can position it against the wall. – Finally, use the screwdriver to secure the panel in place.
Conclusion
Removing a bath panel can be an easy way to update the look of your bathroom without breaking the bank. Replacing the old bath panel with a new one can completely change the look and feel of your bathroom, while also helping you to save money on monthly energy bills. Bath panels are a great option if you are on a budget. You can find a wide variety of options available online and at hardware stores, many of which are available at an affordable price. When you follow this step-by-step guide to removing a bath panel, you can replace your old bath panel with a new one in no time at all. So, what are you waiting for? Start removing your old bath panel today and make your bathroom look brand new again!
Leave a Reply