Plaster is a type of wall finish that’s made from cement, lime and sand. It’s a popular choice for walls because it’s cheap, easy to install, and can be painted over when you’re ready for a change. Read on to discover more about how to make a plaster wall in your home and some helpful tips on the best way to do it. Plaster is a great option if you want something that is inexpensive — especially when compared with other common finishes such as plasterboard or wood panelling. The result is an old-fashioned aesthetic that works with almost any design style and any size of home. Here, we take you through all the steps required to get your walls looking just so — from the prep work through to painting and final touches.
What You’ll Need
You’ll need a bucket, a trowel, a broom, maybe some gloves, and a vacuum. You’ll also want to make sure you have a drop cloth or some kind of covering for your floors, as well as a whole stack of paper towels or rags for cleanup. You’ll also want to make sure you have all the necessary materials. You’ll need an extra bag of lime for the mix, water for mixing, a bucket for water, a trowel for the water, a whisk broom for the lime, a whisk broom for the water, and a vacuum for cleanup.
Prep Your Walls
If you’re wearing old clothes, now’s the time to put them on. Next, you’ll want to clean off any existing wallpaper or paint on your walls. You can do this by scraping it off, or if you don’t want to damage your wall, use a chemical stripper to dissolve it. Next, you’ll need to make sure your walls are clean and ready to be plastered. You can do this by using sandpaper to rough up the walls a little so that the plaster will stick better, or if you’re working on a new build, by using a sander to get rid of any bumps and imperfections. Once your walls are prepped, you can move on to the next step.
Plastering 101
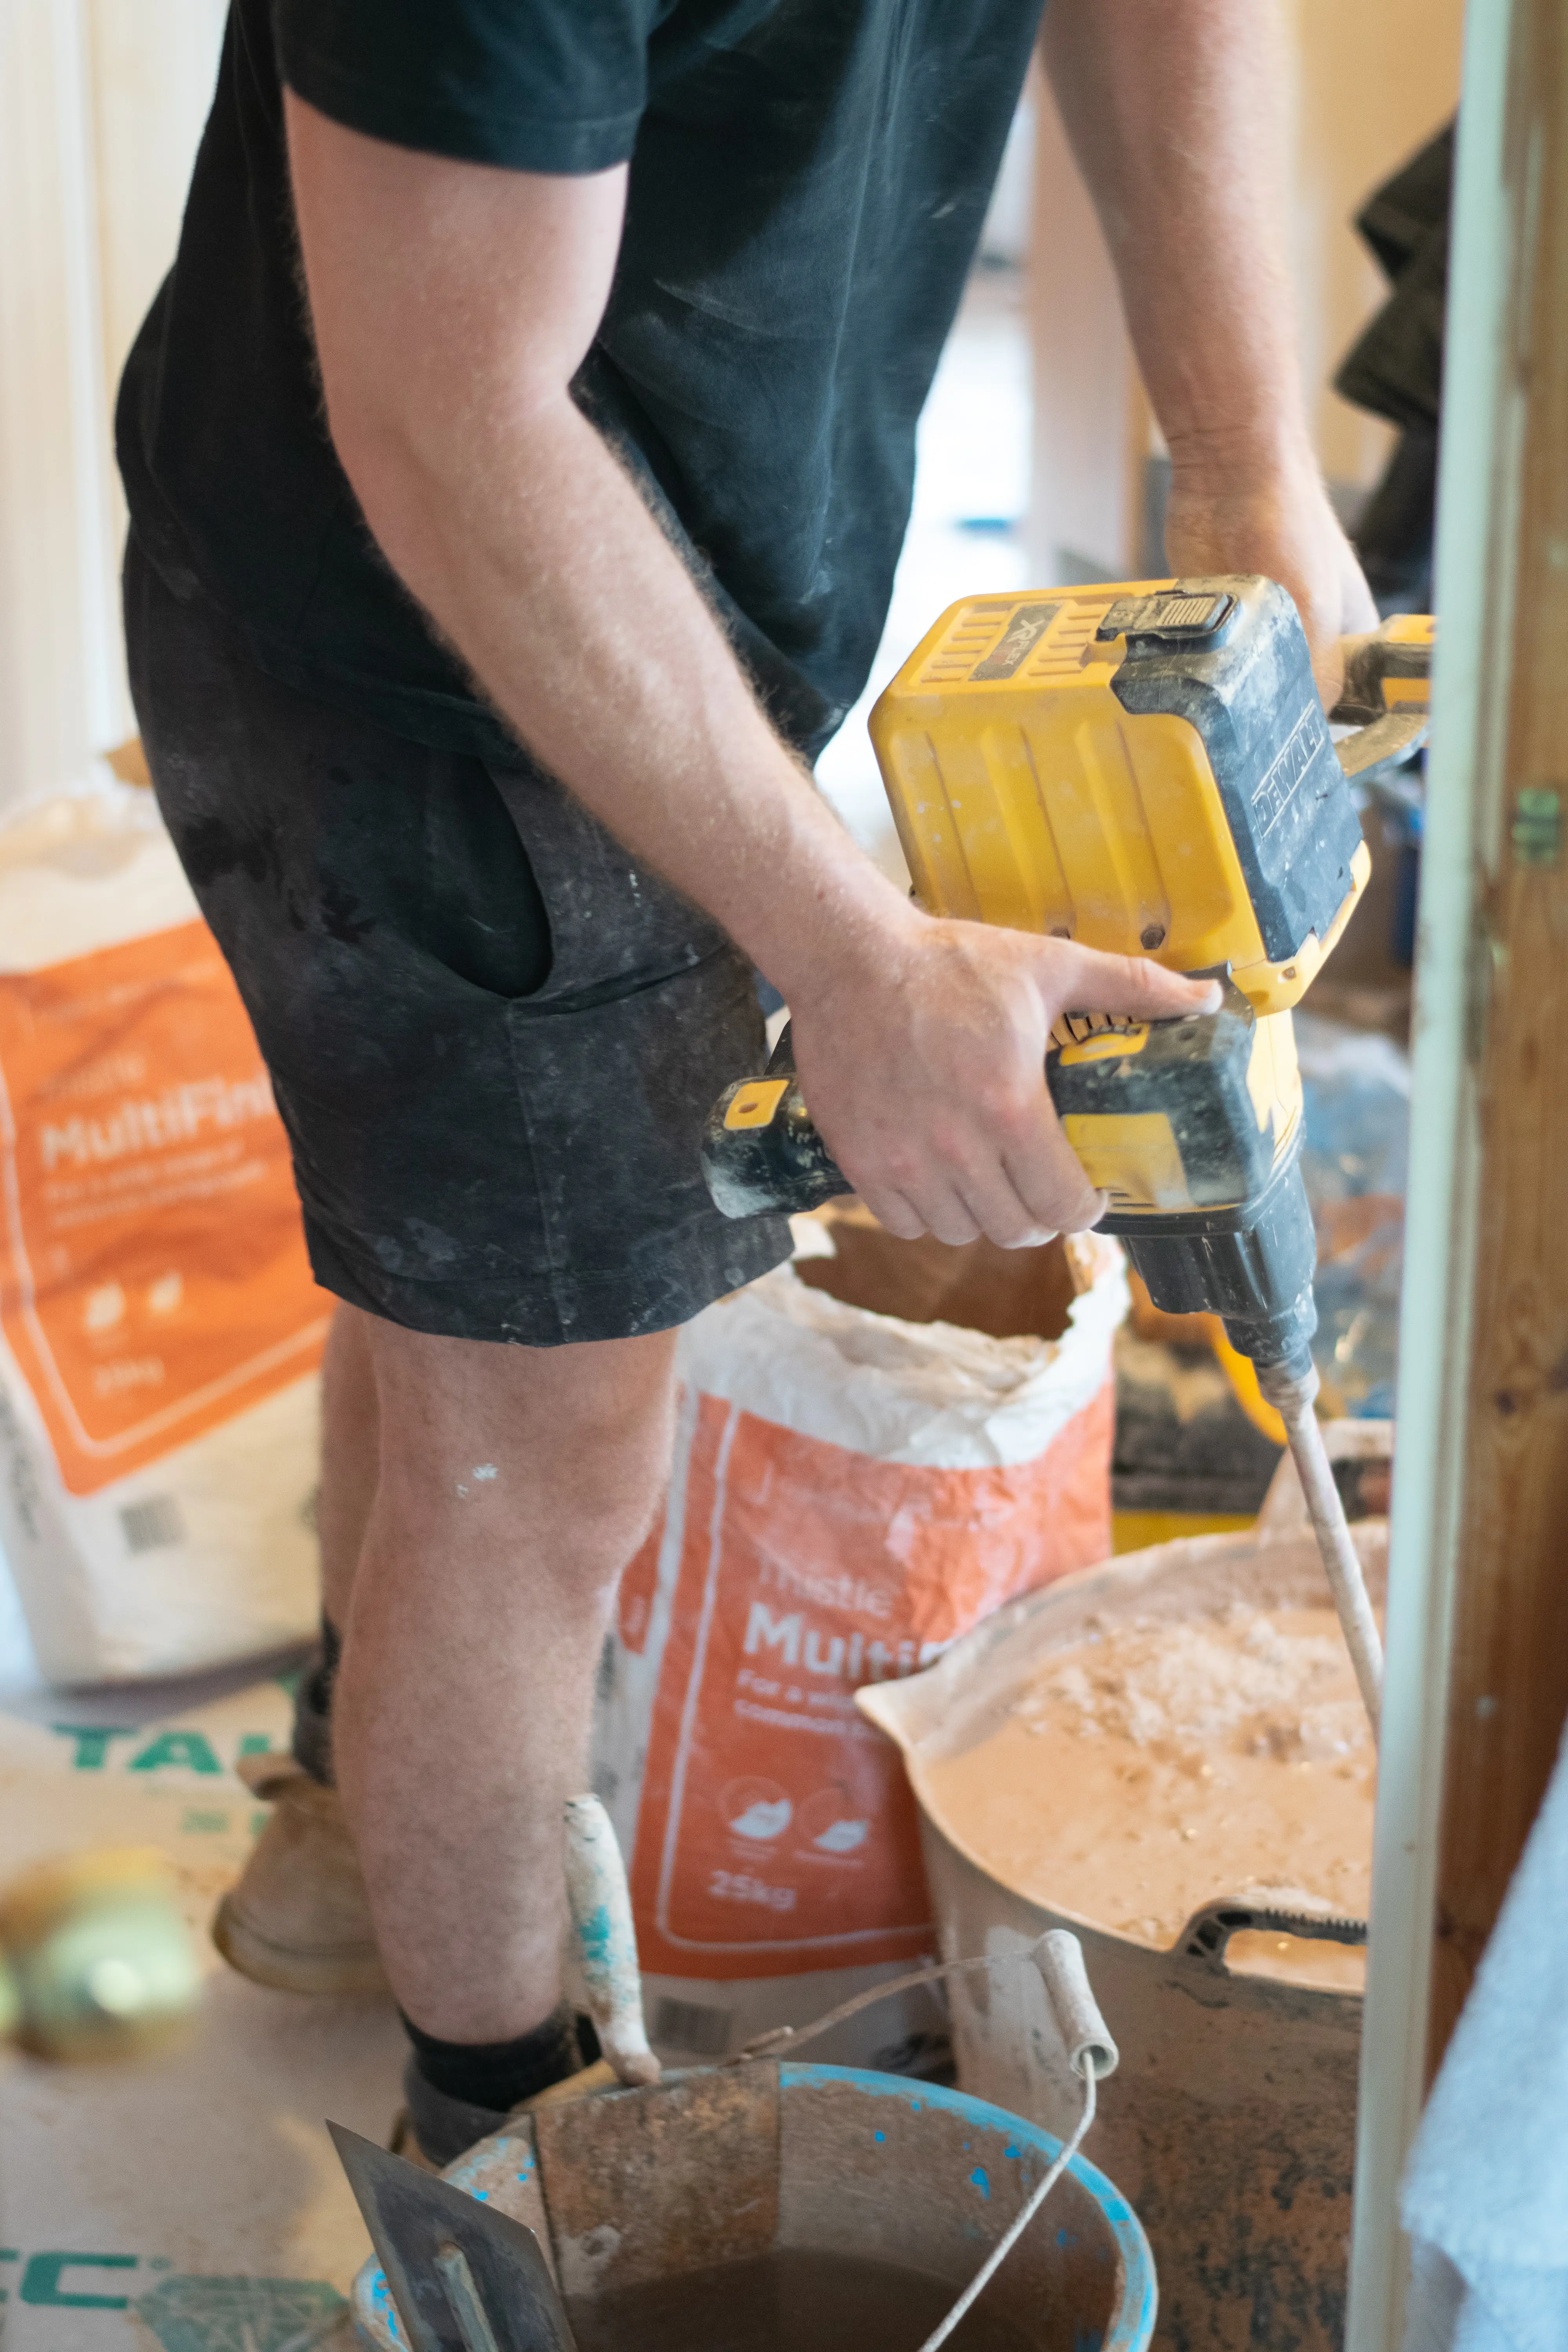
If you’re working on a new build, you might want to add a little extra lime to the mix to help the wall go a little quicker. But if you’re working in an older house, you’ll want to do the opposite: add less lime to the mix. You want enough water in the mix so that the plaster is easy to spread and not lumpy, but not too much that it’s runny. A good rule of thumb is that the mix should be as thick as a peanut butter and jelly sandwich. The best way to start is by putting lime and water in one bucket, and lime and water in another. Use the first bucket to create a rough mix with the whisk broom, and the second to create a smooth mix with the whisk broom. This will save you time later when you’re ready to start plastering.
Dry-run and Mix the Plaster
Now that you have the correct ratio of water and lime in the buckets, it’s time to do a dry run. Put on your gloves and use the trowel to shovel a small amount of the lime and water mix from one bucket into the other. Repeat this about six times until you have a handful of mix. Once you have your mix, use the trowel to scrape a small amount of the mix off the trowel and put it on the wall. If you put it on in a nice, even line, you’ll be able to see any imperfections in the wall, like bumps or holes, and know where you’ll need to fill.
Applying the First Layer of Plaster
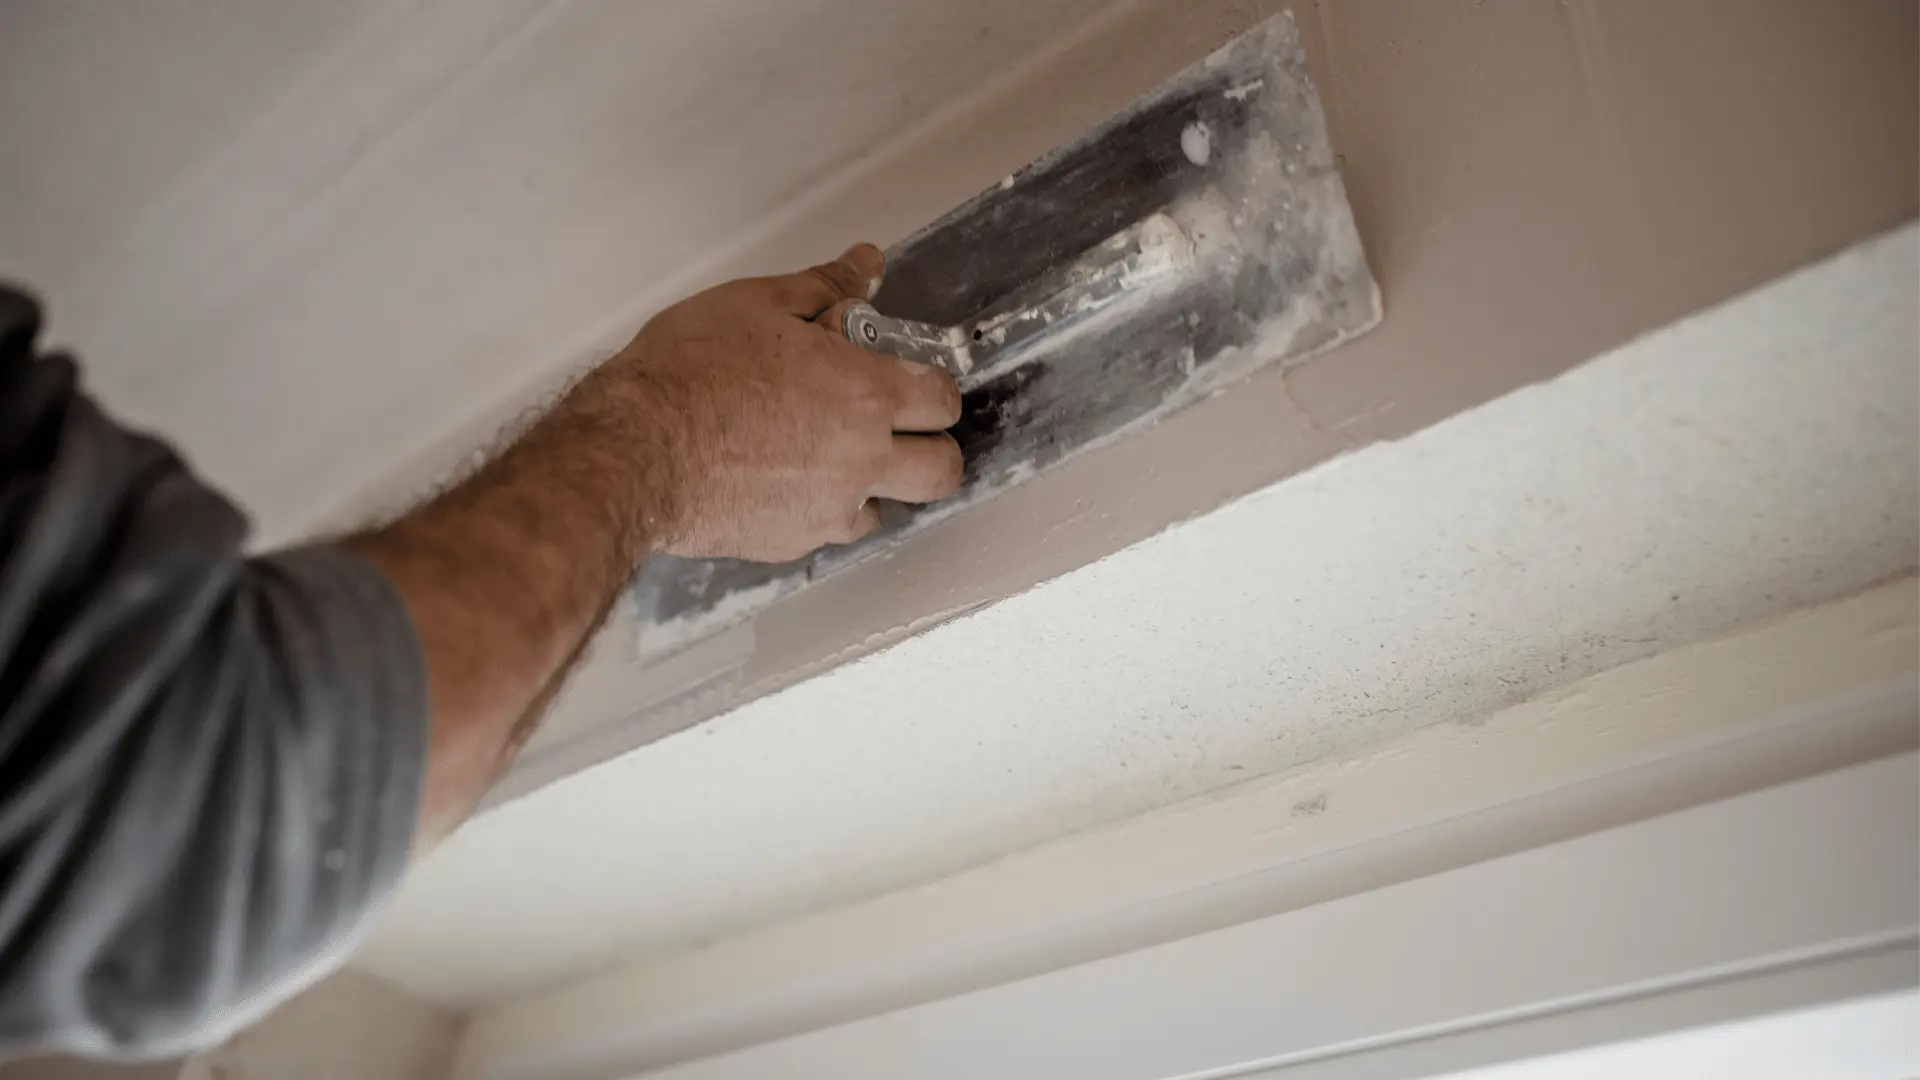
Once you have all the bumps and holes filled, it’s time to start applying the actual plaster. You want to make sure you have everything you need nearby — including a bucket of water and a trowel. First, mix a bit of water into the plaster with the trowel until it’s a consistency like a pancake batter. Your goal is to have it be as smooth as possible so there are no lumps or bumps. Next, you’ll want to apply the first layer of plaster. You can use a paint roller to get it even, but if you don’t have one, don’t worry. You can just use a whisk or broom to apply it.
Second Coat of Plaster
Now that you have your first layer applied, it’s time to mix a new batch of plaster and apply the second layer. The second layer doesn’t need to be as smooth as the first, so you can use a whisk broom to mix it. After you have your second batch of plaster ready, you can use the roller to apply it. If you want a textured plaster finish, you can put the roller in a bucket of water, making the bristles curly, and then use it to apply the plaster. This will create a textured finish.
Touch-up and Repair
If you notice any small areas where the plaster has been applied too thickly, you’ll want to sand it down to smooth it out. For larger cracks, you can use a two-part epoxy to repair them. If the crack is very large, you can mix the epoxy in a bucket and apply it with a trowel. For smaller cracks, you can use some joint compound to patch them up. If the crack isn’t very deep, you can use joint compound as a quick and easy fix. If the crack is too deep, you can mix some joint compound with water and use a trowel to apply it.
Conclusion
Once you’ve completed your plaster project, you’ll want to let the wall fully dry before moving on to the next step. Depending on the type of plaster you use, this could take anywhere from one to two days. You can speed up the drying process by increasing the humidity in the room in which you’re working. Once the wall is dry, you can finish it off with a coat of paint. A good primer will help the paint stick better to the wall and last longer.
Important: you may think it’s better to call your local plasterer?
Leave a Reply