Kitchen design doesn’t have to be the daunting task it seems to be. We may think we have to overhaul the entire kitchen, but in most cases, you’re already half there.
We’ve gathered a selection of photos that will take you through the process of improving a kitchen design, by making small changes that leave a huge impact.
The Plan
A seasoned interior designer will always know where to strike first, and what to leave alone. They’ll always strive to meet your desires, and if they’re concerned about customer loyalty, they’ll make sure you get the most bang for your buck.
What The Goal Was With This Kitchen Design
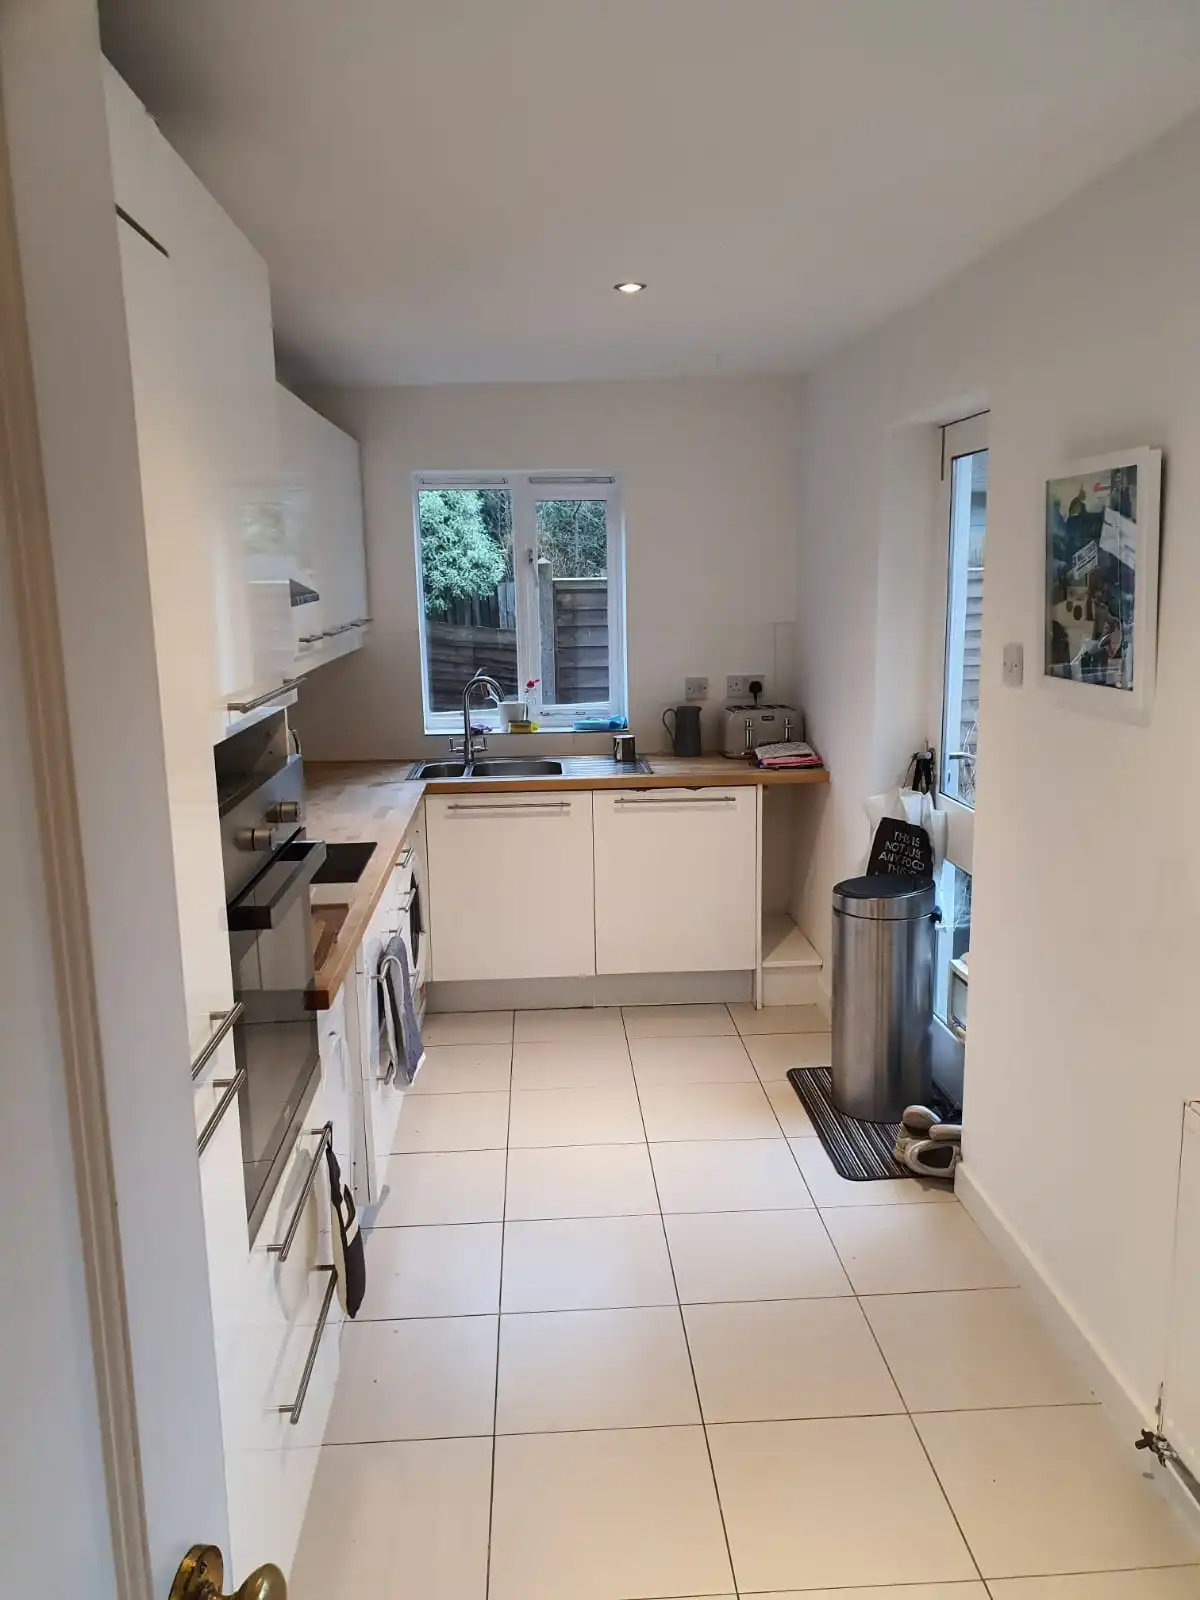
As you’ll see from the progression of these photos, we’re starting out with the average kitchen. It’s nothing special, but not too terrible. There are things to work with, and the colours are easy to design around.
For this kitchen, the goal was to bring a more simplistic and minimal design. The tiles are loose, the counters are out of the place, the appliances are showing, and the outlets stand out. So let’s see these issues be resolved.
Step 1 – The Loose Tiles
Loose tiles aren’t the end of the world. They’re just signs of wear and tear, or bad installation. But it’s understandable why they’d be a target for revamping your kitchen design, especially if they were originally laid down by an amateur.
The Old kitchen
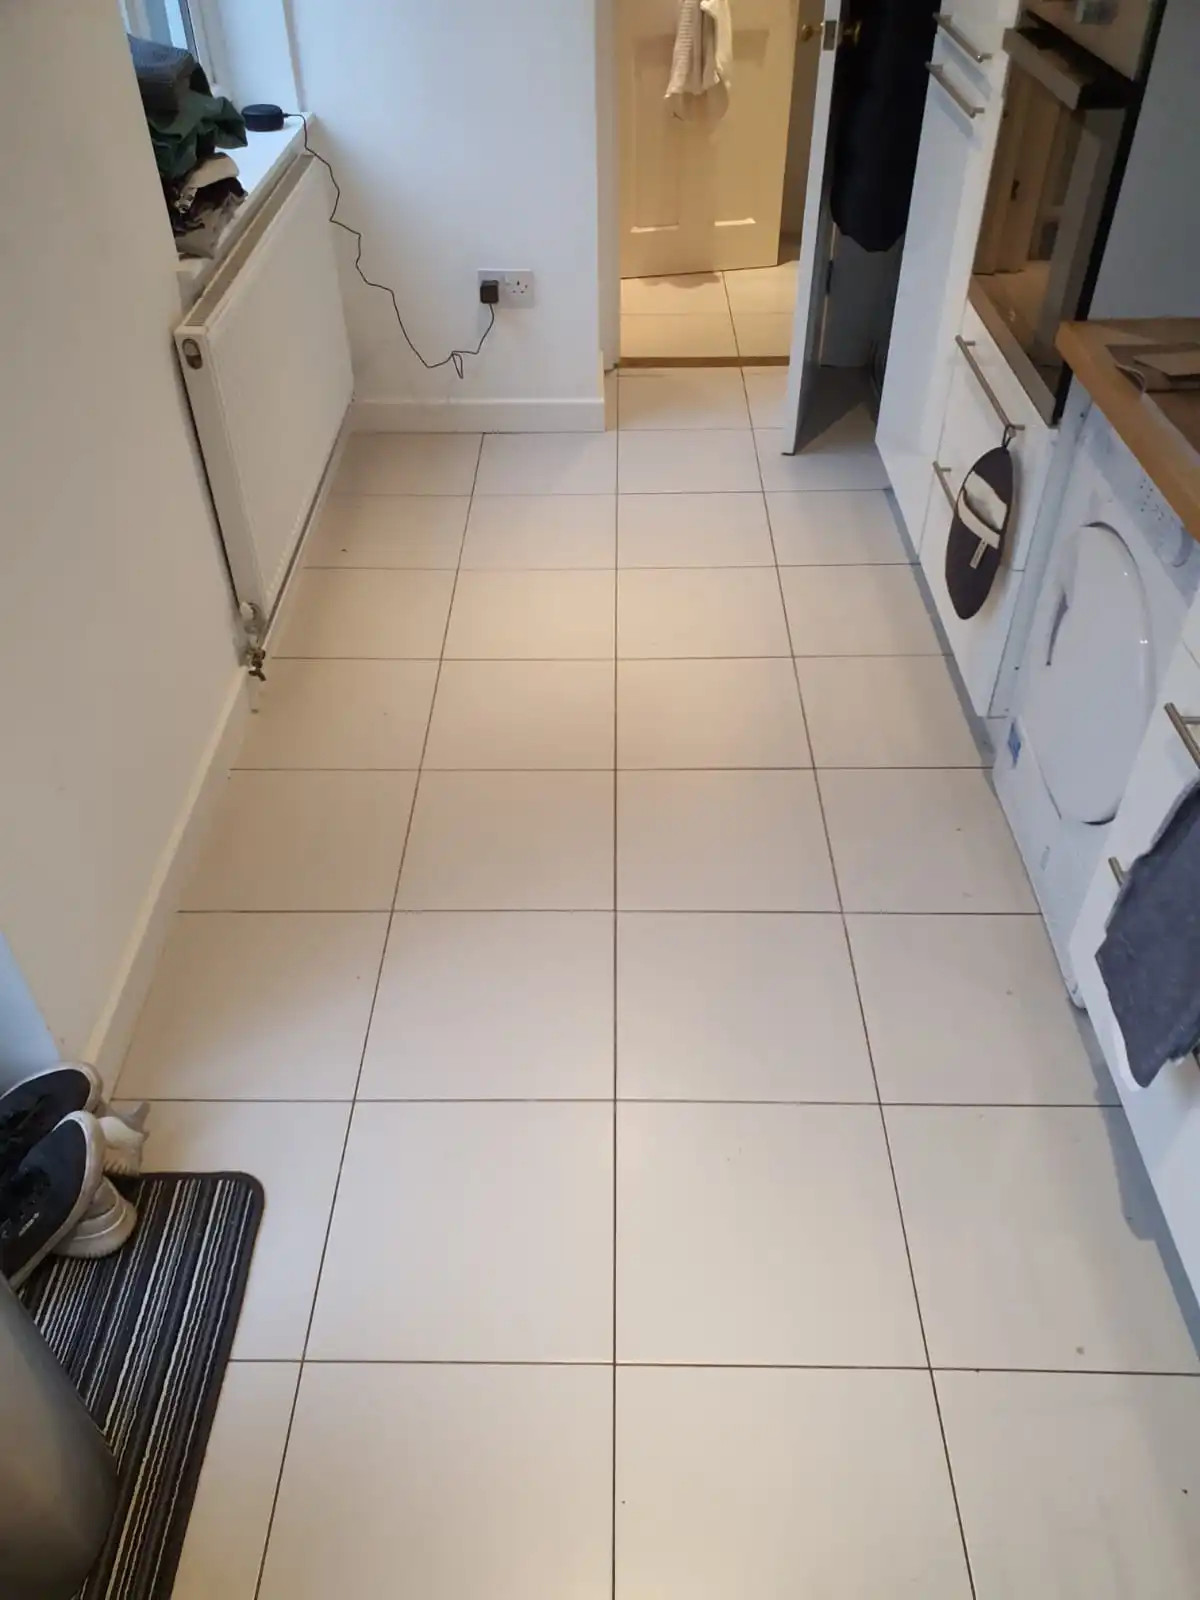
The Badly Fitted Tiles
In this kitchen, if you look around the edges of some tiles, you can see that some are loose, leading to small cracks on the edges of the tiles. Tiles can be a mixed choice for kitchens, as if one gets damaged, they all lose their grandeur.
That’s why the designers working on this kitchen, decided to replace them with a parquet floor, meaning it will still look good, but you don’t have to sacrifice the easy clean effect of the tiles you once had.
Step 2 – Visible Appliances
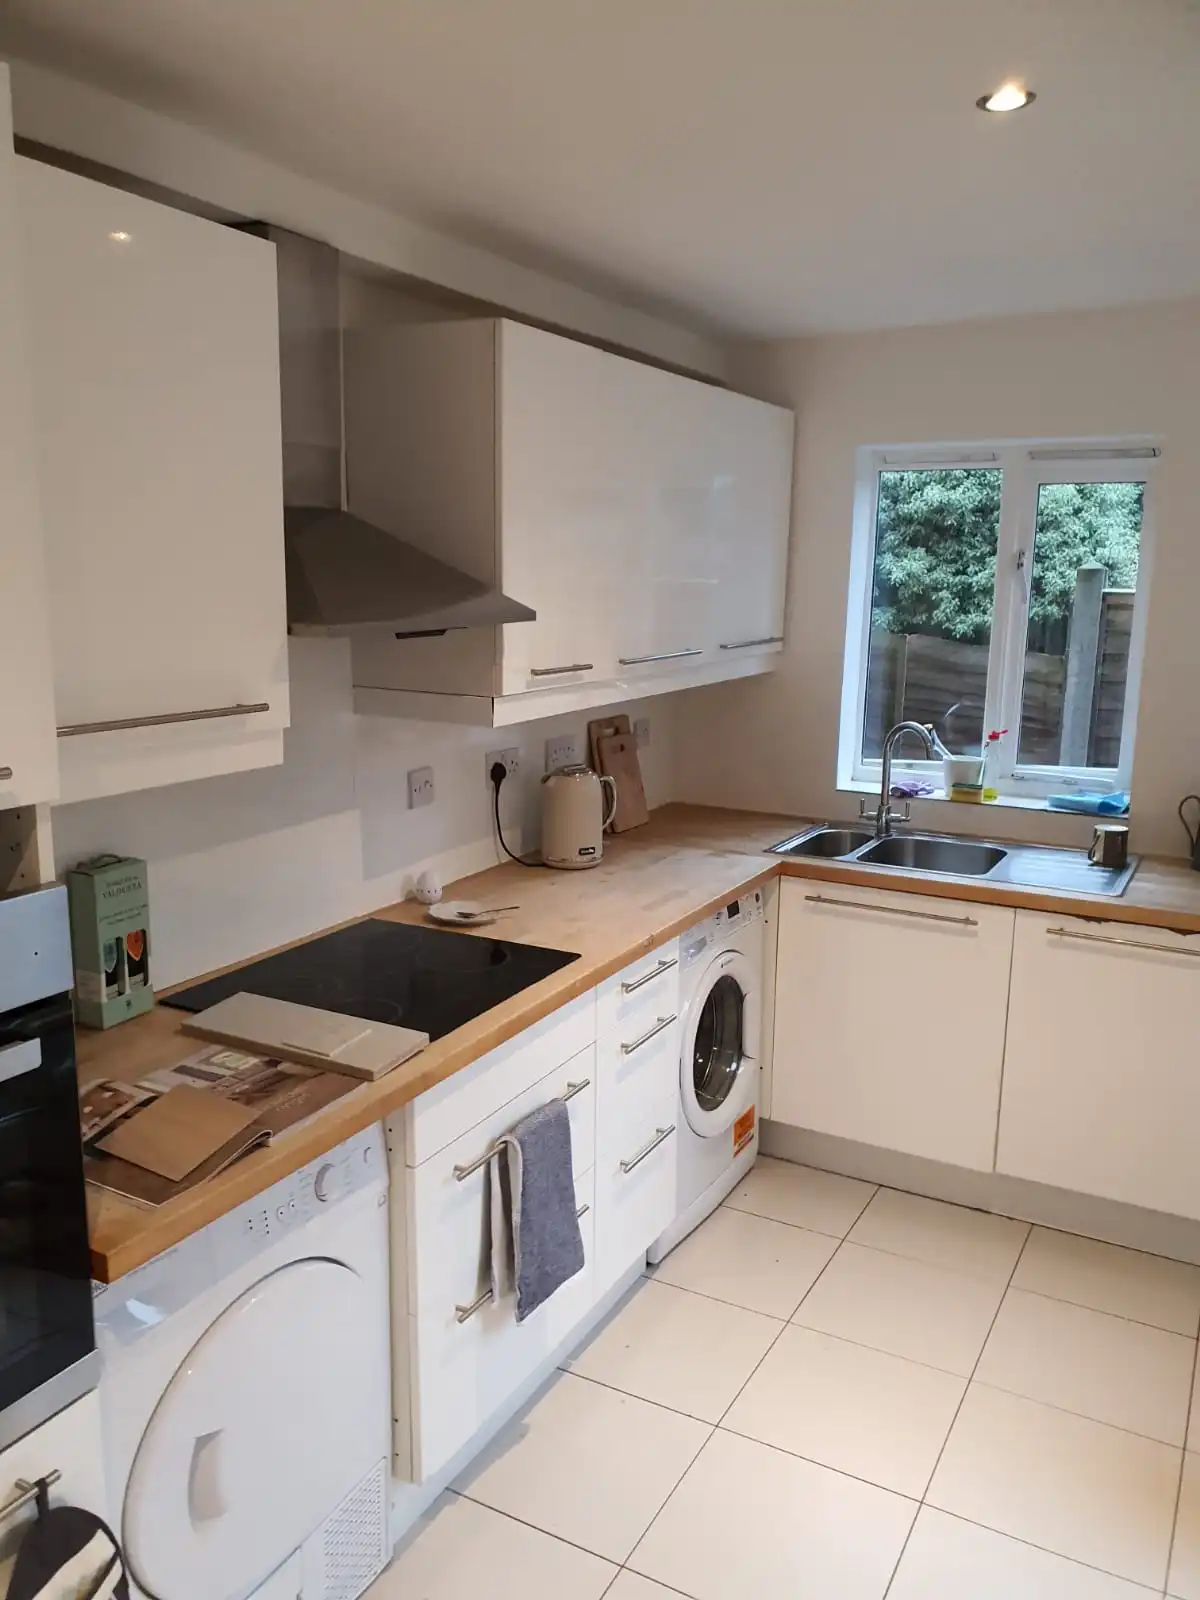
As you can see, the washer and dryer are both on show for everyone to see. Not such an uncommon thing these days, but kitchen design demands that we hide them behind a cabinet door.
Ugly And In The Way
With a kitchen, consistency is key. Everything should look similar, and nothing should immediately stand out. Unless your fridge or cooker is top of the line, then they’ll take the deserved centre stage.
But as stated before, this is about small changes, and with a kitchen with appliances like this, it’s better that they become built-in, so they blend into the overall look, as you’ll see in the next few photos.
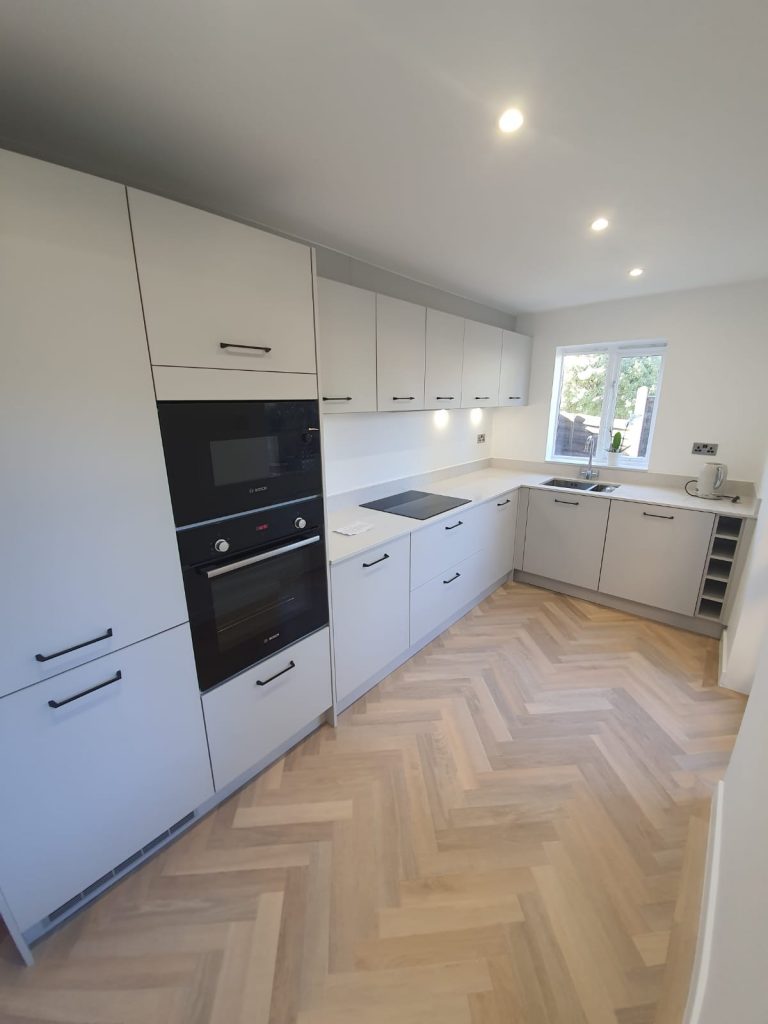
Step 3 – The Start Of Improvement
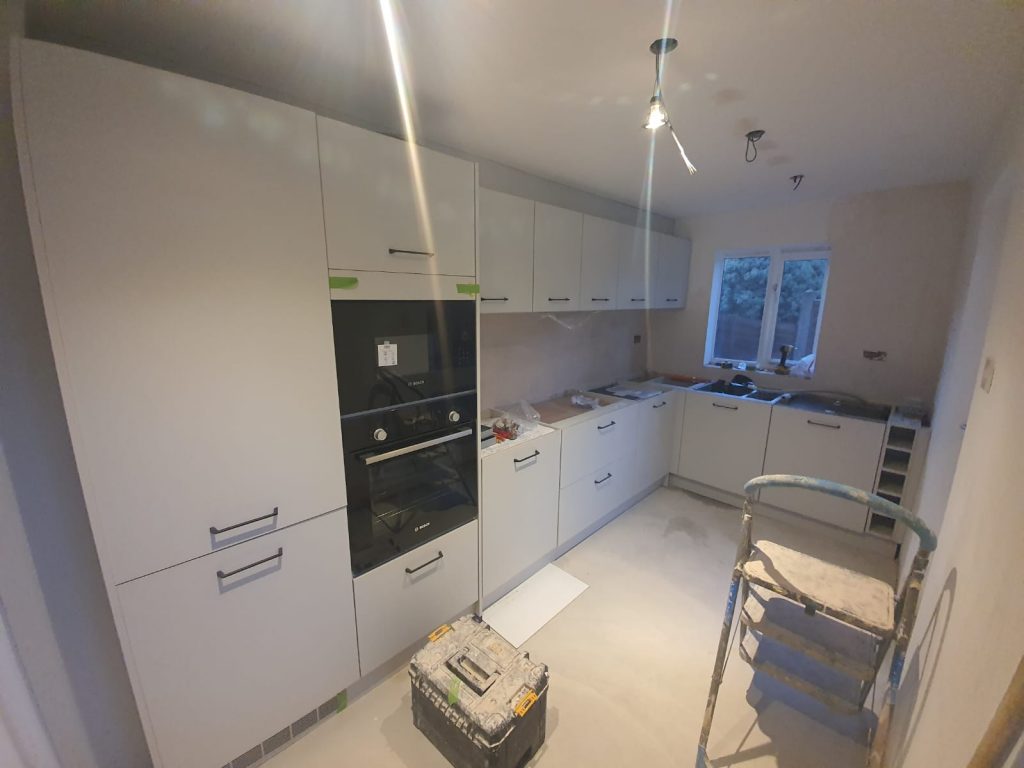
From this photo, you can start the midway point for the renovation.
Appliances
As you can see, they are now built into the kitchen itself. The oven was already built in. So, to match the scheme, a microwave of the same colour was added above.
The washing machine and dryer are now built into the cupboards, remaining out of sight and out of mind.
You can also see that the tiles were removed, and the floor is primed to be worked on.
Step 4 – A New Stone Worktop
The wooden worktop has been removed, and you can now see a beautiful stone worktop.
Functionality And Why Stone?
You need a great worktop that can stand the test of time, and a little bit of abuse when doing your kitchen things.
But why stone and not wood? Easy question. Wood requires a lot more maintenance than stone. Sure, it costs a bit more, but you won’t have to worry about water damage and stains. That’s the trade-off.
Step 5 – The Outlets
Comparing with the past outlets, these new ones fit much better with the colour scheme than the standard white ones did.
Style And Simplicity
Whilst it might look like there are fewer outlets than there were before, don’t forget that appliances are now built in. This means that each appliance will have its own dedicated outlet within the cupboards themselves.
White, whilst mostly neutral, can surprise you by sticking out like a sore thumb in most iterations of a kitchen. So to comply with the new colour design, silver with black matches the oven and microwave, offering a look that feels intentional and well-designed.
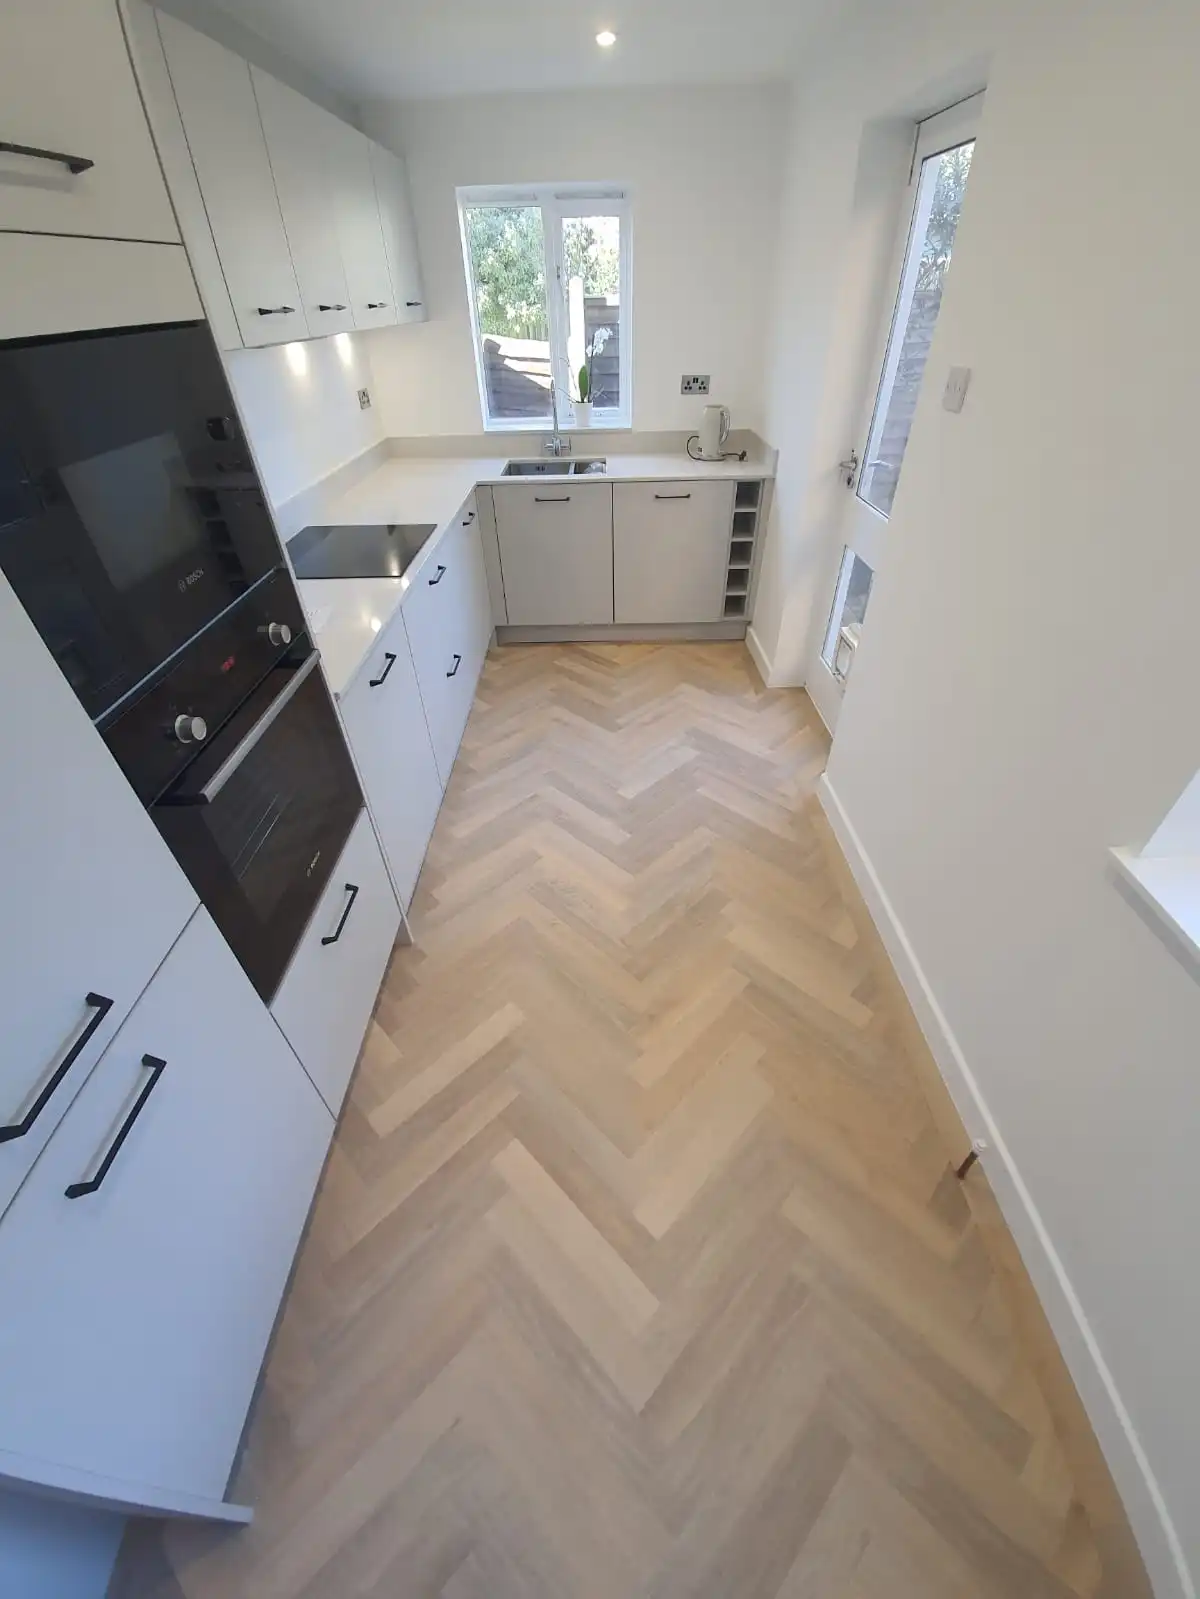
Step 6 – The New Floor
The tiles have been removed, and replaced with a parquet floor. But why a parquet floor over tiles?
The benefits of parquet are more about quality of life than anything. They insulate sound better, they can absorb odours to remove them if oiled, and they have a much better feet feel.
There’s also less chance that if you have an accident in the kitchen, a dropped glass might not initially break. But we can’t promise that, unfortunately.
Summary
This is proof that you don’t have to turn your kitchen inside and out to make it look a lot better. A few changes here and there can save you money and effort. There may already be potential in your kitchen design that a seasoned designer can bring out.
Materials Used
Electrical
Plumbing
Walls & Ceiling
Make sure to consult an expert before you make any changes.
Buildiro lists top quality products from approved vendors, so you don’t have to worry about what you’re buying. Start your search for the product you require here, and leave the rest to us. We’ve got you covered.
Project made by: LM Solutions Ltd.
Proud of your new kitchen? Bathroom got a makeover? Send us an email about it at magazine@buildiro.com, and we’ll write about it in our magazine!
Leave a Reply