Removing a radiator can be a daunting and time-consuming task, but it doesn’t have to be. With a few simple steps, you can easily remove a radiator from your home and make the job a lot less stressful. Knowing how to safely remove a radiator is essential for any DIY home improvement project or routine maintenance. This step-by-step guide will walk you through the process of removing a radiator, from turning off the power to disposing of the old radiator safely. With a little bit of preparation and careful execution, you can make the job of removing a radiator a breeze. So, don’t let the thought of tackling a radiator removal job get you down; instead, follow this guide and make it a job you can do with confidence.
Preparation before removing a radiator
The first step to removing any part of your home is to make sure you are prepared. This means having all the tools you need on hand, knowing what you are dealing with and having a plan for the best way to tackle the job. For many radiator removal projects, it is best to shut off the power to the radiator. You can find your home’s fuse box by looking at an electrical diagram of your home or by consulting a chart of the fuse box locations. Most fuse boxes look like a large box with a door on the front. In order to turn off the power to the radiator, you must open the fuse box and locate the correct fuse or breaker. Then, simply flip the switch to “off” and the power to the radiator will be turned off. This is an essential step that must be completed before disconnecting the radiator, as you do not want to risk getting electrocuted or damaging any other part of your home. Next, turn off the water supply to the radiator. Most radiators have a water shut-off valve that you can turn with a wrench or pliers. Another option is to turn off the main water valve that is often located near your home’s water meter.
Turning off the power and water supply
Once you have turned off the power and water supply, it is time to drain the radiator of water and disconnect the pipes. First, use a screwdriver to remove the radiator access panel on the wall. Then, use a wrench to turn the water shut-off valve counterclockwise until it is completely closed. Next, insert a hose into the open end of the radiator and direct the other end of the hose outdoors, or into a bucket or other container. Open the faucet and allow the water to drain out of the radiator. Once the water has completely drained, it is time to disconnect the pipes that are attached to the radiator.
Draining the radiator
Depending on the type of radiator you have, you may have to unscrew a few screws or use a wrench to loosen a few nuts and fully disconnect the pipes. Most radiators have a shut-off valve at the bottom of the unit, which is where you will insert the hose to drain the water from the unit. Once the water has been drained, unscrew the ends of the pipes from the radiator and remove it from the wall.
Disconnecting the pipes
Next, it is time to unscrew the ends of the pipes from the radiator. This can often be done with a wrench, but it may be necessary to use a wrench on one side and a pair of pliers on the other. If you are dealing with a particularly stubborn pipe, you can also try spraying it with some penetrating oil or other lubricant to ease the process.
Unscrewing the radiator
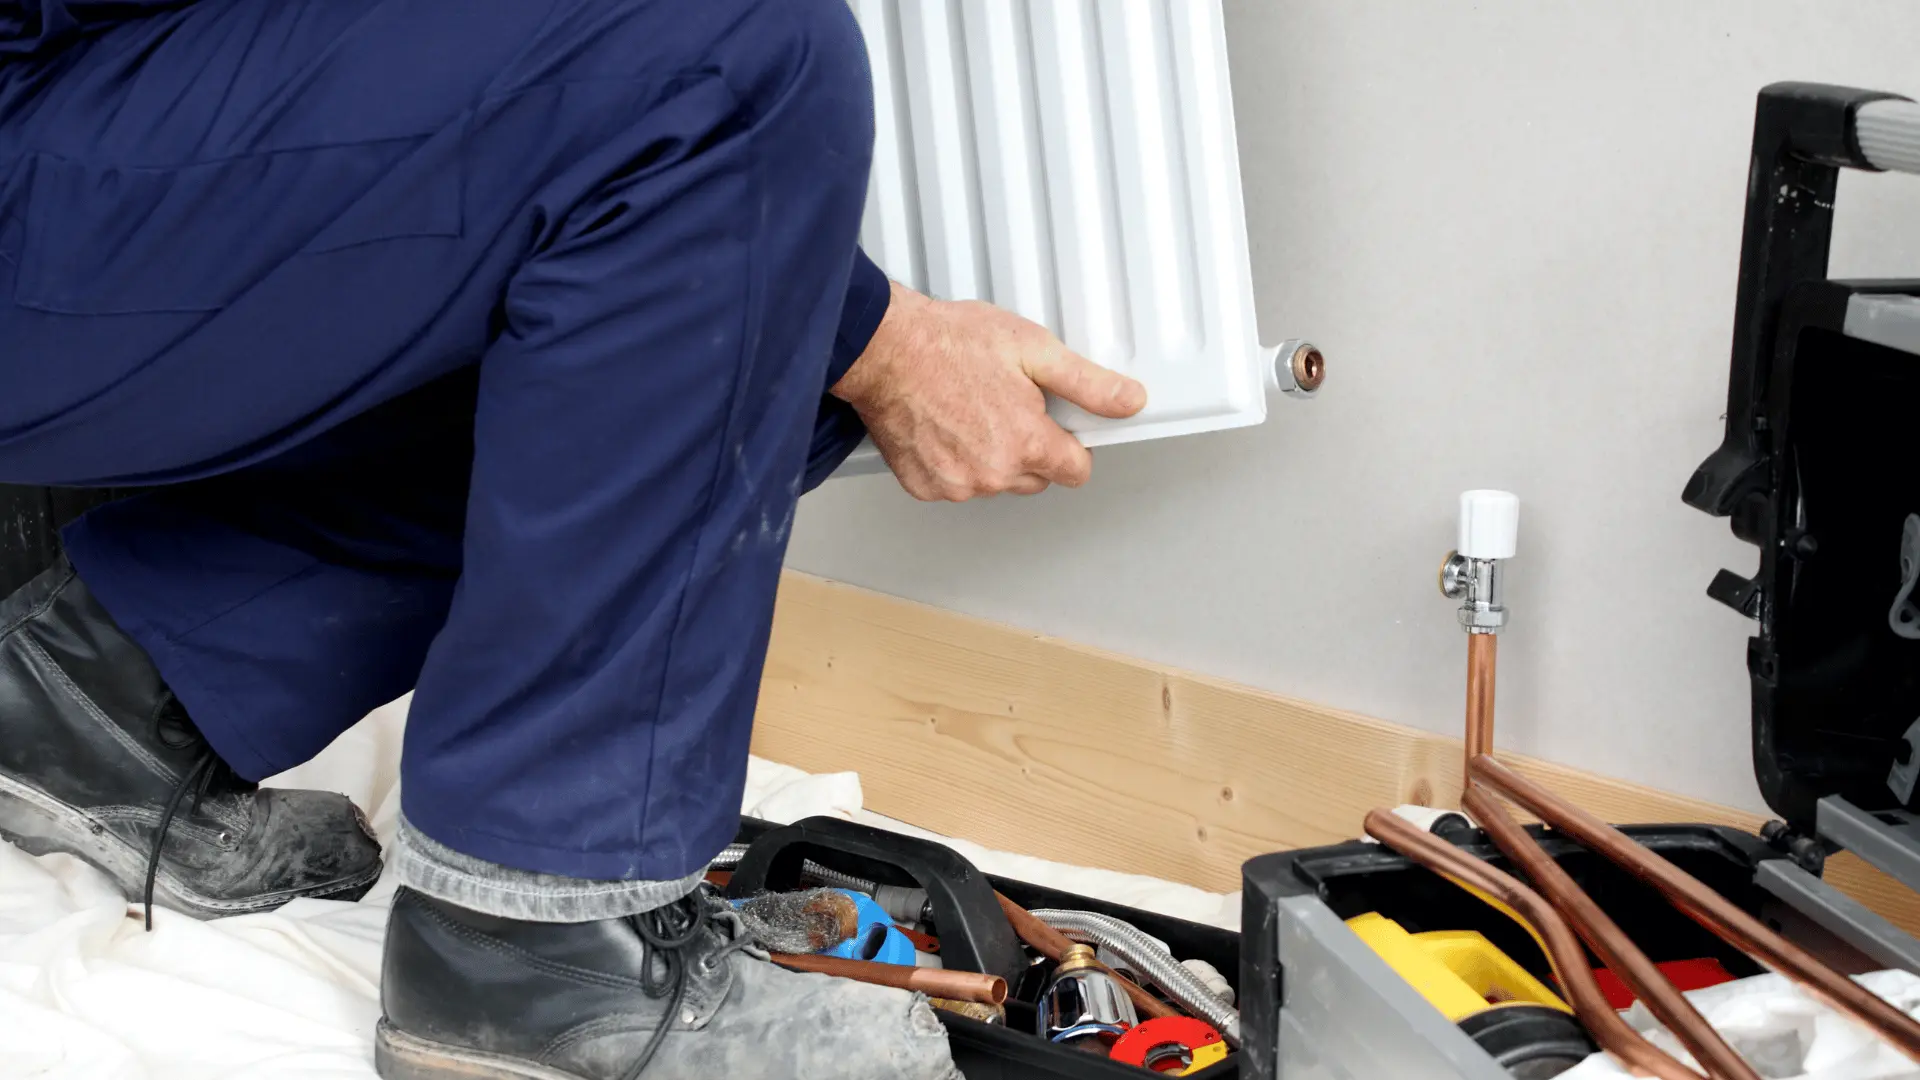
Now that the pipes have been disconnected, you can unscrew the radiator from the wall. Most radiators are held in place with brackets that screw into the wall. To remove the radiator, simply loosen the screws or unscrew the brackets that are holding the radiator in place. You should be able to lift the radiator off the wall at this point, but if it seems a little too heavy or bulky for one person to lift, you can also carefully prop it up with a brick or two to allow more room to lift it.
Determining the best disposal method
Now that you have removed the old radiator, you can determine what type of disposal method is best for this type of home improvement debris. Most radiators can be disposed of at a local scrap yard, in a dumpster or by putting it out with your regular trash. Whether you decide to take it to a scrap yard or throw it in the trash, it is important to make sure the radiator is thoroughly cleaned out of any sharp debris and other contaminants before you do so. Scrap yards will often take radiators for free, but you may also be able to sell it for some extra cash. However, before taking the radiator to a scrap yard, be sure to check if there are any restrictions and guidelines to follow. Many scrap yards will not accept certain types of radiators, so it is important to know how to properly dispose of a radiator before you actually start the job.
Sealing the pipes
Now that you have removed and properly disposed of the old radiator, it is time to seal off the pipes. This will help prevent any pests or critters from entering your home through the open pipes. There are many products available for this, but some of the best choices include: – Foam pipe sealant – This can be applied to the pipes to seal any gaps or cracks and prevent pests and other contaminants from entering your home through the pipes. – Pipe wrap – This is a type of material that can be wrapped around the pipes to create a barrier and keep pests out. – Electrical tape – This can be wrapped around the pipes to help keep out pests and contamination. – Pest block – This is a specialty product that can be inserted into the pipes and create a barrier that pests cannot get through.
Reinstalling the new radiator
Once the pipes are sealed, it is time to reinstall the new radiator. To do this, simply screw the brackets back into the wall and rest the new radiator on top of them. Then, feed the pipes through the holes in the back of the new radiator and screw the ends into the connection points on the new unit. Once the radiator is back in place, turn the water supply back on. Next, turn on the power and allow the unit to start up. Once the radiator has reached its normal operating temperature, it is time to fill the radiator with water and get back to enjoying a warm home.
Refilling the radiator
Before you can turn on the power and start up the new radiator, you must first refill the unit with water. This process can be as simple as turning on a faucet and letting the water flow into the radiator or it can require the use of a hose or a bucket. If you are filling the radiator by hand, open a faucet and direct the water flow into the radiator. Additionally, you can use a hose to fill the radiator if there is an access point on the unit. If there is not, you can cut a hole in the back of the radiator and insert a hose into the opening. With this method, you can direct the flow of water into the radiator. Once the radiator is full, it is time to turn on the power and start up the radiator.
Turning on the power and water supply
Once the radiator is full of water, it is time to turn on the power and start up the radiator. First, make sure that all of the connections are tight and there are no leaks. Then, turn the power back on and open a faucet to let the water flow through the pipes of the new radiator. If there are any issues with the new radiator, it is important to determine what they are as soon as possible. Most problems are easy to spot and can be fixed quickly and easily. However, if you notice that something is not right with your new radiator, it is best to call in a professional to handle the situation. Now that you know how to remove a radiator, you can tackle any job with confidence. This guide will walk you through the process of removing a radiator, from turning off the power to disposing of the old radiator safely. With a little bit of preparation and careful execution, you can make the job of removing a radiator a breeze. So, don’t let the thought of tackling a radiator removal job get you down; instead, follow this guide and make it a job you can do with confidence.
Conclusion
Removing a radiator can be a daunting task, but it doesn’t have to be. With a little bit of preparation and careful execution, you can make the job a breeze. First, assess the overall condition of the radiator, then mark the water valves and make sure they’re turned off. Next, assess the location of the radiator, then shut off the power and water supply before draining the radiator. Once the radiator is drained, install the new radiator and turn on the power and water supply to start enjoying the new radiator.
You can always call your verified local plumber!
Leave a Reply