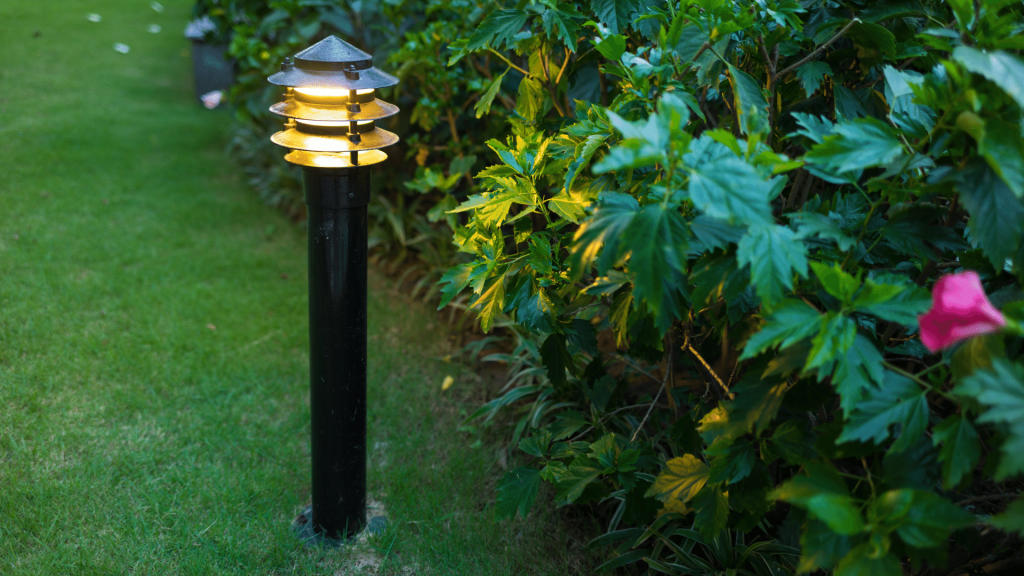
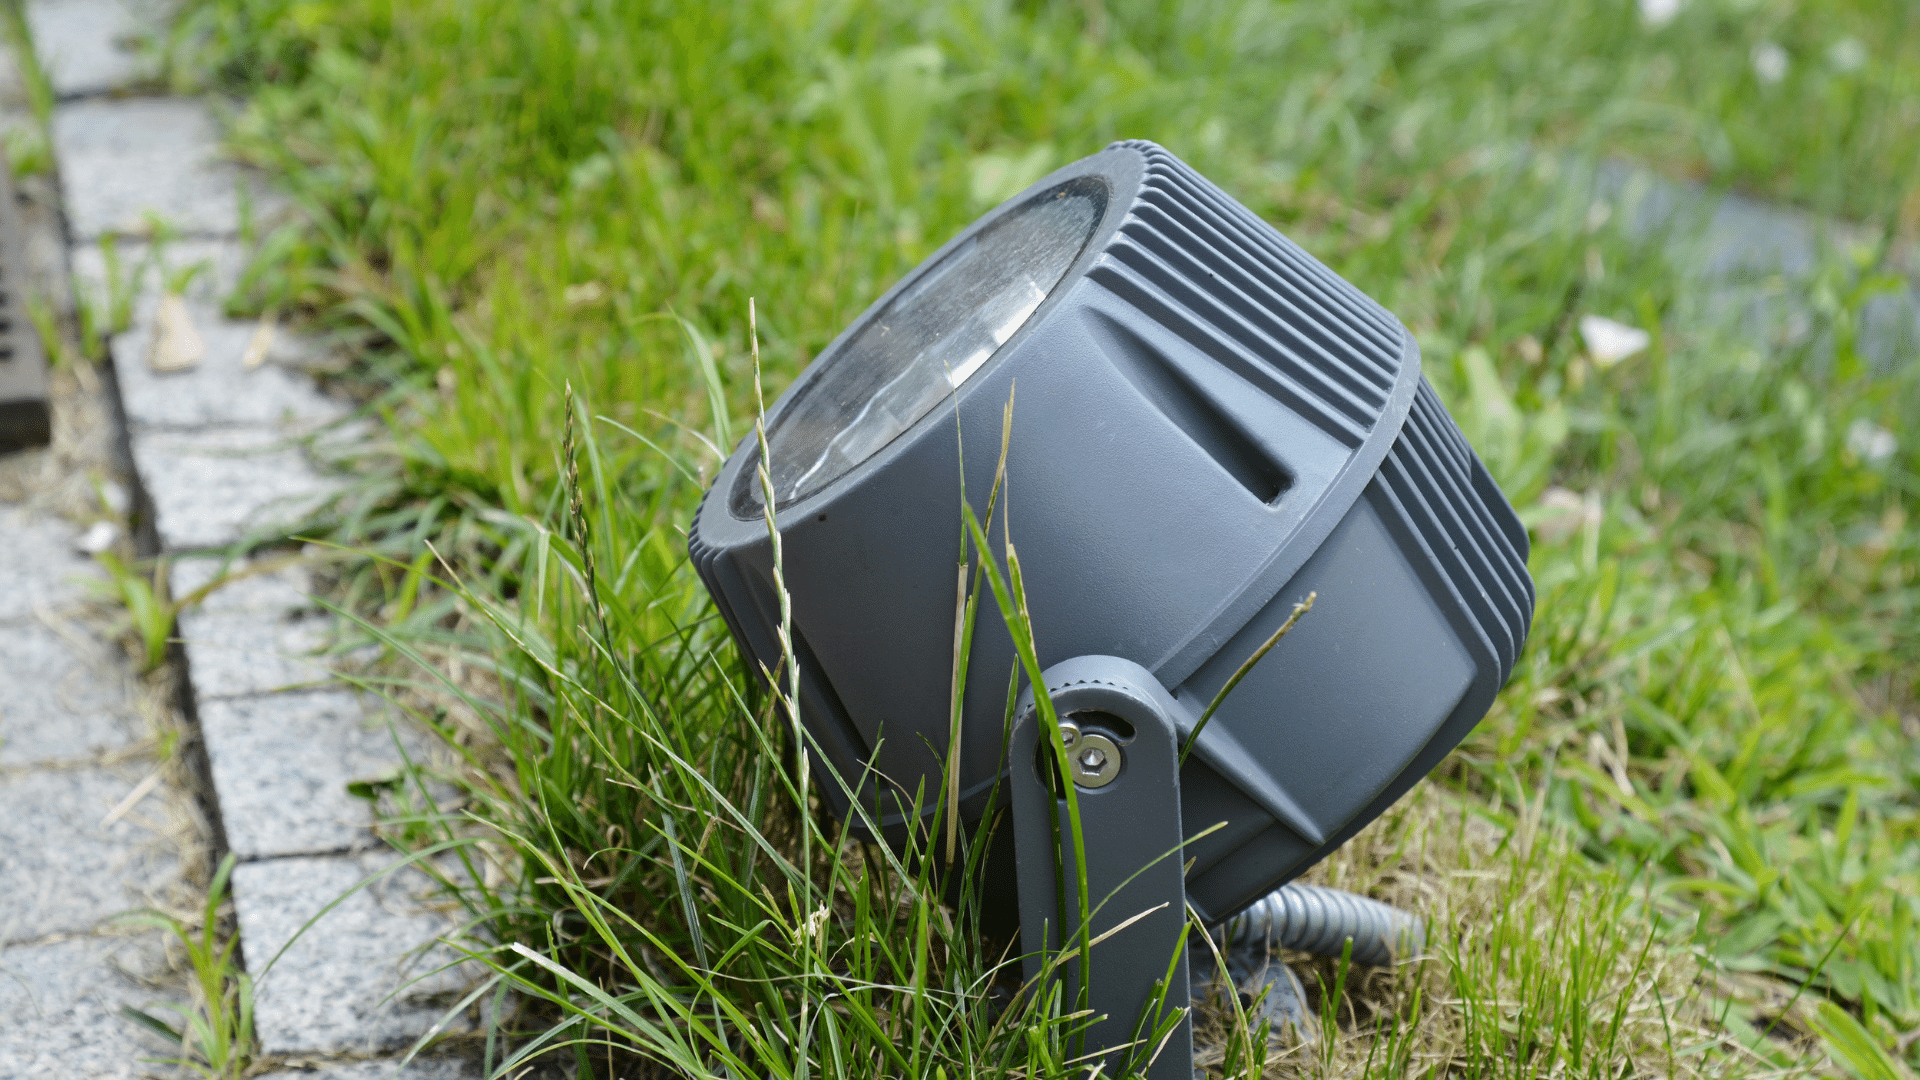
There are many areas outside that can benefit from added lighting. From a beautiful garden lighting arrangement to practical path lights and safety lights. Here are some tips on how to install outdoor lighting.
First, consider what type of effect you want to achieve with your outdoor lighting. Do you want it to be purely functional? Or are you hoping to create a certain ambience? Once you know your goal, you can start planning your lighting layout.

Safety Precautions for Installing Outdoor Lighting
Before you begin any work, taking some safety precautions is essential. Turn off the power to the area where you’ll be working. This is essential when installing any type of lighting, but outdoor lights are critical since they’re often connected to the main electrical supply. Be sure to use a voltage tester to double-check that the power is off before you begin (and double-check the voltage tester itself is working correctly by testing it in a known live circuit).
If you’re working with low-voltage lighting, remember that the transformer must be installed before you connect any lights. Once the transformer is in place, you can start connecting your lights. Follow the manufacturer’s instructions carefully to avoid damaging the equipment.
Installing outdoor mains power wall lighting
Adding an outdoor light to an existing mains circuit is relatively straightforward. The first thing you need to do is identify a suitable location for the new light. Once you’ve found the perfect spot, you’re ready to begin.
1. Drill a hole
You’ll need to drill a large hole in the wall to accommodate the electrical cable. Drill the hole so that the external end is a little lower than the internal – this helps prevent any moisture from traveling through the hole and causing problems. Place a plastic conduit through the hole and feed the power cable through.
2. Connect the cables
Connect the power cables to the light fixture, following the manufacturer’s instructions. Make sure all the connections are tight and secure.
3. Attach the light fixture
Carefully attach the light to the wall, using appropriate fixings (screws or bolts). Again, follow the manufacturer’s instructions carefully to avoid damaging the light. Apply silicon sealant to prevent moisture from entering the circuit.
4. Run the power supply cable
Run the power cable back to a suitable location for cutting into the main lighting circuit within your home. You will need to run the cable into a four-terminal junction box and install one if one is not present.
5. Install a switch
Install a switch indoors, running a two-core + earth cable from the junction to the switch using a 1mm² cable.
6. Connect the power
Check the power is still off, cut the mains circuit cable, and make the appropriate connections in the junction box.
7. Power on
Turn the power back on and test with a voltage metre once.

Installing Mains-Powered Outdoor Lighting
If you want to know how to install outdoor lighting for gardens, patios and paths, you’ll want to use a spur off of a ring circuit. You’ll need to use a 5 amp fused unit and a 1.5mm² three-core steel-wire-armoured cable (SWA). Ensure the light fixtures are waterproof and fit for purpose.
1. To connect outdoor mains-powered lights, you need to bury the power cable. In the UK, the required minimum depths are 240mm below gardens and paths and 650mm below agricultural land, so get digging.
2. Run the SWA cable from your house to the location of the light, ensuring that the wire is secured to your building with cable clips as it travels down to your trench.
3. At ALL connections, you must cover the black core with a green or yellow sleeve to indicate that it is the earth wire.
4. Connect the SWA to a 1.5mm² two-core-and-earth cable secured to your home in a weatherproof box. Ensure that the SWA enters the box through a weatherproof gland, or moisture will enter the cable and cause corrosion of the armour.
5. Connect the cable to your chosen light fixture, making sure that all earth connections and seals are weatherproofed.
6. After turning the power back on, test with a voltage meter. If all is well, it’s time to bury the cable.
Installing Low-Voltage Outdoor Lighting
Of course, working with mains power is offputting for some people. If you’re looking for a safer option, you can install low-voltage outdoor lighting. These systems use a transformer to step down the voltage from the mains (240 volts) to a safe level (12 volts). You can learn how to install outdoor low voltage landscape lighting easily, and they are much simpler and safer to work with.
1. Choose your transformer. The first step is to purchase a transformer that is suitable for the number of light fixtures you intend to use.
2. Mount the transformer. The next step is to find a suitable location for your transformer. It must be close to an outdoor power outlet and mounted in a weatherproof box.
3. Wire the transformer. Once the transformer is mounted, you can wire it to your outdoor power outlet. Make sure to use appropriate weatherproofing techniques to prevent moisture from entering the circuit.
4. Connect the light fixtures. Low-voltage outdoor lighting systems use a special cable that is designed to be buried underground, but given the low voltage, it’s not necessary to bury this cable at the same depth.
Installing Solar Powered Outdoor Lighting
There is, of course, one even more manageable option. If you don’t want to deal with wiring at all, you can install solar-powered outdoor lighting. These lights are straightforward to install, as they don’t require wiring. Just choose a location with plenty of sunlight and mount the light fixtures. Even here in the UK, solar-powered devices will light up hours into darkness.
Conclusion
Installing outdoor lighting doesn’t have to be a difficult task. Whether you’re looking for mains-powered, low-voltage, or solar-powered options, plenty of choices are available to suit your needs. With a little bit of planning and the right tools, you can have your outdoor lighting up and running in no time.
In case you are not sure how to make this done, call your local electrician.
FAQs
Yes. With the right tools and some basic knowledge of wiring, you can easily install outdoor lights. Knowing how to install outdoor lighting will let you change the ambience of your garden and home without hiring a professional.
To install an outdoor light fixture, you will need to connect the lighting cable to your house wiring and bury the cable. You must also cover the black core with a green or yellow sleeve to indicate that it is earth wire. We cover this step by step in our guide above. Check it out.
You can opt to wire lights to a mains power ring via a spur or go for a low voltage system with a transformer. Check out our guide above if you want to learn more about wiring up an outside light.
If you’re unsure, always consult an electrician. However, if you’re confident in your abilities, you can install outdoor lights yourself. Just make sure to take the necessary safety precautions, and be sure to mark the earth connections in green or yellow sleeving.
Leave a Reply