If possible, it is always better to punch holes in tiles before sticking. In the case of drilling, however, this is usually not possible. Most often, we need to drill a hole exactly in such a place that, for example, a shelf or some product from a wire program, as well as a sink, fits exactly. Therefore, we first glue and solder and drill to the end.
No hammering!
If you want every tile you need to drill to be guaranteed to crack, turn on hammering. No, don’t really do that. Ceramic tiles are guaranteed to crack as well as hard concrete tiles, for which you often need a drill with a diamond (carbide) punching tip (the so-called crown drill bit). Yes, the reason why a beginner turns on the hammer is often the fact that it is not possible to drill into a hard concrete tile with an ordinary drill, the so-called fork, the material resists. But turning on the hammer immediately turns out to be a fatal mistake. By the way, without impact, we also have to drill into hollow bricks so that the partitions inside do not break and even into solid bricks so that they do not crack. We also have to start drilling without impact if we do not know what the wall was built of, and the hammer can be easily switched on at any time.
Masonry and concrete drill bits
Masonry and concrete drill bits are most often made of alloyed tool steel and have a soldered carbide plate (SK slice or carbide) on the tip. However, we can also use a more gentle and accurate crown drill bit. The second thing is the method of clamping the drill bit in the drill. The drill bit may have a conventional cylindrical shank, due to which it can move in the chuck. For more demanding and precise drilling, drill bits with SDS shank are therefore more suitable.Due to its grooved shape, this shank does not twist in the drill. However, not every drill allows you to use drills with an SDS shank, just as it is necessary to buy a chuck for drills and breakers that count with SDS. There are two types of SDS shank: SDS Plus (SDS ) and SDS Max. The SDS shank has a diameter of 10 mm and is usually used by drill bits up to 30 mm. Larger drill bits have an SDS Max shank with a diameter of 18 mm. They are designed for heavy hammer drills (combination of hammer and drill).
Drill bits for specific holes
Crown drill bits are made for different diameters of punched holes. From the diameter of the hole for a conventional dowel to the holes for switches, sockets, pipes and drains. Even crown (punching) drill bits differ according to the surface into which they are to drill, i.e. to cut (wood, sheet metal, tiles, masonry and plasterboard). Crown drill bits offer more resistance, so we need a more powerful machine for them. There are also tapered drill bits, which we use to drill a tapered hole, and stepped drill bits, where we can drill holes of multiple diameters with one tool. However, in the case of drilling in tiles and masonry, these types of drill bits are usually not used. What we should be extremely interested in now are crown drill bits designed for ceramic tiles and crown drill bits designed for drilling in particularly hard concrete tiles.These drill bits have a carbide tip that forms clean and regular holes without the risk of chipping the tile. If we use them (of course, drilling is fundamentally without impact, we are carving), the tile should never crack if it is well glued. Drilling in areas of the tile where there is a larger cavity under the tile increases the risk of the tile cracking up to 100%, regardless of the drilling method and drill type.
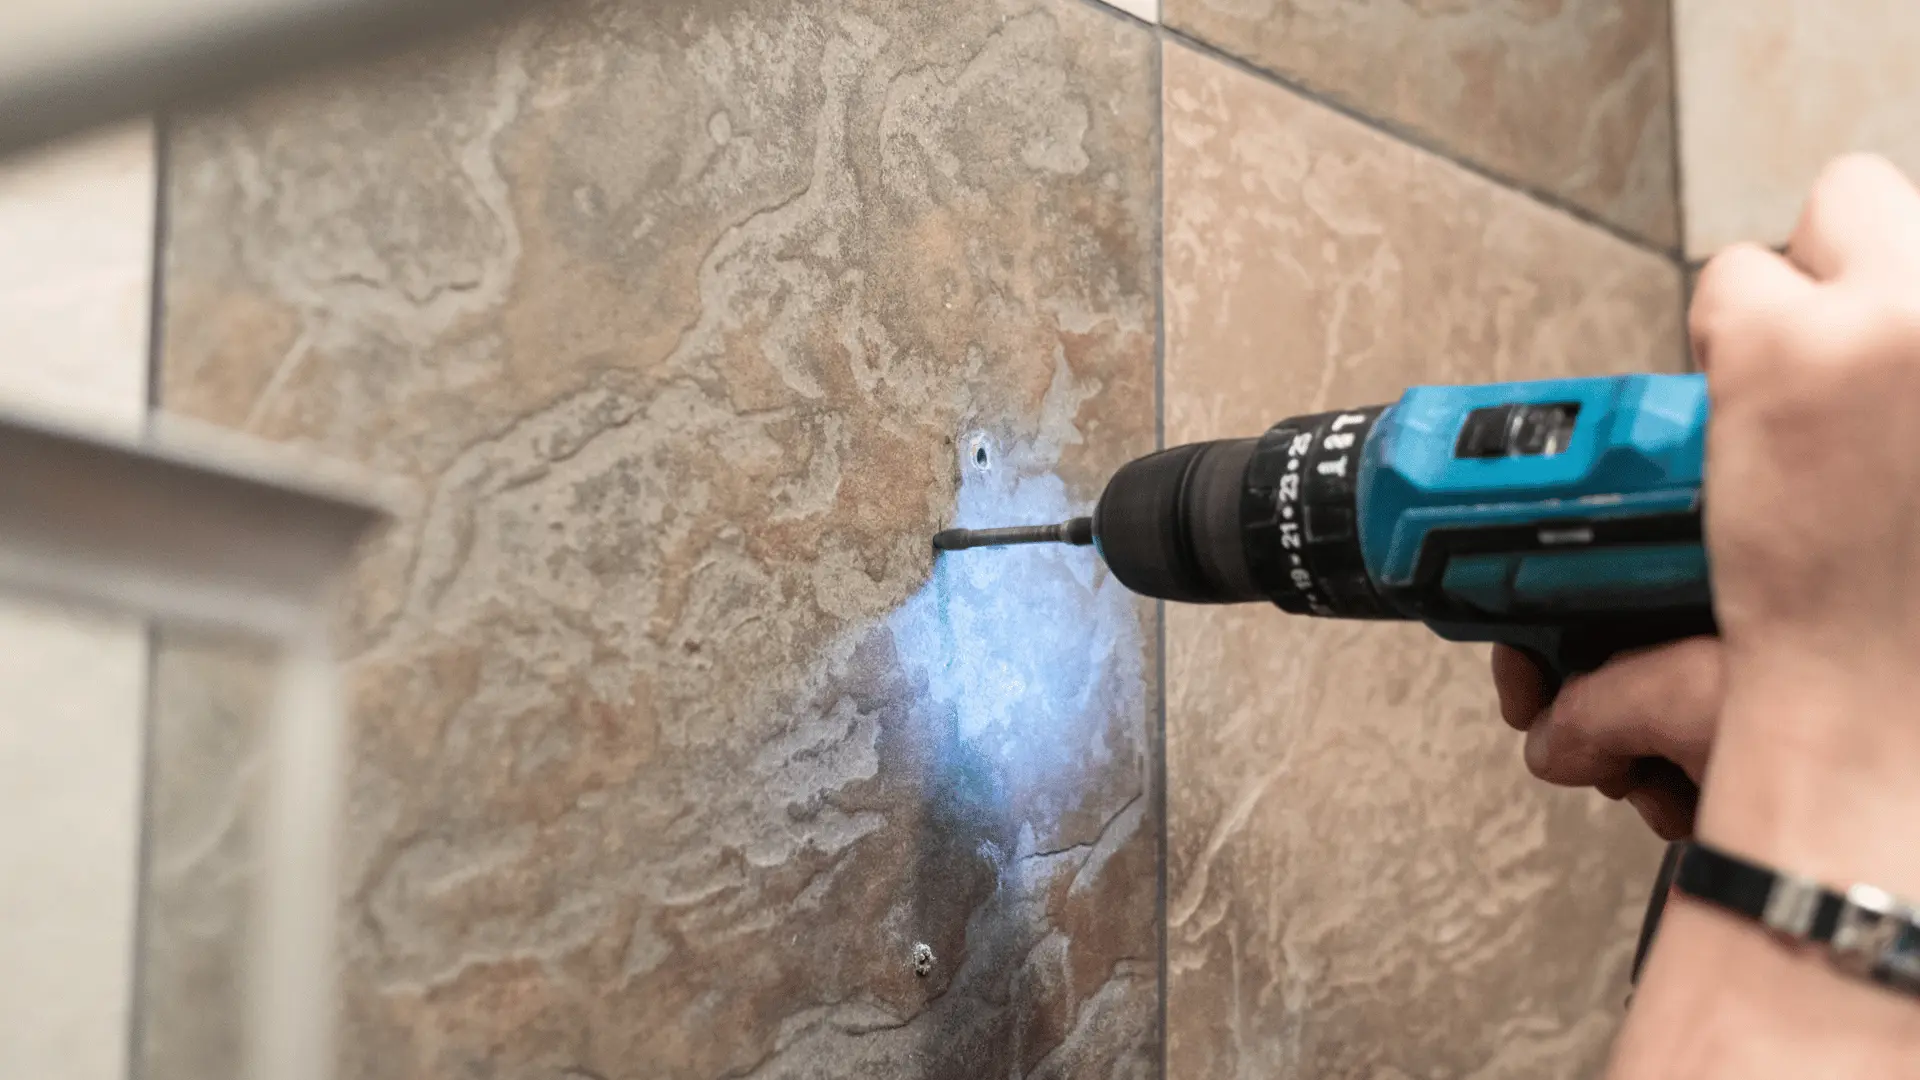
Don’t have a crown drill? We have a simple trick…
When you are sure of the exact place where you need to drill without impact with an ordinary masonry drill bit, stick ordinary painting tape on the appropriate places. Then precisely measure the places for the hole and draw, usually drawing with two strokes of pencil or marker a cross into the center of which we drill. If possible, do not drill into the joints, but into the tile surface, when drilling into joints, tiles are most often chipped or cracks occur. By sticking the painter’s tape, we will prevent not only the tile from cracking, but also the drill from slipping on a smooth surface. Of course, other materials can also be used, such as a piece of cork or hardened paper, which we attach to the tile with tape.Now there is nothing left to do but drill a sufficiently deep hole without impact. If there is a stone under the tiles and plaster, in the end we will have to turn on the hammer, but only after the tiles and plaster are drilled. In this case, it is better to drill a larger hole in the tile (e.g. 10 mm) and choose an 8 mm drill before hammering into the stone. When drilling with impact, the drill vibrates in addition to rotating, and in order to prevent the tile from cracking, it is necessary to do the maximum. However, a skilful tradesman will carefully make the entire hole with one drill. This is followed by insertion of wall plugs and screwing.
When the tile does crack
And if the tile has cracked, there is nothing left but to carefully chop it off so that the tiles around are not damaged, thoroughly remove the glue and glue the new tile. The work will be manual using a sharp hammer and hammer, the drill hammer is used to demolish entire surfaces, not for minor repairs of finished tiles.
Leave a Reply